You know what they say: if you play with fire, you might get burned by not knowing how to composite it correctly in Adobe After Effects. In this post, we’ll solve that now and for all time.
Fire is not solid; it’s light. Anything that either solidifies it or diminishes it’s light characteristics (glow, detail) will weaken it. In this post we’ll make sure you have the basics to implement it into a scene, so that in a later post we have the option to go further integrating it.
Where does fire come from?
Is it possible to synthesize good looking fire? Absolutely, but it’s beyond what you can do convincingly in After Effects without a ton of effort. Fire as computer graphics behaves like a particle simulation made up of a fluid. We all know exactly what it looks like and can stare at a real version for hours.
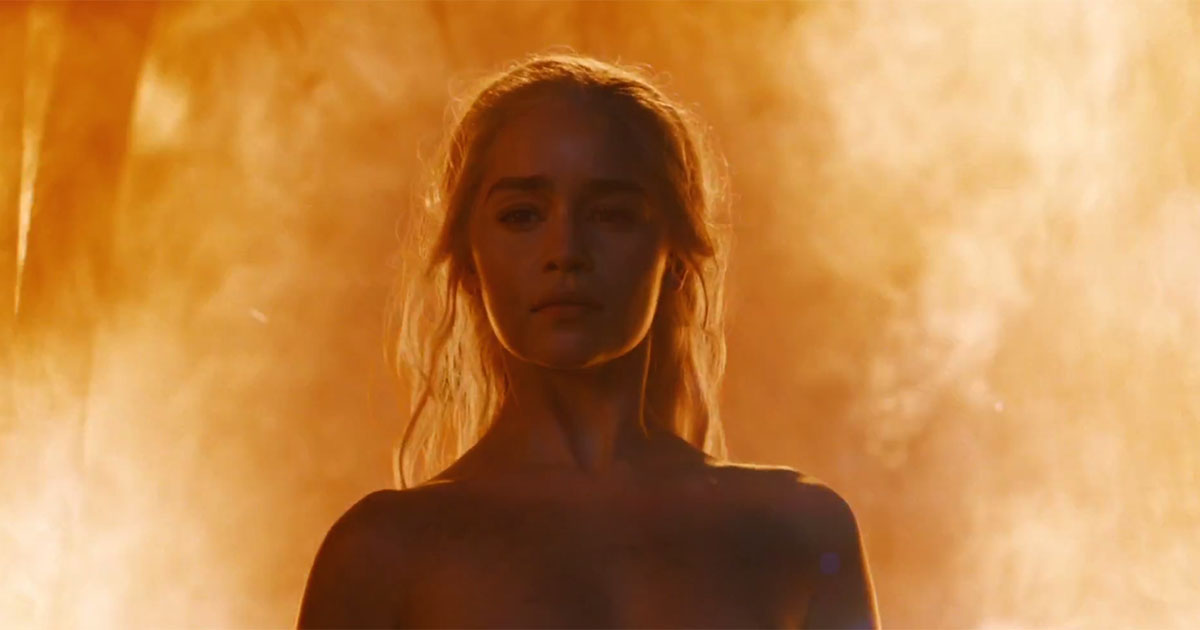
The first movie I ever worked on that used synthesized fire was Hellboy. I stood by as a gleeful Matt Hendershot showed off a shot of Liz holding fire in her hand. The Orphanage comped features in After Effects, but this required a full 3D simulation.
So unless you want to go there, you should use real fire; in most cases it will look better, and it can be shot to fit the scale and angle you need. You don’t have to shoot it yourself, as plenty of elements have been shot for this exact purpose. They’re pretty easy to find, try searching for something like “fire elements for vfx” or “fire footage for after effects.”
What should a fire element look like?
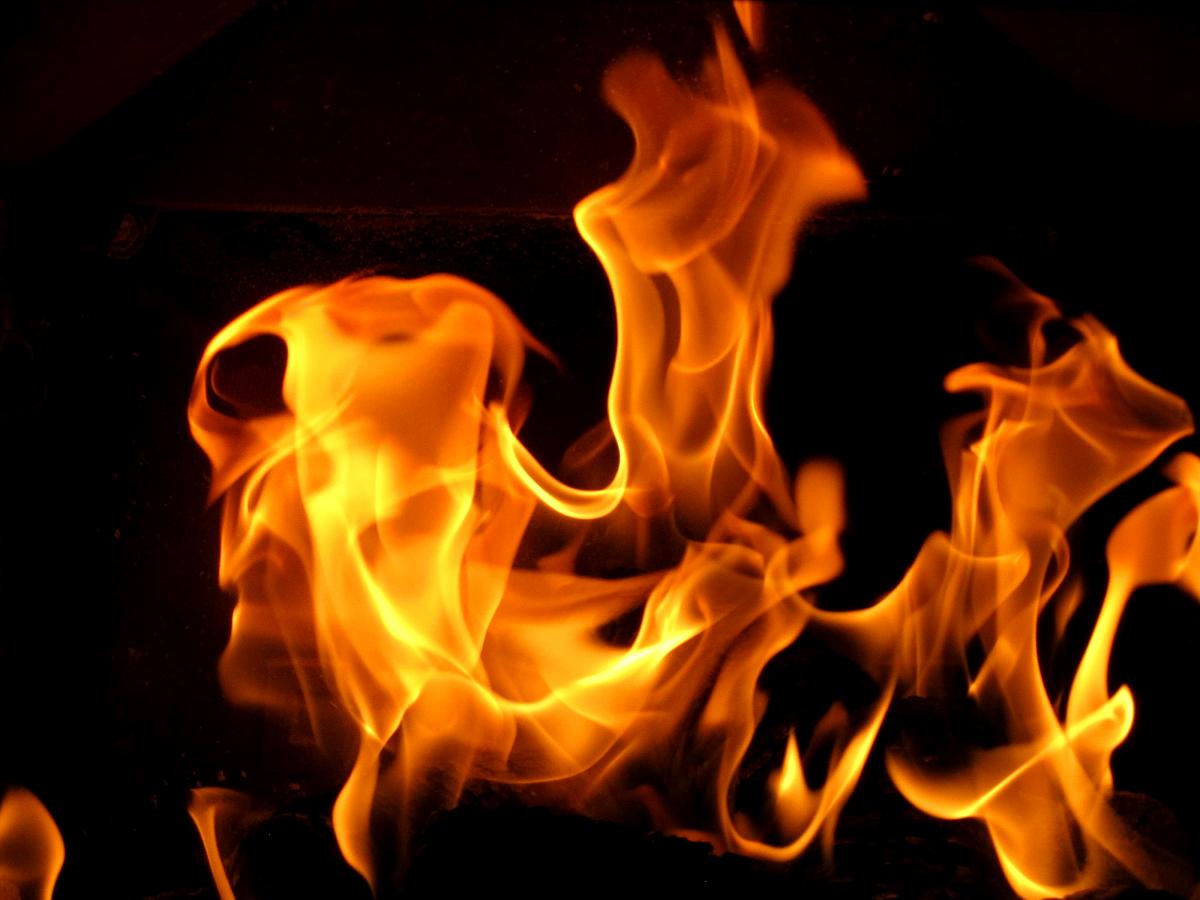
For the purposes of this lesson, and in general, the fire element should appear against a solid black background. If you capture it yourself, shoot the footage outside in the dark, or on a large unlit stage that is vented for pyrotechnics. Basically, the fire will create a glow, but you don’t want it to illuminate any surfaces that you then have to remove.
This is one reason to use flammable liquid fuel to create fire as a pyrotechnic element; there is no visible source and plenty of control over the direction and intensity. You can create very intense fire with propane gas, but keep in mind that the speed, direction, and size of the fire is easily recognizable and hard to manipulate. Our species has looked at fire for as long as we’ve been a species. We pick up on cues we may not have even realized we recognize.
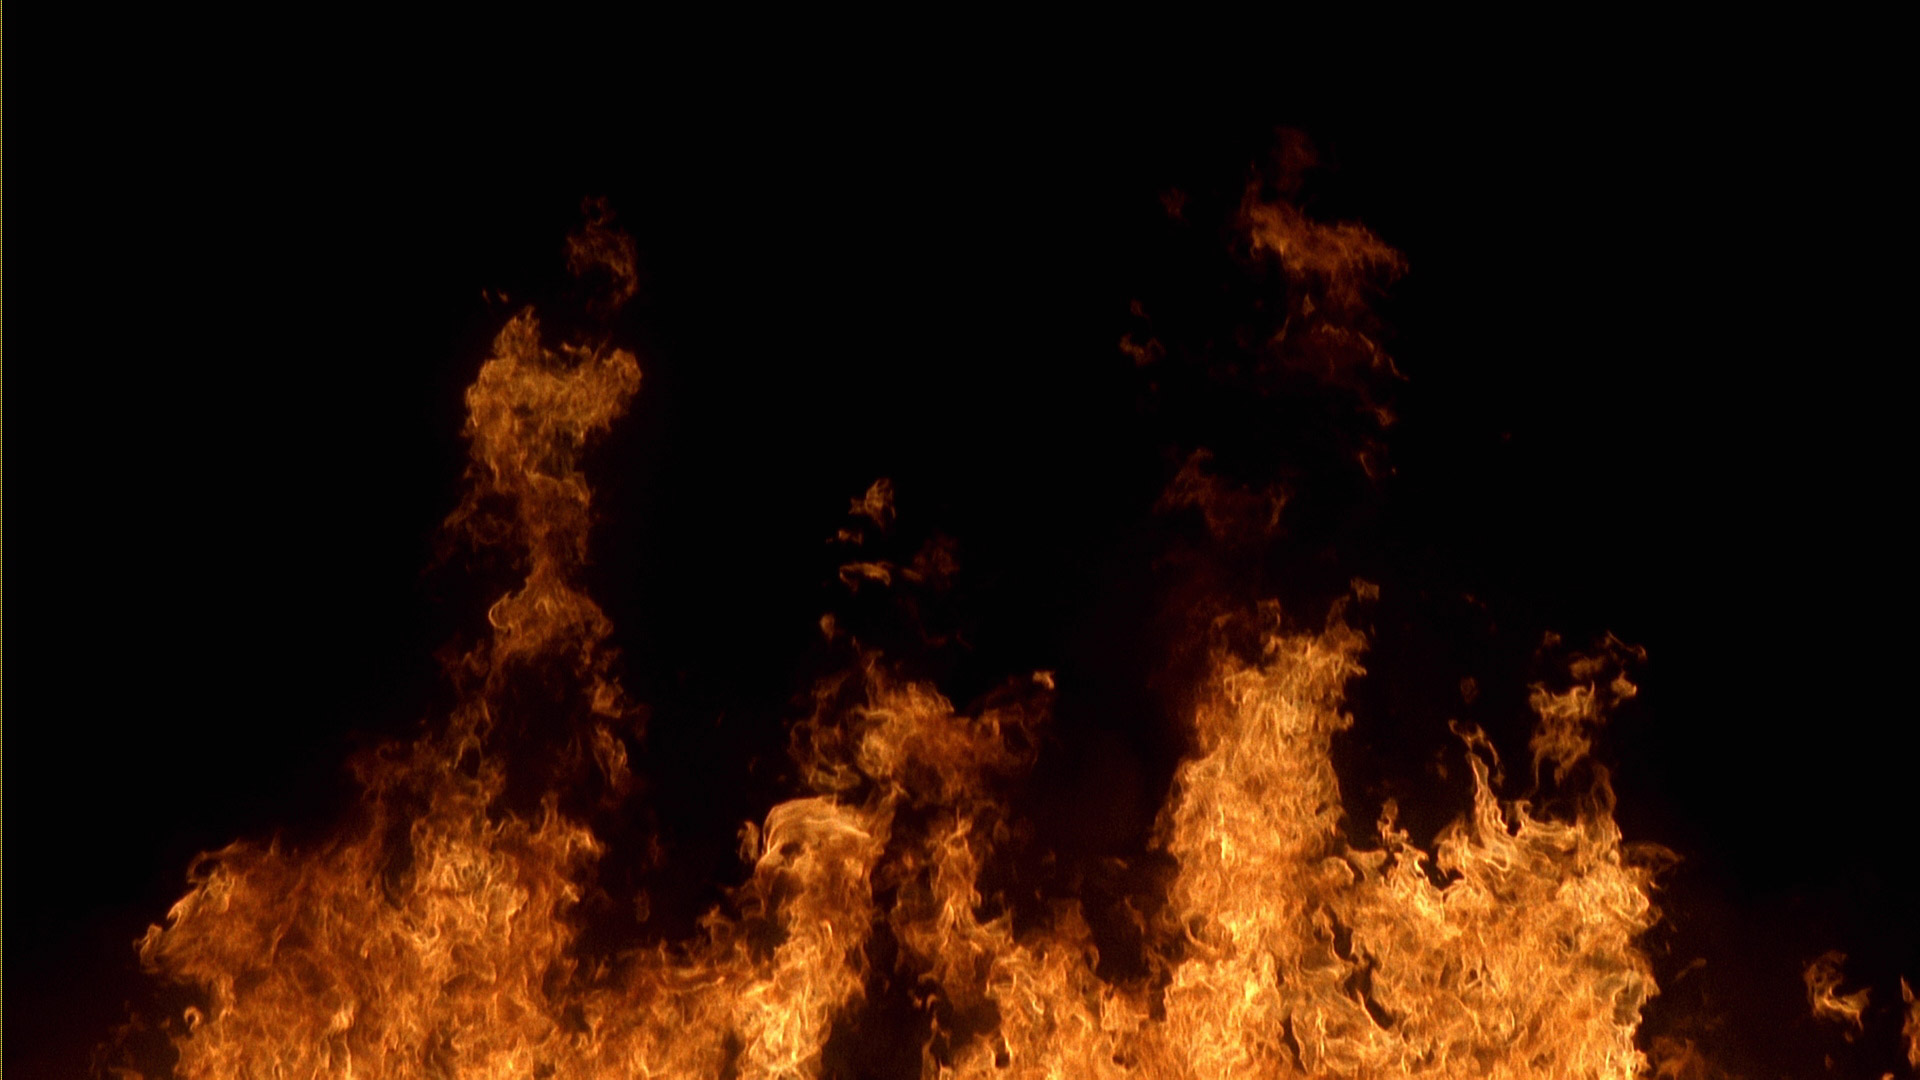
Decline offers of “pre-keyed” fire footage. If there is one takeaway from this tutorial, it’s “don’t key or matte fire.” Even if going the computer-generated route, create the element against black without an alpha channel.
The reason for this is that fire (along with other pyrotechnics from lightning to lightsabers, blasts to blaster shots) is pure light energy. It may appear translucent or completely opaque at its center, but there will be areas where its edges become translucent, and they don’t exactly form a well-defined edge. Keying such a shot diminishes it.
In this lesson from my After Effects Compositing series featured at Lynda.com, I show how and why to use a blending mode. I also give you the basics to adjust the fire element to fit within the scene.
Why does Add mode need so much adjustment?
In fact it shouldn’t, but there’s a specific way that Add is broken when you use it in After Effects or Photoshop at the default settings.
“Add” literally means to add two pixel values together, foreground and background. It’s how nature operates; if you add twice as much light to a scene, it will be twice as bright.
Alas, this is not how things work on your computer. Without getting too deep into this topic, the images that you see and adjust in 8 (or even 16) bit on your 8 bit monitor have a gamma adjustment applied to them. Without this, the mid-range between pure black (0.0) and pure white (1.0) would appear too dark. That messes with Add, and so in the lesson I have to pull back on the two dominant color channels to make it work.

An alternative
There’s a different way to go. I don’t mention it in the lesson for the sake of simplicity, but it’s a fairly simple solution:
- In After Effects, go to File > Project Settings
- Under Color Settings, check the box next to “Blend Colors Using 1.0 Gamma”
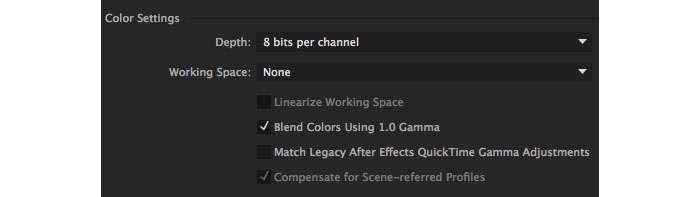
Voila, Add now works as it does in the natural world, no need to pull back. This setting applies only to blending operations, where foreground and background pixel values combine. That means blending modes in which gamma matters (like Add and Multiply). It can also mean translucent areas of the foreground, defined by the alpha channel.
There are a couple of reasons not to enable this setting by default. One is that it changes the way images look with these familiar operations applied to them. If they’ve already been adjusted to compensate, it would seem like a bug.
The other is that it’s an incomplete solution. In the world of VFX compositing it’s standard to work with linear 32 bit floating point images with a 1.0 gamma. Images in the EXR or HDR format will generally not contain the “baked in” 2.2 gamma. The whole image pipeline that accommodates them operates in 1.0, like the natural world.
For better or worse, this has not become the norm very far outside of that world. I would guess that more than 99% of the digital images in the world exist as 8 bits per channel with a raised gamma. Luckily, After Effects lets the choice be yours. Once you’re used to it, there is little downside to enabling “Blend Colors Using 1.0 Gamma” unless you’re counting on elements that were already composited in Photoshop. The main downside is that it’s all-or-nothing; your entire project is altered by this setting. So I say give it a try the next time you want Add, not Screen mode, and decide for yourself.