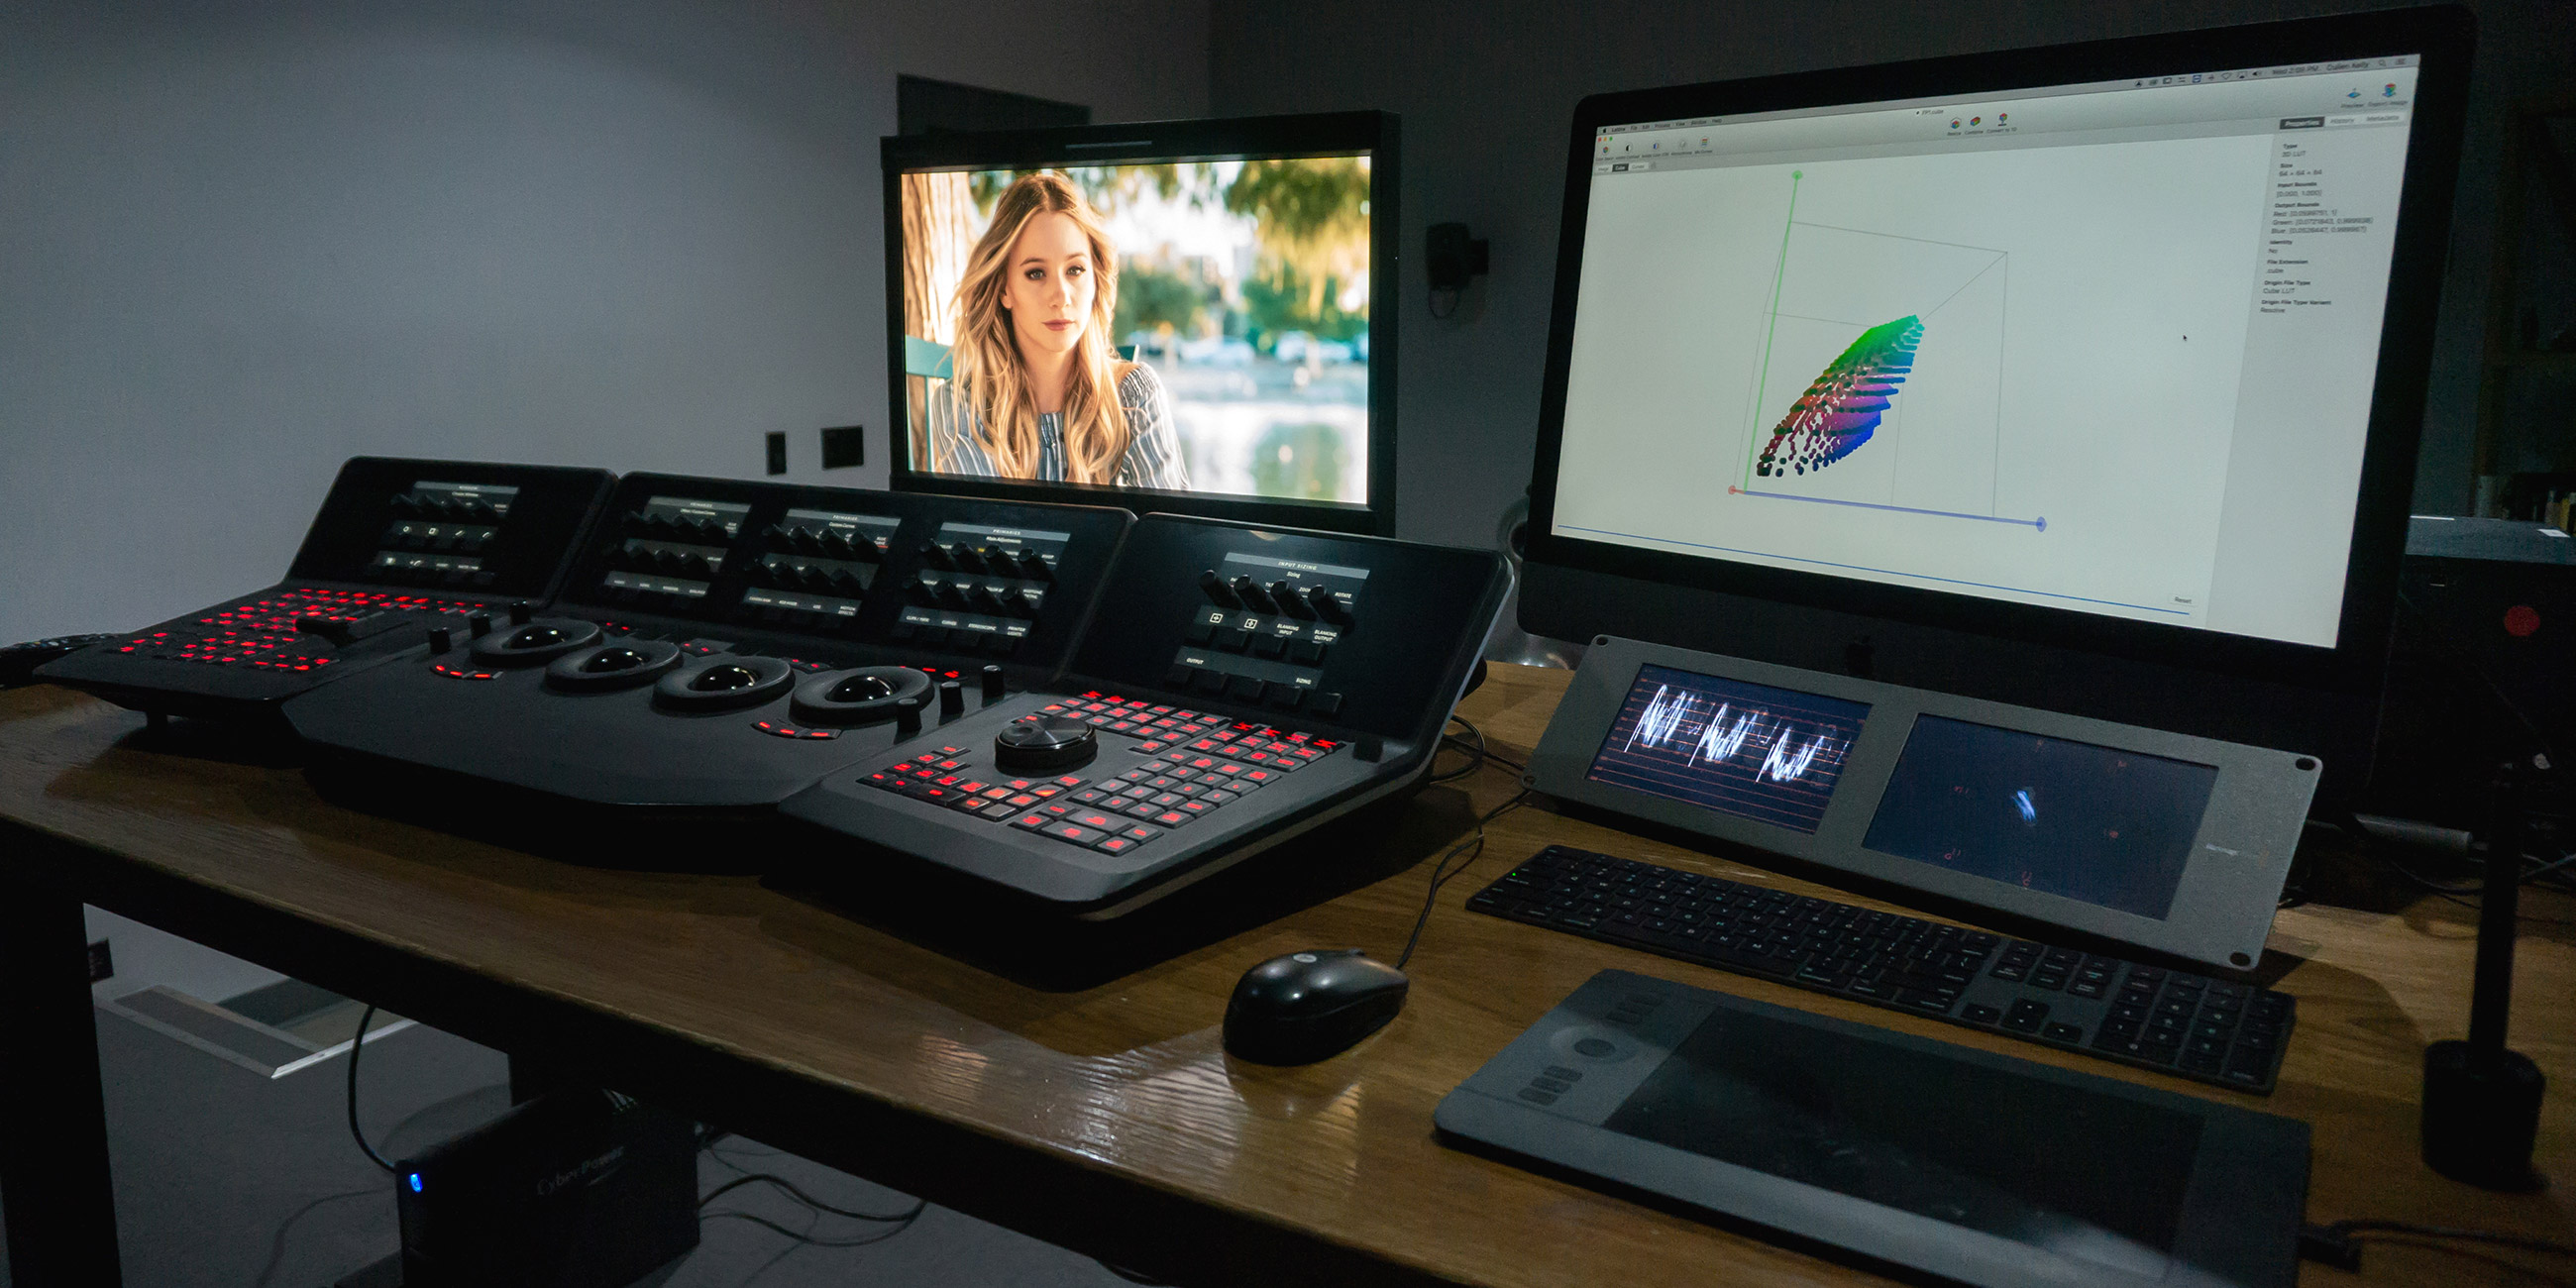
If you’ve spent at least 10 minutes in a post studio within the last few years, odds are you’ve heard the term “LUT” used a time or two. But as is the case with the dozens (or hundreds) of other acronyms that get thrown around in this industry, the meaning of the term is not always clear to everyone.
But even if you know what a LUT is, you might not know exactly how to use them correctly, their benefits, or their limitations.
In this article, we’re laying out everything you need to know about LUTs, from the technical basics of how to use them correctly, to our top tips that will boost the creativity and speed of your workflow.
Contents
What is a LUT?
A LUT, or lookup table, is a list of numerical values used to transform an image’s contrast and/or color. That’s it. A set of values is sampled from the incoming image, and these values are modified according to the numbers stored in the table. This results in a change in contrast, color, or both.


While a LUT’s color transformations can come in many forms and be applied in several ways, all LUTs have the following basic traits in common:
- LUTs are based on the idea of sampling. Rather than storing output values for every possible input value, they take and modify samples at regular intervals, and use a mathematical formula to estimate the values in between. This makes for small file size, lighter processing needs, and can produce an image visually indistinguishable from one transformed by reading and manipulating every single pixel.
- LUTs are automatic. A LUT doesn’t need human input, and can be placed in the pipeline of 1,000 shots as quickly as it can be placed in one. Applied properly, this produces far more efficient and consistent results than a human operator trying to replicate the same process.
- LUTs are dumb. In addition to having no need for human input, a LUT has no way of receiving it. We can’t tell it what kind of image to expect, or specify anything about what we’re expecting back from it. We have to go to it; it will not come to us.
Why is there so much confusion and contention surrounding LUTs and their usage?
While the concept of a LUT is very simple, its practical deployment in post-production workflows is more complicated. LUTs are designed for a range of overlapping applications, and finding the right one for your specific needs requires some know-how. In addition, even LUTs claiming to fit your needs may be technically inaccurate, aesthetically displeasing, produce image artifacts, or some combination of all three.
To clear things up, we’re going to break down the key attributes, applications, and limitations of LUTs, look at some real-world usages, and close with a checklist you can use to make better use of LUTs in your workflow.
Attributes of a LUT
Depth
In terms of their basic structure, LUTs have two broad categories: 1D and 3D.
1D LUTs
As the name implies, 1D LUTs manipulate images along a single axis: the grayscale path from zero black to pure white.

This manipulation is usually depicted as a luma vs. luma curve, similar to the curves tool found within the Adobe suite, DaVinci Resolve, and many other apps and programs. A 1D curve takes samples at regular intervals across the tonal range of an image, and modifies these sampled values to produce contrast changes.
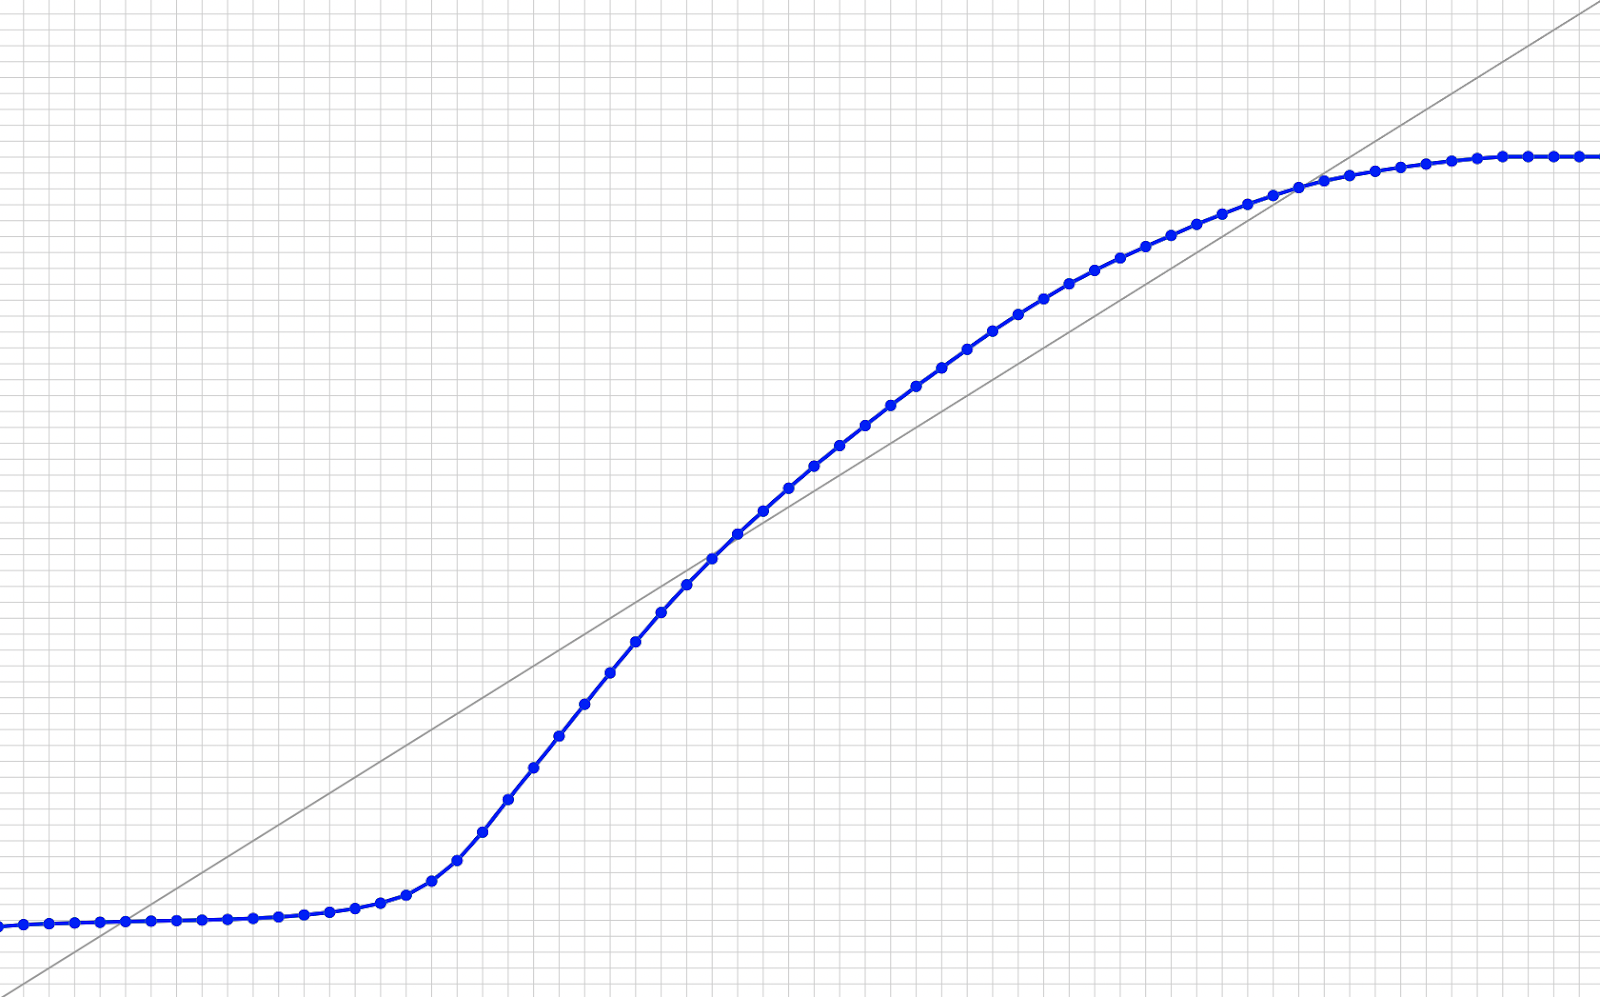
1D LUTs have no ability to directly manipulate color, because they see only in shades of grey. Some 1D LUTs actually contain three separate curves for the red, green, and blue channels of the image, but these curves are unaware of one another and can’t interact to produce individual hue shifts or other secondary corrections.
1D LUTs are most often used to make a creative contrast adjustment or a technical gamma transform such as Cineon to Linear.


3D LUTs
Where 1D LUTs manipulate images along a single axis, 3D LUTs manipulate them along three axes representing the red, green, and blue channels of the image. They see in full color, and can make complex adjustments to an image’s hue and saturation both globally and selectively. 3D LUTs are best visualized in the form of a cube, with its dimensions representing red, green, and blue respectively.
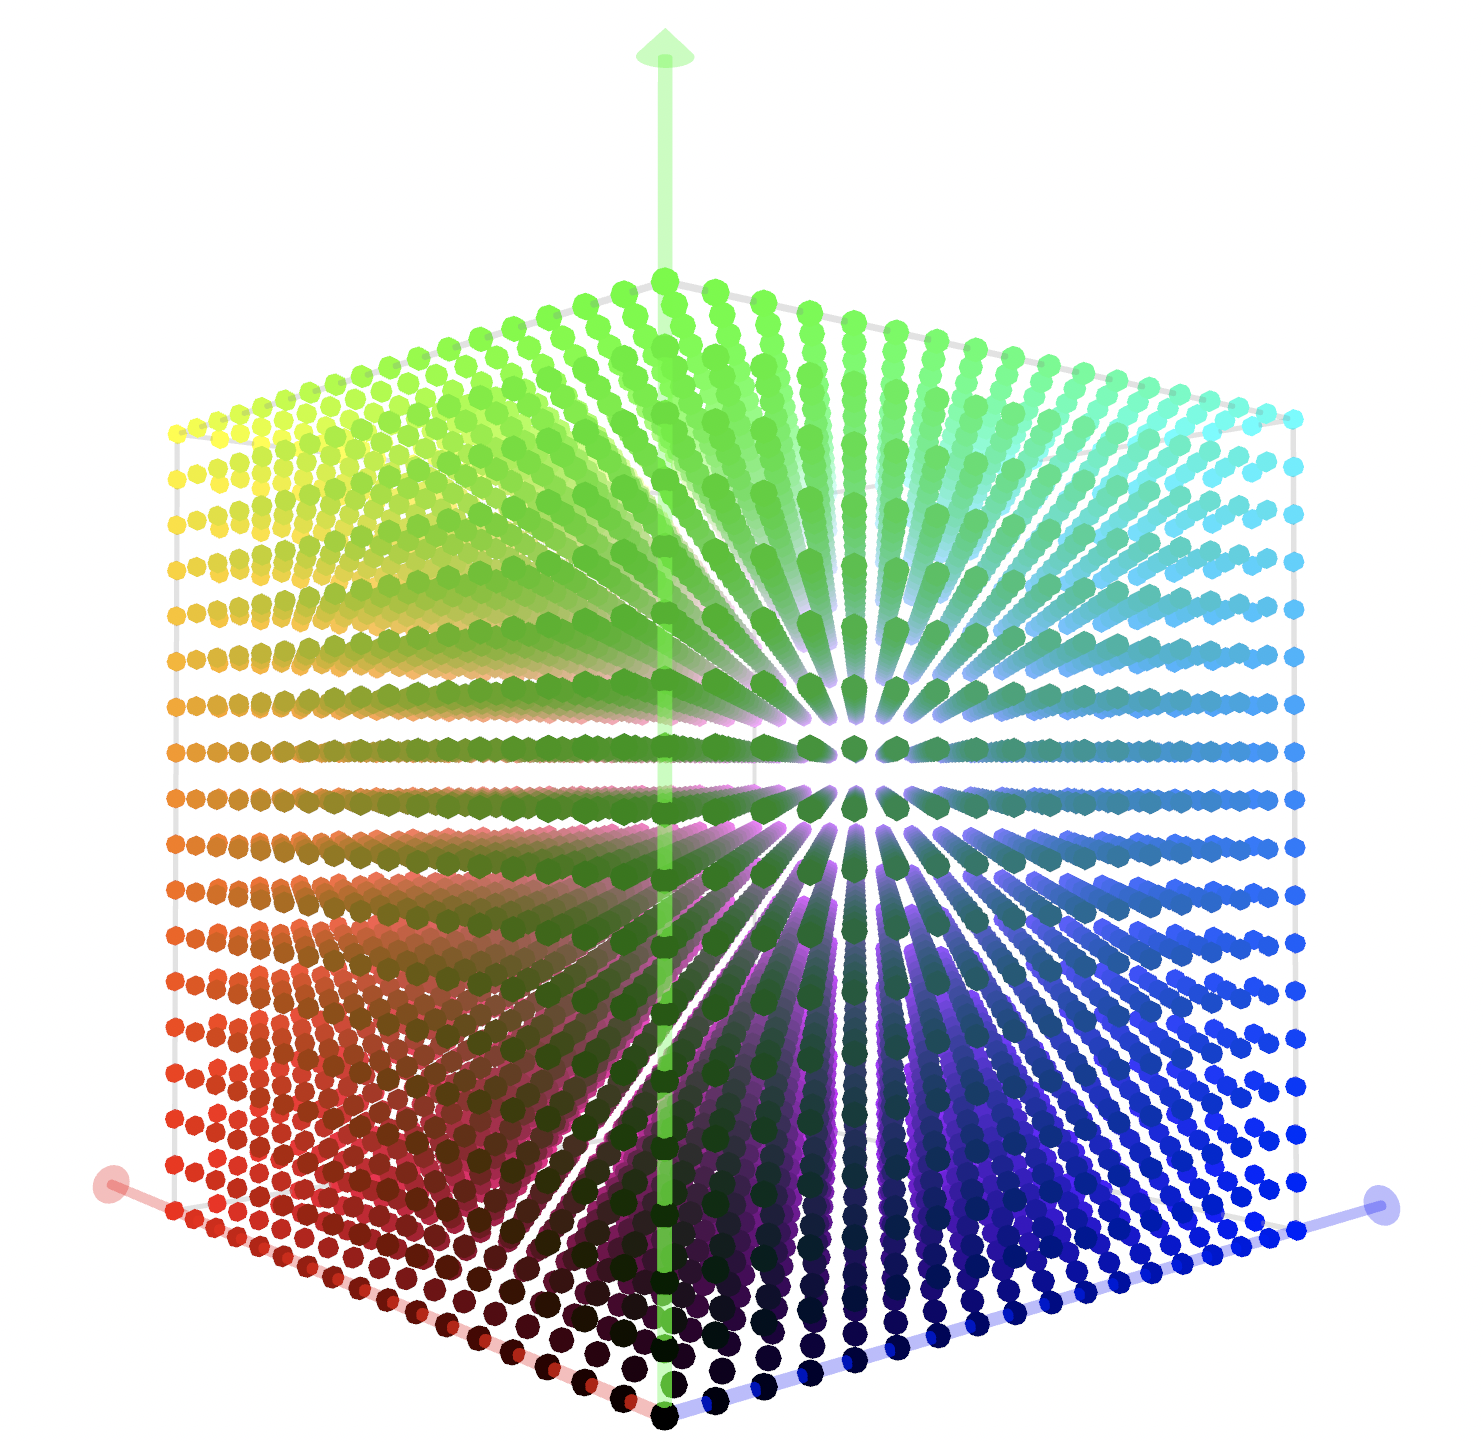
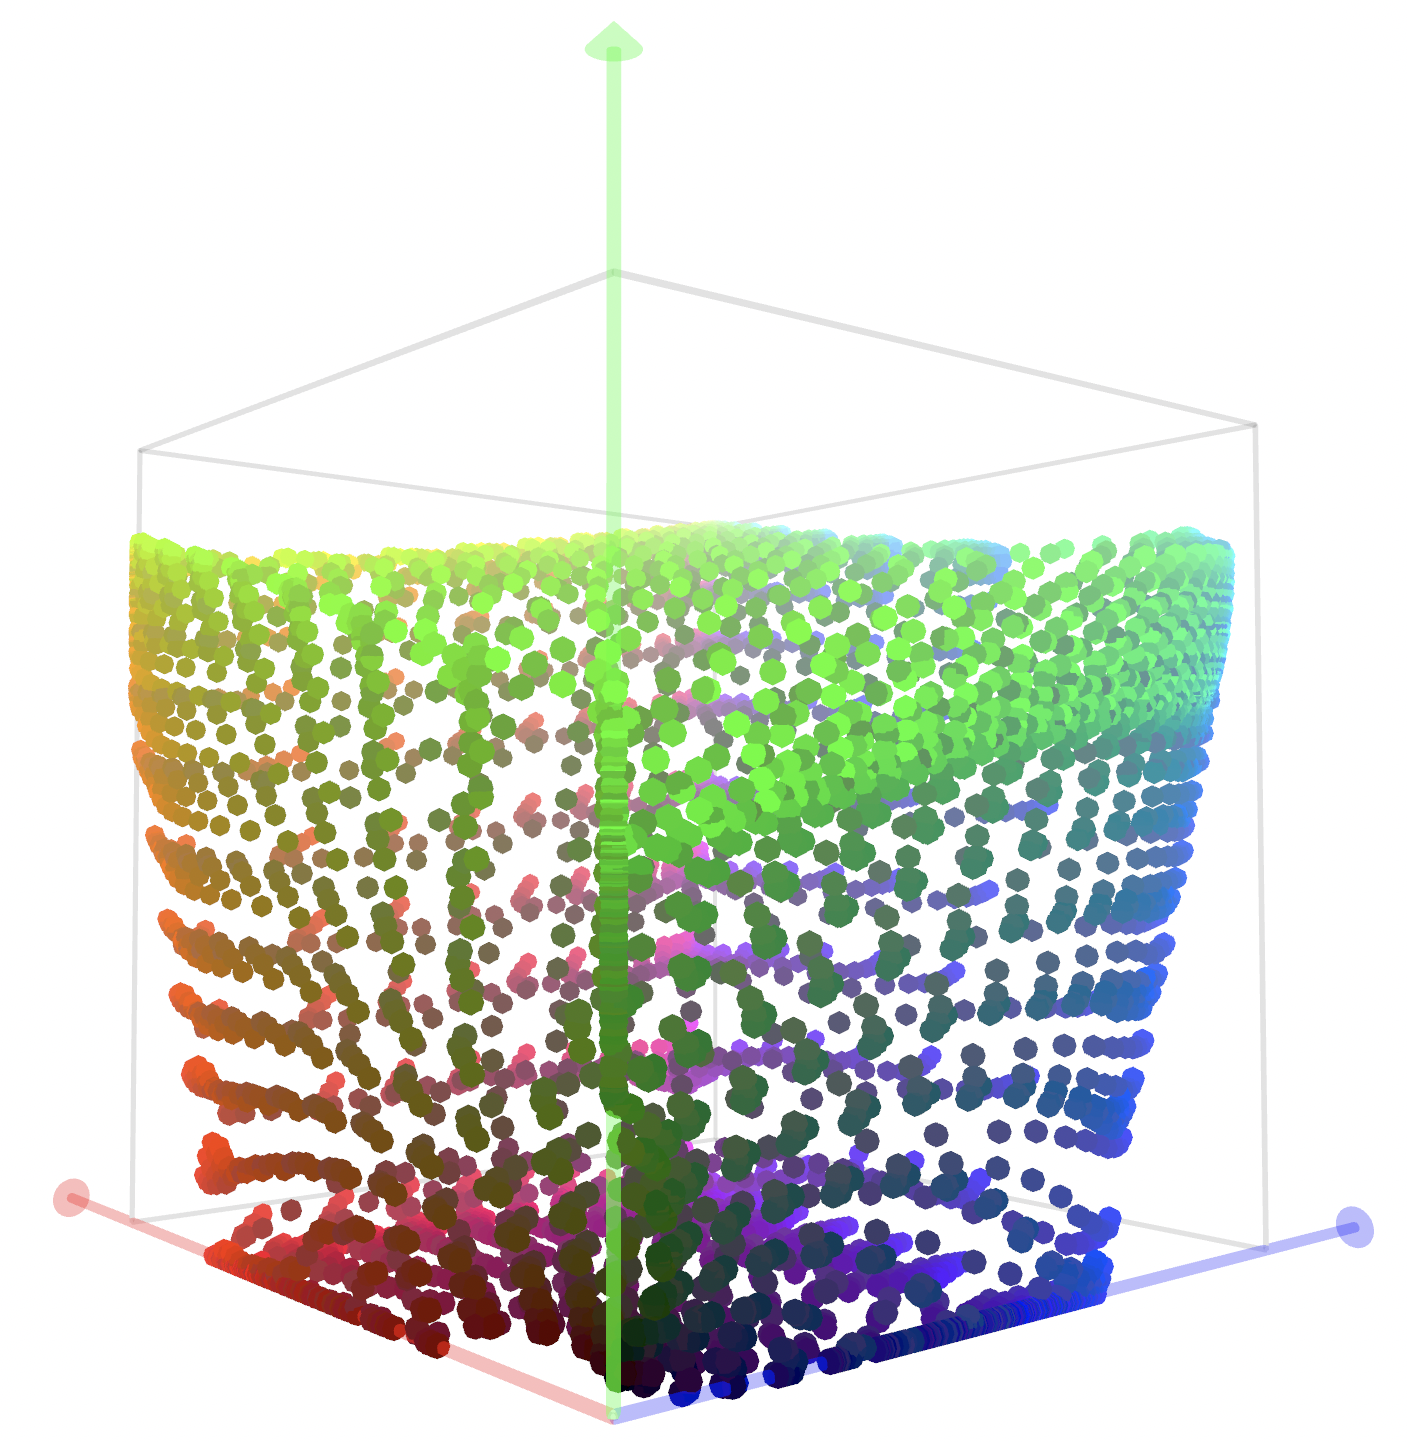
3D LUTs take samples of the input image at regular intervals plotted throughout the cube. (The number of samples taken is dictated by the size of the LUT — more on this below). These sampled values are then modified according to the LUT’s internal values. Values falling between sample points are interpolated, meaning the software applying the LUT estimates these “in-between” points based on a mathematical formula. Done correctly, this yields a result visually indistinguishable from one in which every single pixel is sampled and manipulated, which would require far more processing power and file size.
Size
As we’ve discussed, LUTs transform images by sampling and modifying pixel values at regular intervals, and use math to estimate the values in between these intervals. So the size of a LUT simply refers to the number of samples it reads and modifies. A 1D LUT typically has a size ranging between 1,024 and and 65,536, depending on its application. 3D LUTs generally fall between 17 and 33 sample points per axis, yielding a total of between 4,913 (173) and 35,937 (333) samples.
Generally speaking, more samples means a more detailed and accurate transformation, but there’s a tipping point past which increasing file size and processing demands without seeing any visual improvement. LUTs can also be “up-sampled” to a larger size, say from a 17-point to a 33-point cube, but just like converting an SD image to HD, you’re not actually increasing quality.
Input gamma/gamut
LUTs have no way of knowing the gamma or gamut of an input image, nor even the ability to make an educated guess. They’re built by their authors to expect images of a specific gamma/gamut pair, for example Arri LogC/Arri Wide Color Gamut.
This presents one of the main points of confusion when it comes to deploying LUTs. End users have to not only understand that a LUT has specific input needs, but also how to determine what those needs are. Frustratingly, this is not always easy. If the author doesn’t either tell the user personally, or notate this information somewhere inside the LUT, we’re left with guesswork and subjective compensations in the grade.
This can lead to glaring problems, as well as subtly devious ones, such as small artifacts that go unnoticed until it’s too late, or clipped highlights or shadows.


Output gamma/gamut
Just as LUTs have no way of accommodating more than one input color space, their output gamma and gamut are set in stone. For example, a LUT that takes a LogC input and yields a Rec 709 output cannot be adjusted to instead output P3 for a theatrical projector. This is another point of confusion for many LUT users.
Even if you’re feeding a LUT the correct input gamma and gamut, it may not suit your needs if its target output isn’t compatible with your workflow. As with the input side, not knowing a LUT’s target output is just as bad as definitively knowing it’s wrong. To stress the point:
If the deployment of a particular LUT is forcing you to make guesses or compensations, you need to take a moment to evaluate whether this LUT (or any other) is the right tool for the task.
Applications of LUTs
In terms of the way they’re used, there are three main categories of LUT: technical, creative, and hybrid. Understanding these differing applications isn’t academic; it’s critical to successfully deploying LUTs in your workflow.
Technical LUTs
A technical LUT accurately reproduces one or more mathematical translations between established image standards, with no subjective manipulations added. A few examples:
- A LUT which converts an image’s gamma curve from LogC to linear.
- A LUT which converts an image’s gamut from Rec 709 to P3.
- A LUT which converts the white point of an image from 6500K to 6000K.
Technical LUTs can also come in the form of calibration LUTs, which are built to bring a specific display’s color characteristics in line with a targeted standard.
Technical LUTs are about accuracy, not aesthetics. They can be deployed creatively, but this means you’re applying the tool to a purpose it wasn’t built or tested for.
Creative LUTs
Creative LUTs are aimed at providing one or more aesthetic adjustments to your footage, without particular concern for technical accuracy. Some examples:
- A LUT recreating a “bleach bypass” lab process
- A LUT which makes one or more hue rotations to produce a harmonized color palette
- A LUT which “sweetens” skin tone by compressing nearby hues
It’s important to note that while a creative LUT’s internal manipulations may be subjective, there are still definitive right and wrong ways to deploy it, most notably with respect to input and output gamma/gamut. Like all LUTs, you have to feed it what it wants, and know what to expect back.
Hybrid LUTs
Hybrid LUTs encompass manipulations that are both creative and technical. Manufacturer-provided camera LUTs such as Arri’s LogC to Rec709 are a prime example, as they make not only a technical transformation, but a number of other subjective manipulations as well, including highlight roll-off and saturation mapping. As a matter of fact, these subjective aspects of Arri’s LUT in particular have played a huge part in the success of the Alexa camera system. Why? Because unlike many other manufacturers’ LUTs, it consistently produces aesthetically pleasing, subtly film-like images which have become strongly associated with the camera itself, despite being entirely separate.
Unlike a technical LUT, a camera LUT represents a particular solution for transforming your image for viewing, but not the only solution. By contrast, a technical LUT, for example, one which converts image gamma from LogC to linear, can only take one form.
As you can see, these applications may overlap, but they are not interchangeable. Deploying a LUT at odds with its intended application almost always has unintended consequences.
Practical examples
Let’s look at a few practical examples of LUT deployment in the wild.
Transform for editorial proxies
Productions acquiring in camera log space can “bake” a LUT into their editorial proxies. It wouldn’t be feasible or cost-effective to have a colorist grade the entirety of a production’s raw footage, but the material needs to be made suitable for display and viewing during the editorial process. The right LUT can perform this task automatically, and needs only to be dropped into the processing pipeline prior to render. Some productions employ purely technical LUTs for this purpose, while others use hybrid LUTs that imbue a look in addition to properly transforming the gamma and gamut of the footage.
Look LUT in DI
As a colorist, I almost always have a hand-built look LUT at the very end of my processing chain which serves as my “digital print stock”, giving the work a uniform contrast and color palette. This means I spend less time re-applying the same manipulations on each shot, and more time addressing the shot’s unique needs. This can be a purely creative LUT, or a hybrid LUT containing both a look and a technical transform.
LUT gone wrong
Users of Canon, Sony, and other log-format cameras have noticed they can often get better-looking results using the Arri LogC to Rec709 LUT than their manufacturer-provided LUT. This is a good example of insufficient knowledge leading to an unwitting compromise. There’s no reason you can’t use Arri’s LUT for its subjective qualities, regardless of your footage, but it requires one more step: an upstream conversion from your camera’s gamma and gamut to the gamma and gamut the LUT is expecting. This conversion can be achieved with an additional technical LUT. Without it, you risk introducing artifacts, unnatural hues, and clipped shadows and/or highlights.
Limitations of LUTs
Deploying LUTs successfully means understanding not only how to use the tool, but knowing whether you should. Now that we’ve covered some of the practical functions LUTs can serve in our workflows, let’s do a quick recap of what they can’t do.
- As we’ve discussed, LUTs are picky eaters. If you don’t feed them what they want, or don’t know what they want, you’re almost certain to get erratic results.
- LUTs are destructive, in two ways; First, their sample-based functionality means they can’t be perfectly reversed, because they weren’t perfectly applied. Key sample points were analyzed and modified, and the blanks were filled in by mathematical estimation; Second, any values falling outside the range of the table are clipped, which can lead to loss of shadow or highlight detail.
- Every LUT is a “black box.” Even if you know its input gamma/gamut, output gamma/gamut, and intended application, it’s not always simple to tell a good LUT from a poorly-made one. They all look about the same until they’re deployed, and even then you may not immediately see problems. The only really reliable method for building trust and familiarity with a LUT is to stress test: take the time to run lots of different images through it and see how it holds up.
Wrapping up
Congratulations, if you’ve read this far, you’re now an expert on LUTs. Not really, but I hope I’ve been able to fill in a few blanks or dislodge some faulty concepts. We’ve made a good lap around the topic, and after reading this article you should have more to love and less to fear about LUTs. They are a unique tool with a valuable role to play in almost any post workflow.
Let’s wrap things up with a checklist for successfully deploying LUTs in your workflow:
- Is this task better suited to a LUT (repeatable, automated) or a human (adaptable, interactive, subjective)?
- Is this the right LUT for the task?
- Do I understand what to feed this LUT and what to expect back from it?
- Am I using this LUT for its intended application?
- Have I stress tested it?
So take what you’ve learned, and start using LUTs in your projects. Your workflow (and team) will thank you.

