This is part 4 of our 5-part series on editing with mixed frame rates in DaVinci Resolve.
Now that we’ve discussed the various workflow options for working with frame rates before editing in Resolve, let’s move on to creating proxies.
If you’re creating proxy files to edit in another NLE, there are several important considerations regarding frame rates. As with editing, there are two schools of thought for making proxies from Resolve when it comes to frame rates. You can either match the frame rates with clip attributes or you can keep frame rates native.
In the first option, you’re just changing the native frame rates to match the project settings, but in the second, you don’t change the native frame rate, even when you transcode the files to another codec or resolution. Neither choice is “wrong,” but do know that the standard choice for commercial workflows is to match frame rates to the original camera files in order to preserve timecode (option 2).
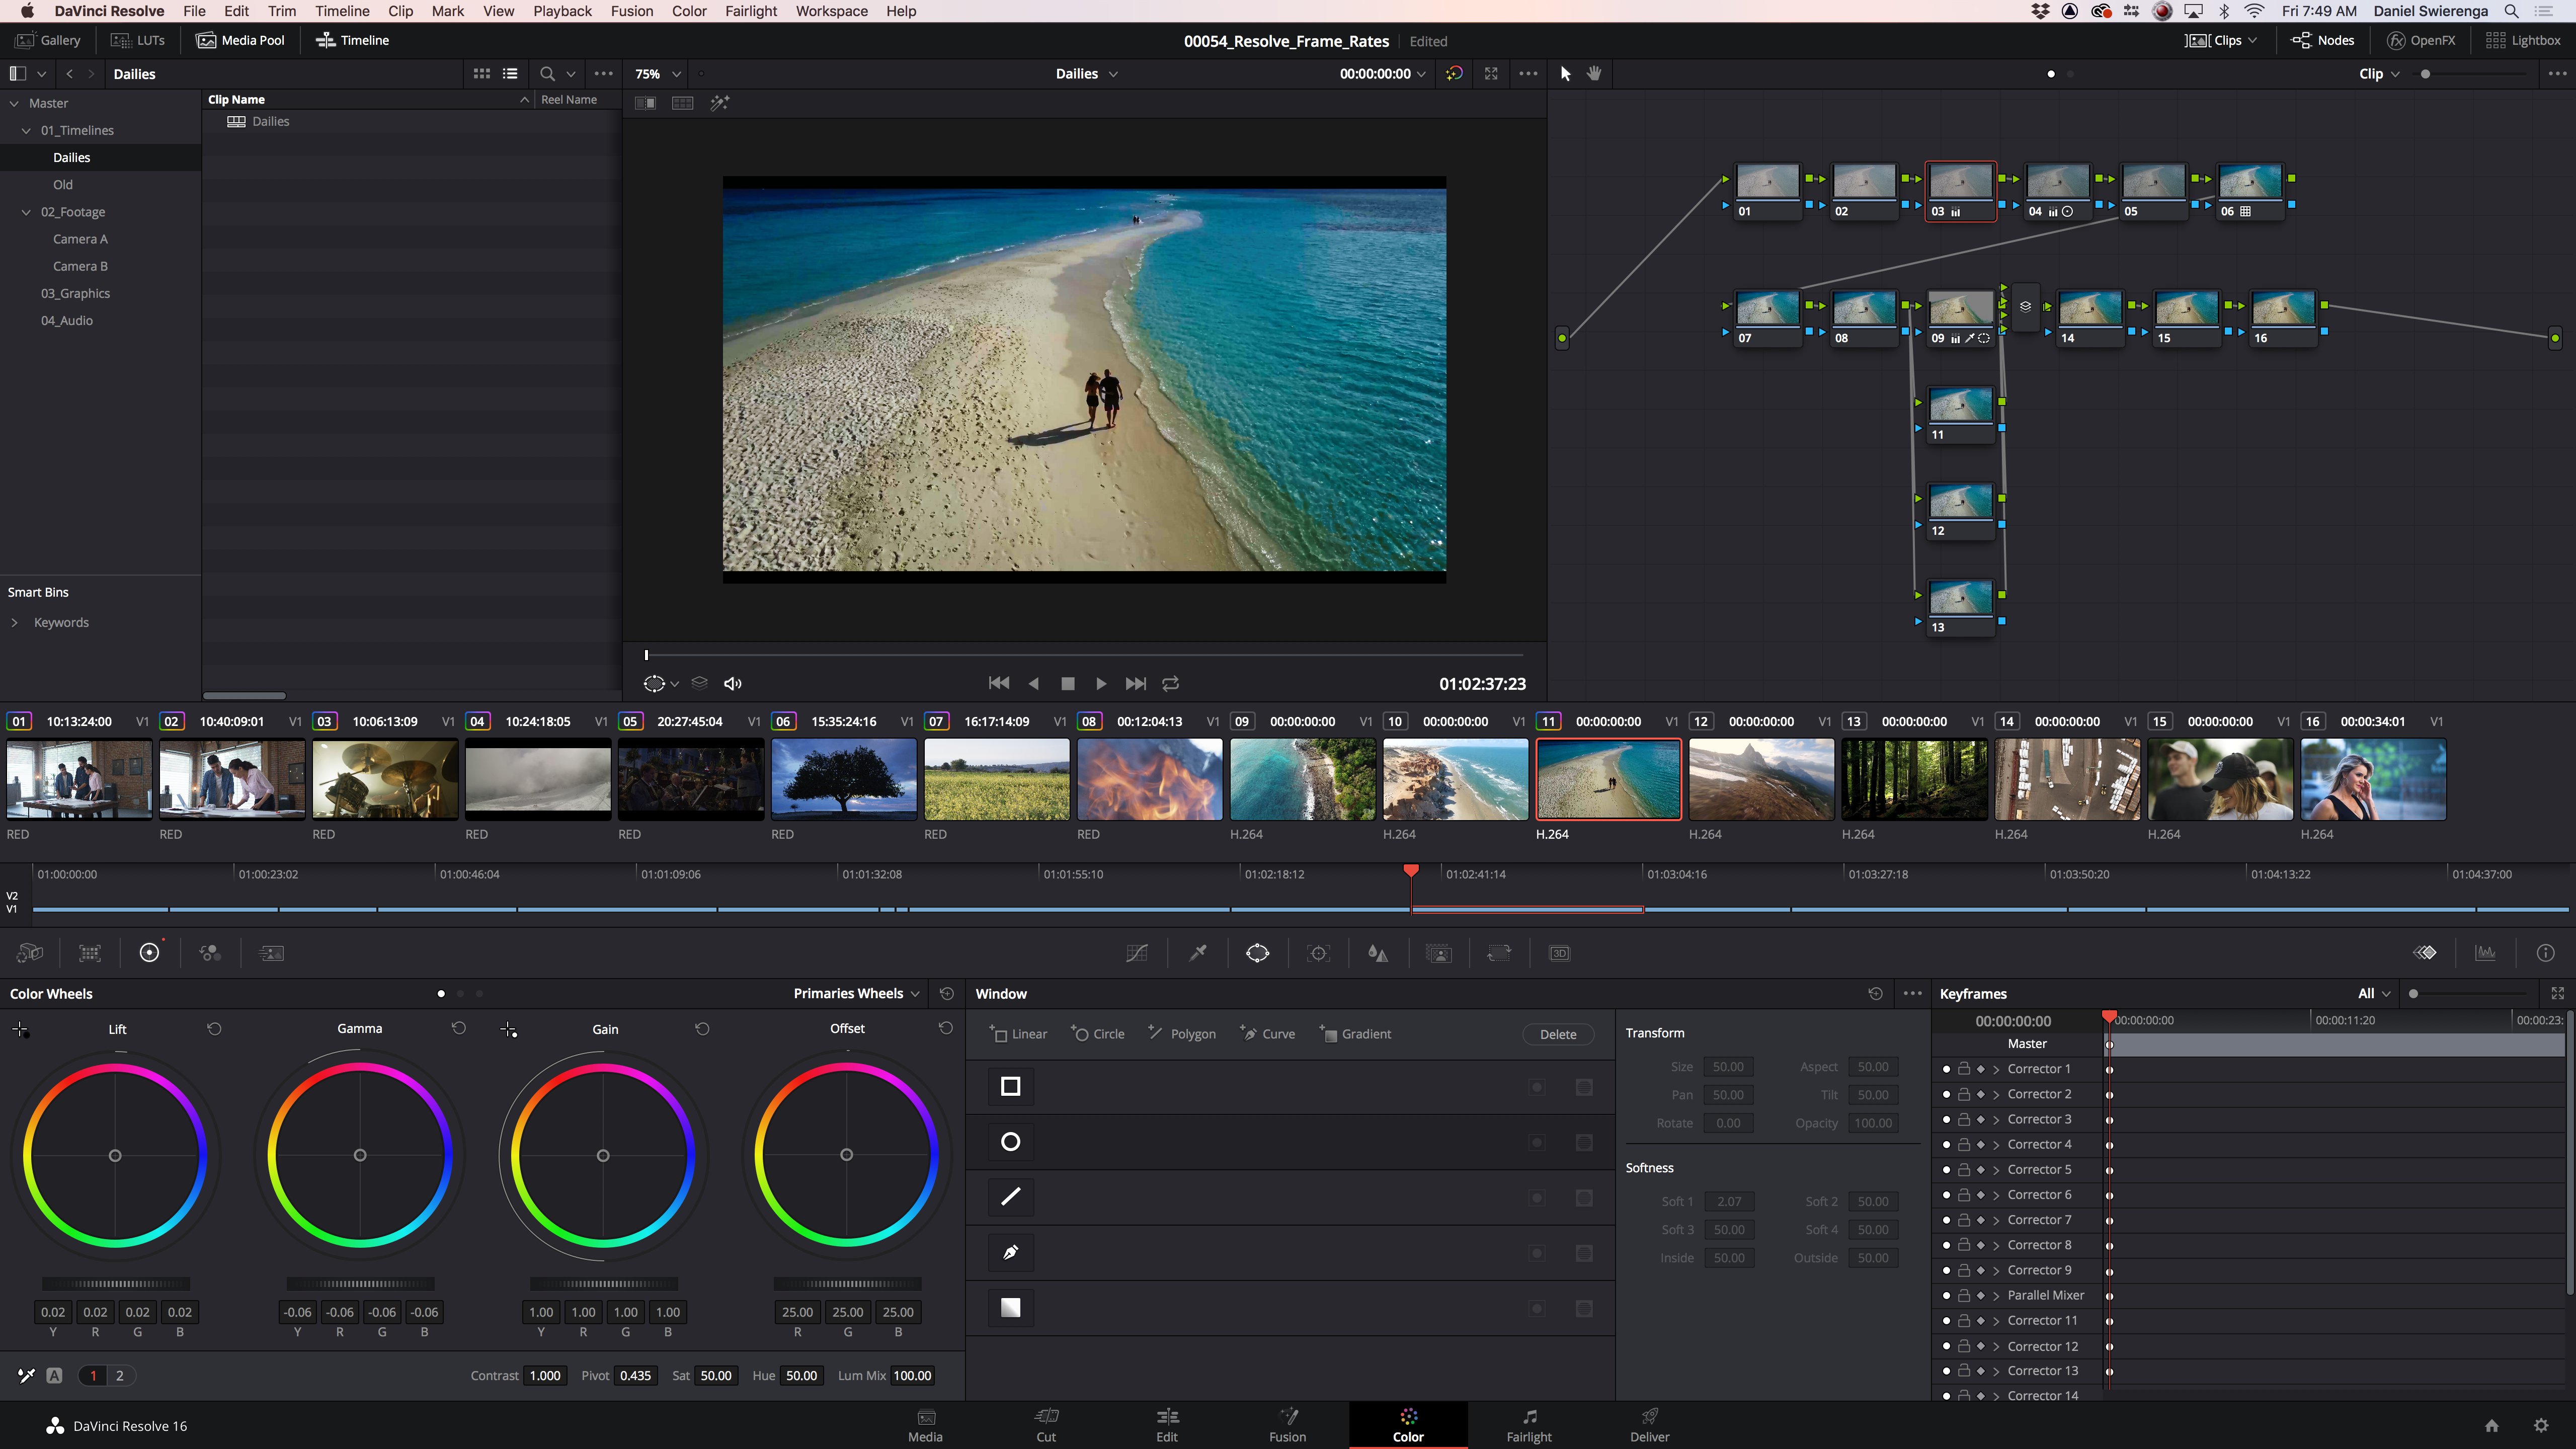
Let’s quickly look at these options, their uses, and their limitations.
In the first option, since you’re changing the native frame rate, you will break the timecode link between the proxies and original camera files. For most high quality camera files this can be a dealbreaker, but there are some options for relieving this issue. You can create mezzanine (high-quality intermediate files) versions of your footage, which maintain the quality of the original camera files, but also have new timecode based on the changed frame rate settings.
This route can be tricky, though, as it requires that you understand how to maintain the quality of your original files across different workflow processes. You will also have to create matching sets of proxies for the mezzanine files, so that render times don’t add up to ridiculous levels.
With the second option, the timecode and frame rates would match throughout, so only one render batch is needed to create the proxies. The original camera files would be used to conform.
Here are the reasons why changing native frame rates before transcoding can be a good idea for proxies:
- You are conforming, coloring, and finishing with the same Resolve project that you are using to make the transcodes.
- Your source media can be transcoded into:
- A high-resolution mezzanine format that maintains all the quality and/or flexibility of the original files. For lower quality cameras or capture codecs like the GH5, Sony A7S, H.264, drones, etc., creating a high-resolution mezzanine format makes a lot of sense.
- Transcodes that match the new frame rate and timecode of these mezzanine files for easy conforming.
- There aren’t a lot of extensive breakdowns or script notes based on the original timecode.
And here are the reasons why keeping native frame rates before transcoding may be the better route for your proxy workflow.
- You are coloring, finishing, doing graphics work, CG with an external vendor. Maintaining timecode between your transcodes and the original source media is necessary in this scenario.
- You want to avoid creating a mezzanine format, because you’ll lose something you want from your source camera files like color space, RAW data, resolution, disk space or transcode time.
- There are extensive notes and breakdowns based on the original timecode of the clips.
Each project has different needs. In most traditional commercial post-production workflows, native frame rates are maintained throughout. But more and more companies are seeing the benefits of creating mezzanine formats like DPX, OpenEXR or ProRes444/DNxHR. A mezzanine workflow can be really helpful on longer-form pieces with lots of mixed frame rate source files, but can be an unnecessary burden for some smaller/quicker projects.
Changing Native Frame Rates Before Creating Proxies
If this is the path you want to take, you’ll first need to go back to the “Changing Clip Attributes” section in part 2 to quickly recap what we’re talking about here.
After you’ve changed the clip attributes to match, take each camera bin and add the media to a timeline. You can call it something like CameraName_Transcodes_Date.
Whenever you make transcodes, you’ll need to decide on color space, resolution, file names, and reel names in the delivery page as well. A good options for most workflows is to stick with Rec. 709 transcodes in a codec like ProResLT or DNxHD36 at 1080p, with matching file names and embedded reel names.
We’ll discuss options for rendering different frame rates in the individual clip rendering section later on.
Keeping Native Frame Rates
If you go down the other path (keeping native frame rates as they are), the process is even more straightforward. Follow the same steps as we did above, but add each camera bin to its own timeline. Then use the same settings to render out your proxies.
The nice thing about rendering individual clips is that by default Resolve uses the native frame rate of the source clips. You don’t need to adjust any settings per clip, so there’s very little chance the proxy file won’t turn out right.
Conforming in Resolve
Since we’re just talking about frame rates here, I won’t go too deep into all the details of the conform process, but let’s acknowledge upfront that conforming in Resolve can be complicated. That said, allow me to briefly touch on some best practices for XMLs and various edit timelines.
If you have a timeline coming from Premiere Pro, Avid, or Final Cut Pro X, mixed frame rates can really slow down your process. But, if that’s what you have to deal with, here’s what you need to do.
First, you need to check the mixed frame rate format in the General options of the project settings in Resolve. This setting will help improve the accuracy of the re-timing from various NLEs. If you are being sent an XML/EDL/AAF from Avid, Premiere Pro, Flame, or any other non-Apple software, you can just leave these settings to Resolve.
But for Final Cut Pro, there are a few options you will want to change. But before you can change them, note that you can only do so with an empty project, so make sure you make the changes before importing media.
It’s helpful to open the reference QuickTime that your editor or post house sent over before importing a timeline via an XML or AAF. This will give you the frame rate of their timeline. When you create your Resolve project, you’ll need to match this frame rate for the XML or AAF to import into Resolve.
The second thing to do is to import all the source media that you’re conforming. Those files will give you an idea of what kinds of frame rates and source footage you’re working with. And if you’re really lucky, you’ll have access to the files that your editor was using, and can load them up into a bin to check for any potential discrepancies.
Next, import the EDL/AAF/XML into Resolve. Note, if your EDL/AAF/XML doesn’t match your project frame rate, Resolve won’t import it. So again, check that you have the same frame rate for your project that the reference QuickTime file has.
Once you import the EDL/AAF/XML, you can point it to your recently imported files. If Resolve doesn’t conform the files properly and you know what you’re doing, you can compare the files you’re conforming against the editor’s files (if you have them). Any difference in timecode or frame rate should be identifiable right away. Otherwise, it’s important to talk to whoever prepared the files if the conform isn’t working correctly.
For example, if your editor changed the frame rate interpretation in Premiere or Avid, it’s important that they communicate that to you before conforming. The timecode in your EDL/AAF/XML won’t match the source file timecode in this case. Sometimes if you’re lucky, changing the frame rate of your source files in clip attributes to match will help Resolve connect clips that have been re-interpreted in Premiere or another NLE. But it’s important to have that information from the editor as soon as files are handed off.
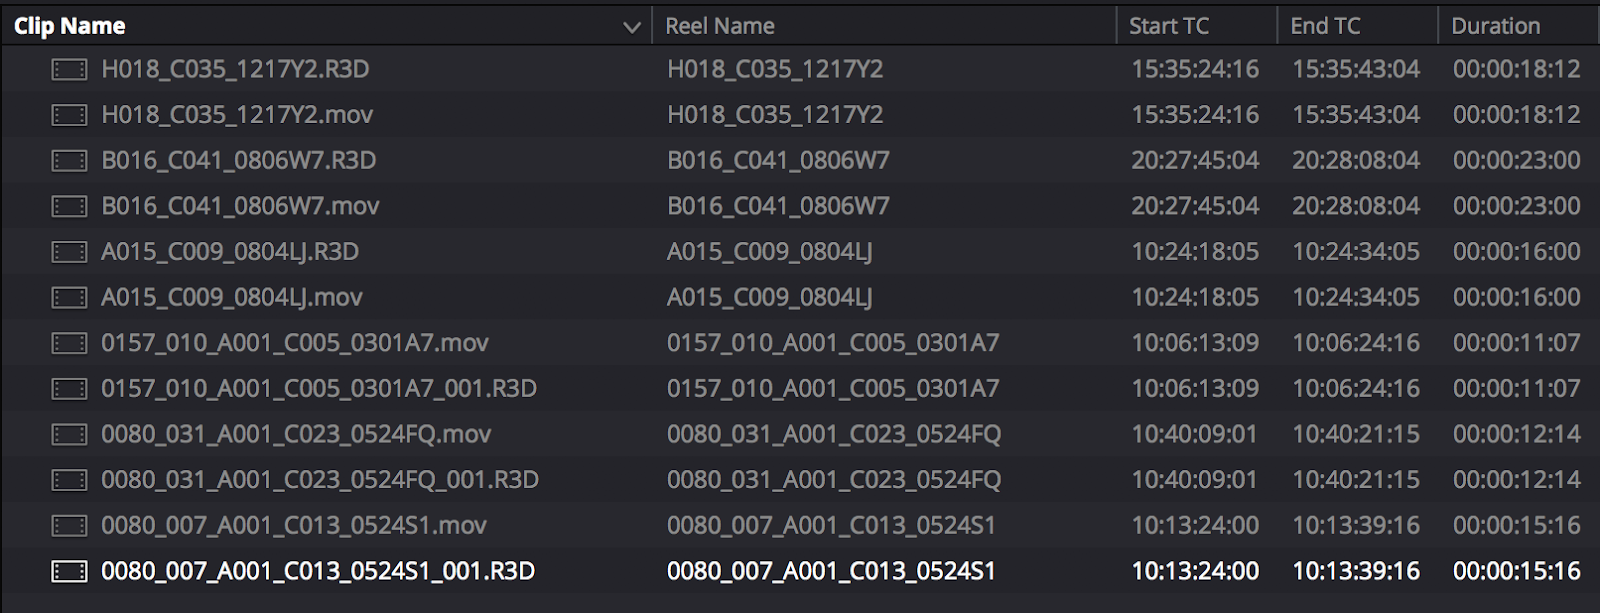
Another example is if you had raw files and a matching set of offline clips (like in the image below) with the same reel names and timecode. If some of the file names are not exact matches, try using reel names instead of file names while conforming, to help Resolve find the right clips to match.
In general, if your editor was editing clips with timecode, Resolve will be able to link to the correct files in the right location, even if the frame rates are mixed. However if your editor was using files or clips that didn’t come from a decent professional camera without proper timecode, Resolve may not be able to connect the files automatically, which will lead to a lot of heartache.
In these situations, it’s a good idea to ask an editor to just export these clips as files that can be used directly in the edit. This will relieve the need to conform, and (a lot of the time) won’t make a huge quality difference, since the cameras creating the files were likely lower end anyway. This can also save tons of time over trying to re-create what an editor did without accurate timecode or re-timing.
Of course, you should always conform to the original camera files when you can, because that’s the highest quality your footage can possibly be.
The big drawback of doing that is that speed effects become baked-in, which means you won’t have control of the effect within Resolve after the conform. Depending on your workflow and project, this may not matter to you. In general, though, an experience editor or post house should deliver files with proper timecode and metadata, so you shouldn’t face this issue when matching the source files.
Image Sequence Frame Rates
When you project includes a lot of CG or VFX, sometimes you have to deal with image sequences.
Unfortunately, image sequences don’t always store their frame rate information in the header of the files, so you might need to change the clip attributes manually when importing OpenEXR, DPX, tiff, png, or jpeg sequences. This is a pain, but it’s not the end of the world. Always be sure to ask your graphic artists what the intended frame rate is anytime you receive image sequences.
In the final edition of this series, we’ll tie everything together by taking a look at how to render out your mixed frame rate project. Come back next week for Part 5!

