Welcome back for episode two of Workflow From Home, a mini series dedicated to exploring the tools and techniques that help professionals investigate and implement workflows within the cloud. We made this entire series using Frame.io from our homes to show you how you can start working remotely, too.
In today’s episode, we’re focusing on some important aspects of cloud asset management as it relates to teams of people that serve as editors, VFX artists, colorists, or even sound teams. We’ve used an example cloud-based workflow for this episode, but since yours will differ, please use this as a base on which to customize a workflow to fit your needs.
In episode one, we helped you decide whether a Pure Cloud workflow or Hybrid Cloud workflow is best for you.
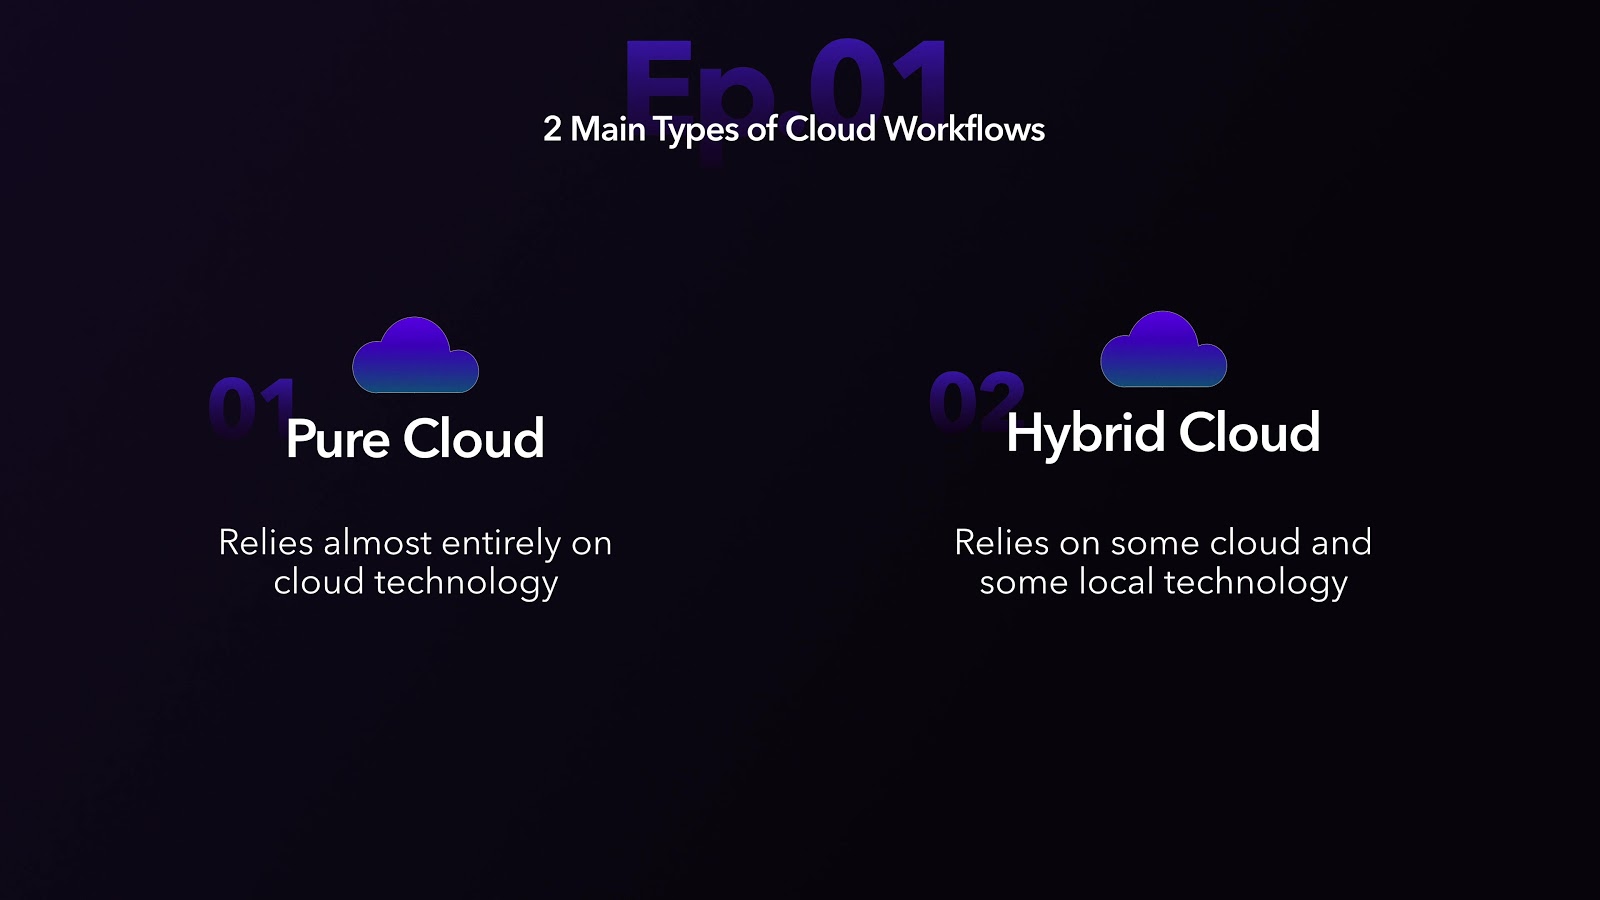
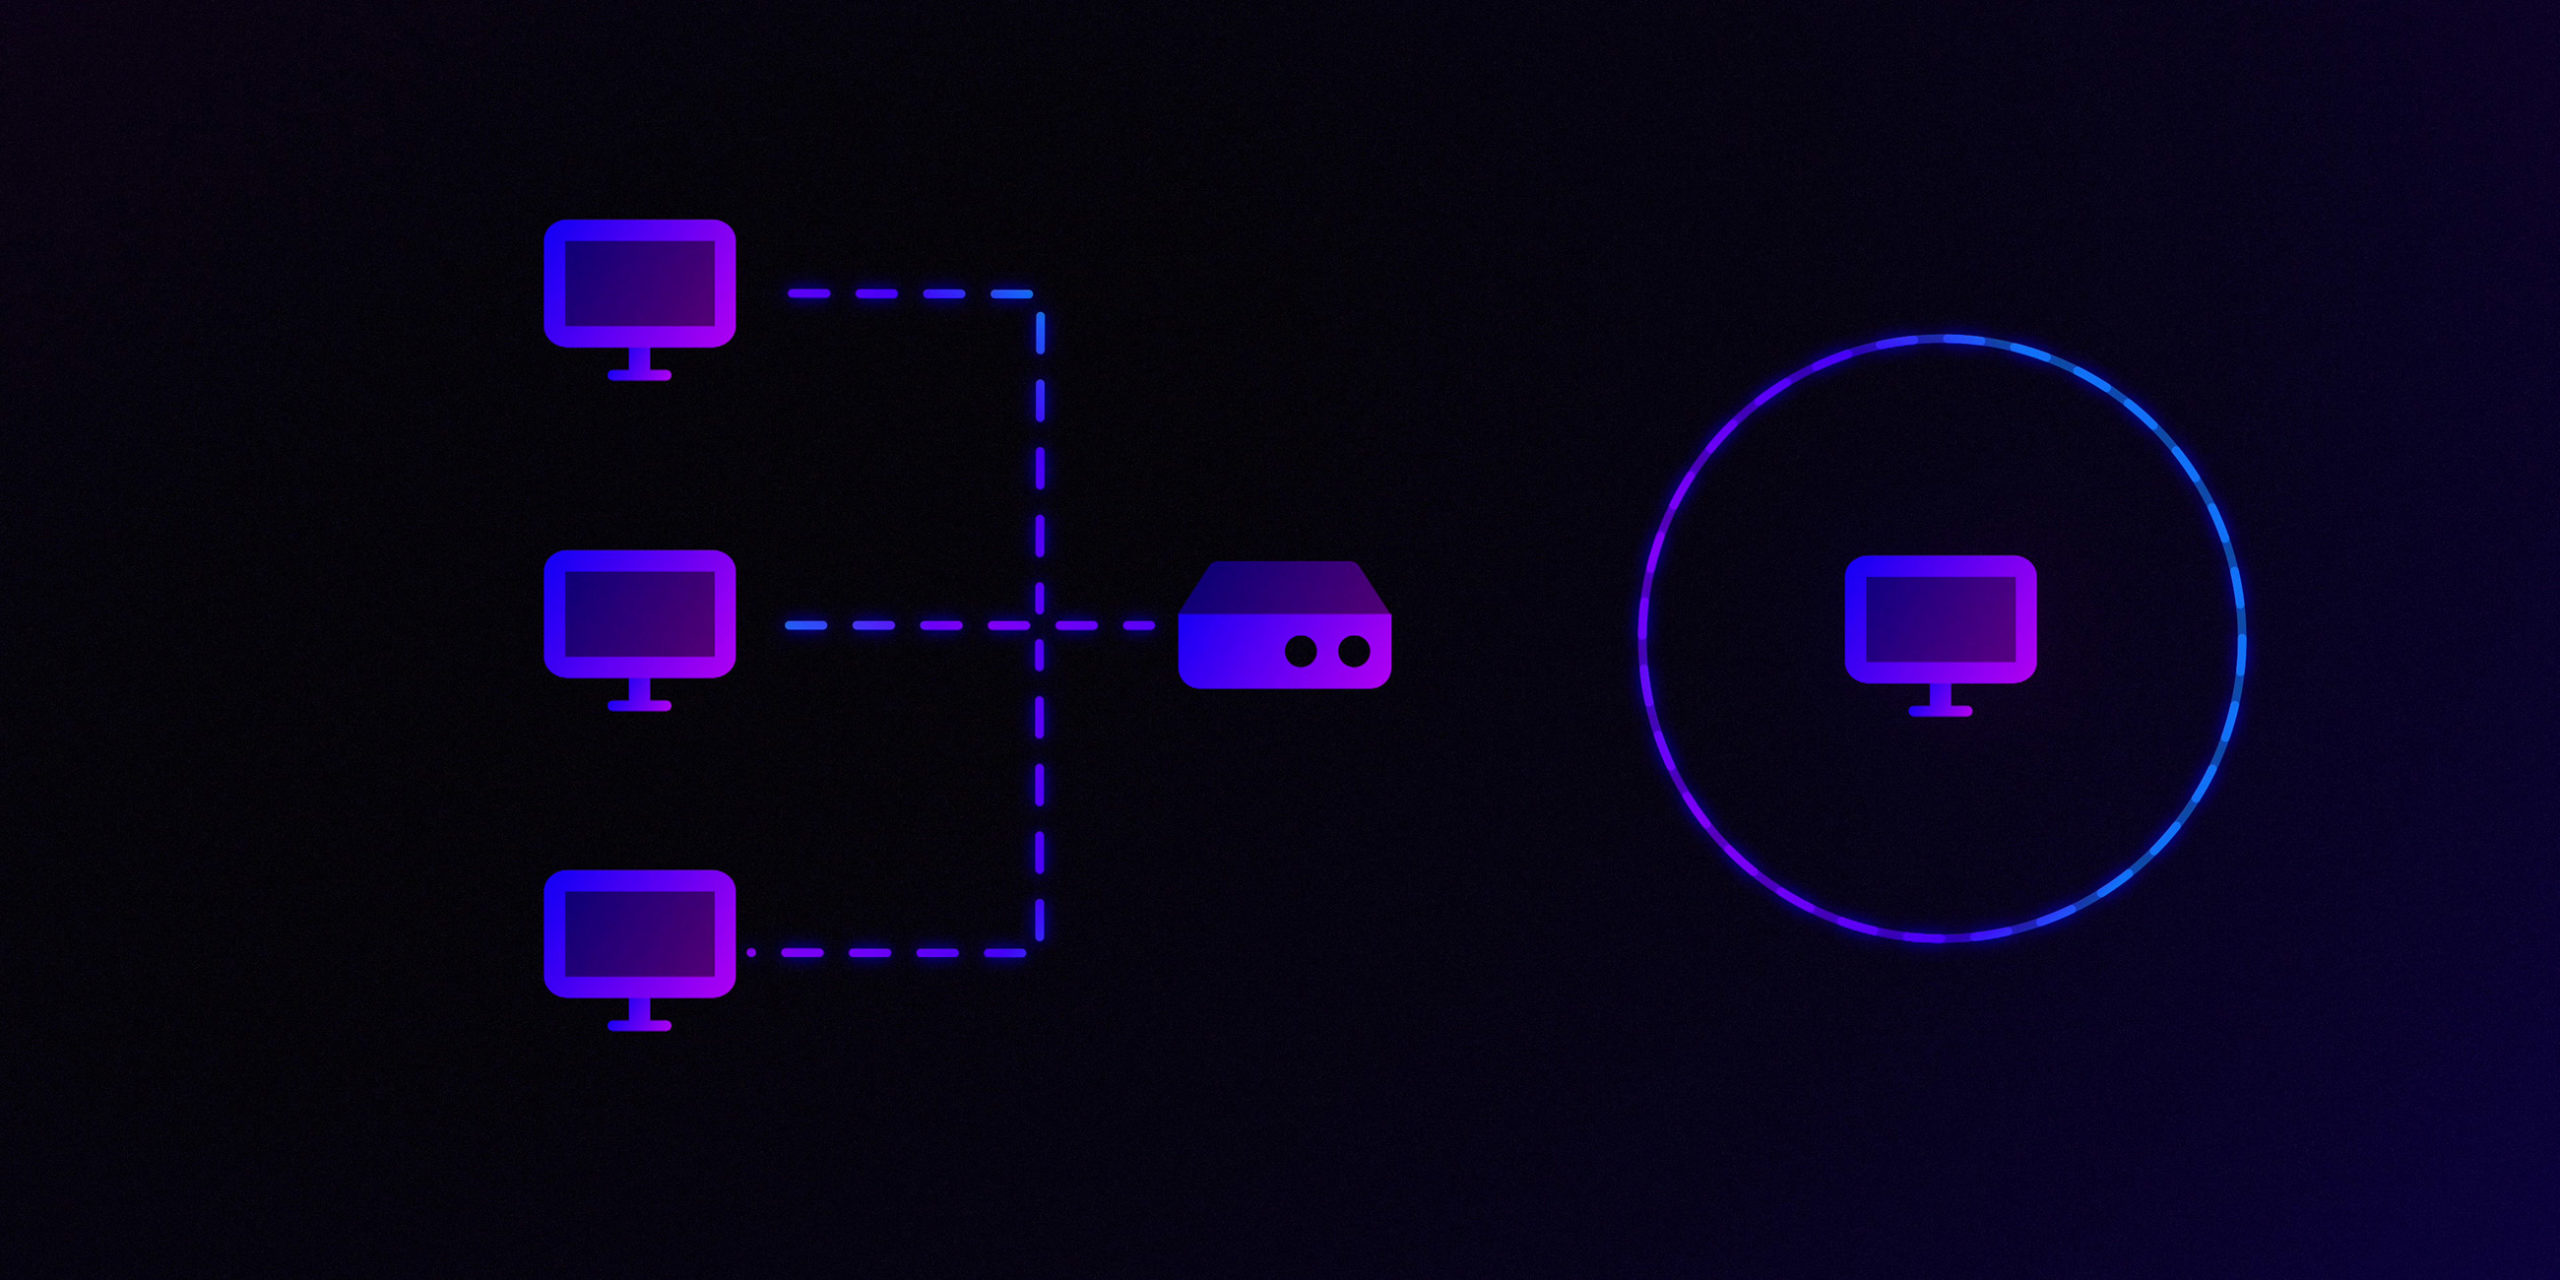
This topic is important, because some productions require an air-gap solution (the highest security measure in which the NLE itself must not be connected to the internet) a hybrid workflow will be necessary.
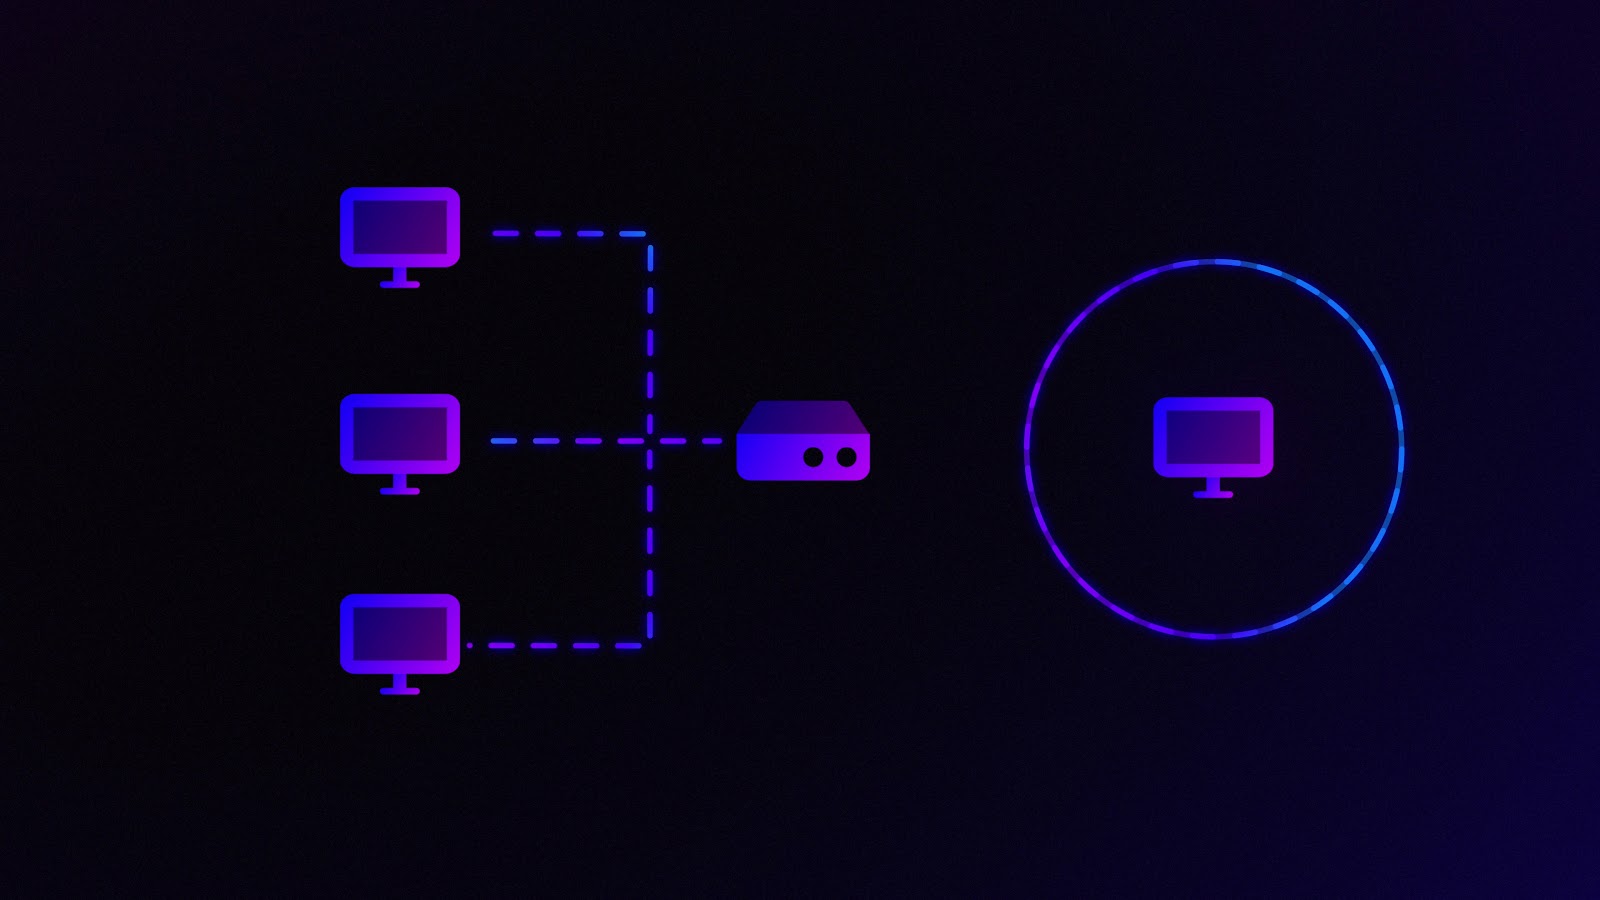
Some air-gap solutions are in place because there is concern over whether the cloud is secure. But the question we should be asking is, “Am I using the cloud securely?”
Consider this: the overwhelming majority of cloud breaches are caused by people who were authorized to have footage in the first place.
We already use the cloud to shuttle our dailies, roughcuts, reviews, and final VFX files. And while there are certainly examples in which vulnerable companies have been legitimately hacked, properly secure use of the cloud will prevent intruders as well as maintain efficiency.
I’m sure you have an opinion on this, and we encourage that. It’s a tough topic to talk about, and we don’t have all the answers, but forward progress starts with a conversation…and now is the time.
That being said, if your production requires an air-gap, you’ll probably be better off exploring Hybrid cloud workflows. That’s why we talked about the importance of centralizing media into a secure space so that it can be accessed by your remote teams.
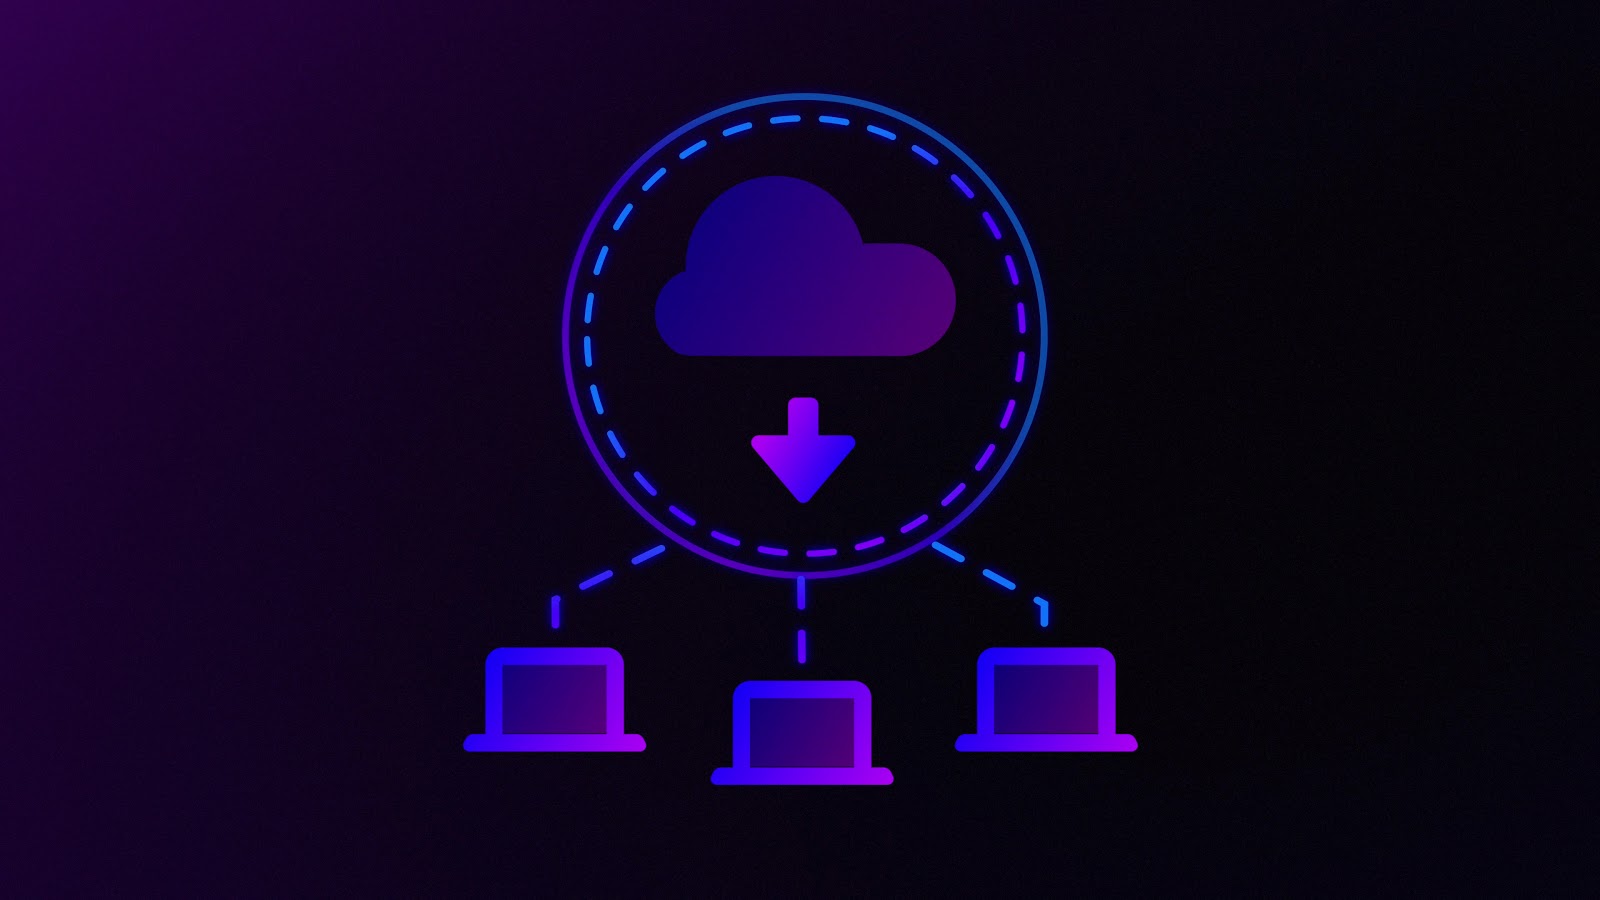
It also means that after downloading, it can be localized to a system running whatever tools you prefer.
The workflow we’ve built for this episode has four editors and four assistants working from home, in tandem, dealing with VFX pulls, preparing for a turnover—and they need to have their actual edit systems air-gapped. So how do we do that?
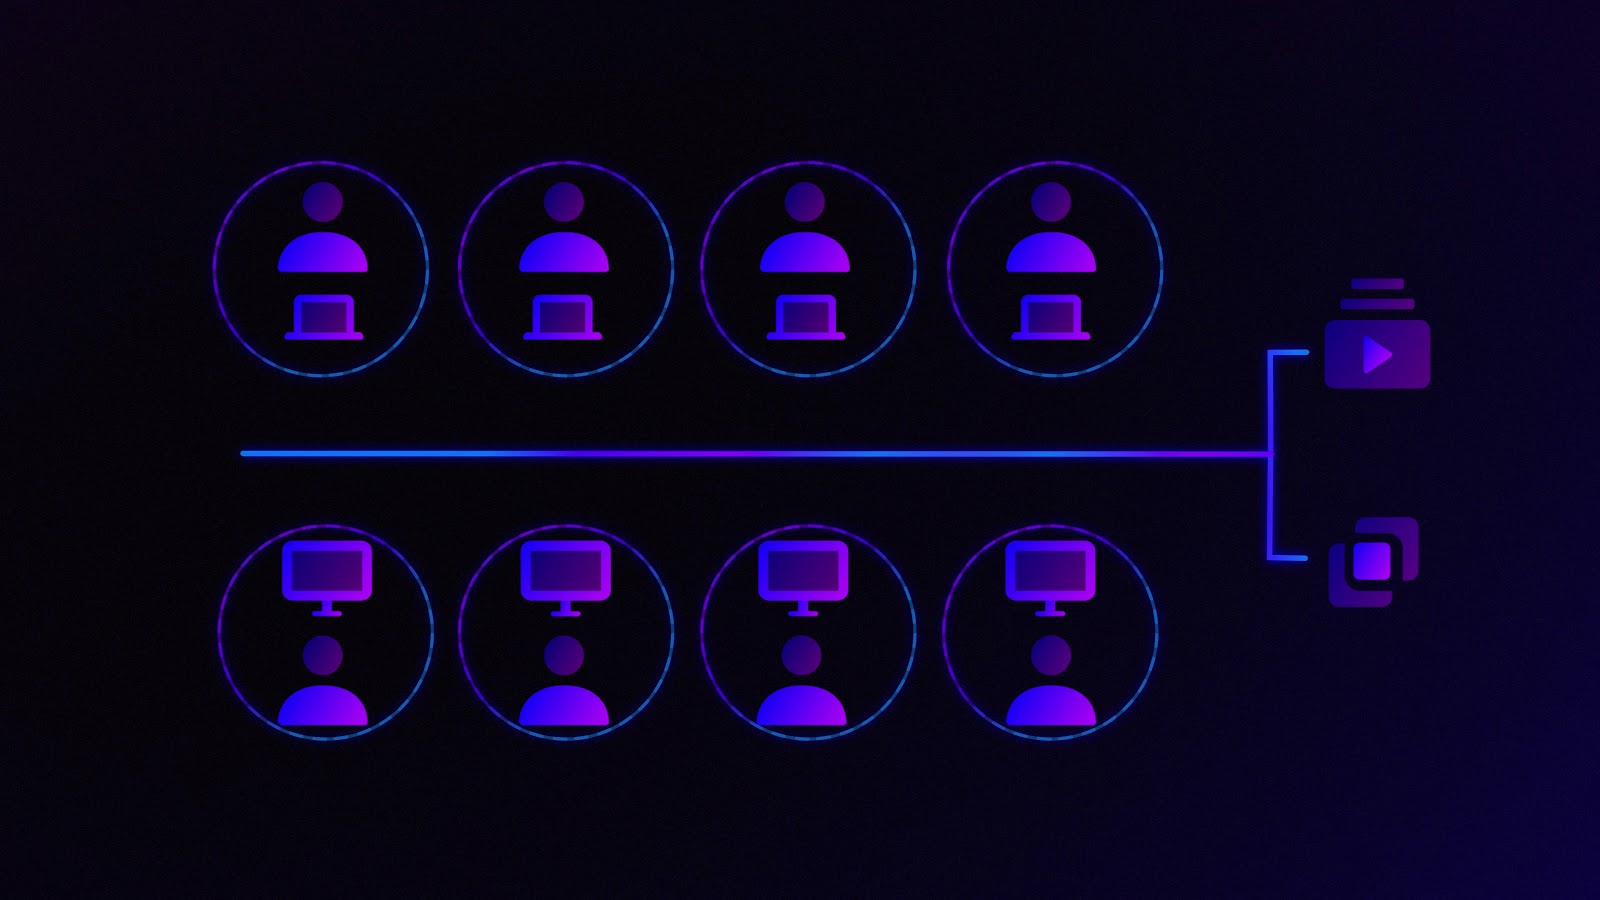
Asset management: uploading
Let’s start with uploading. When it comes to remote offline, productions can best prepare for everyone to work from home by uploading key assets to a secure solution in the cloud.
There are numerous ways you can do that, some easy, some complex, but it’s fair to say that simplified uploading is one of the cornerstones on which Frame.io is built.
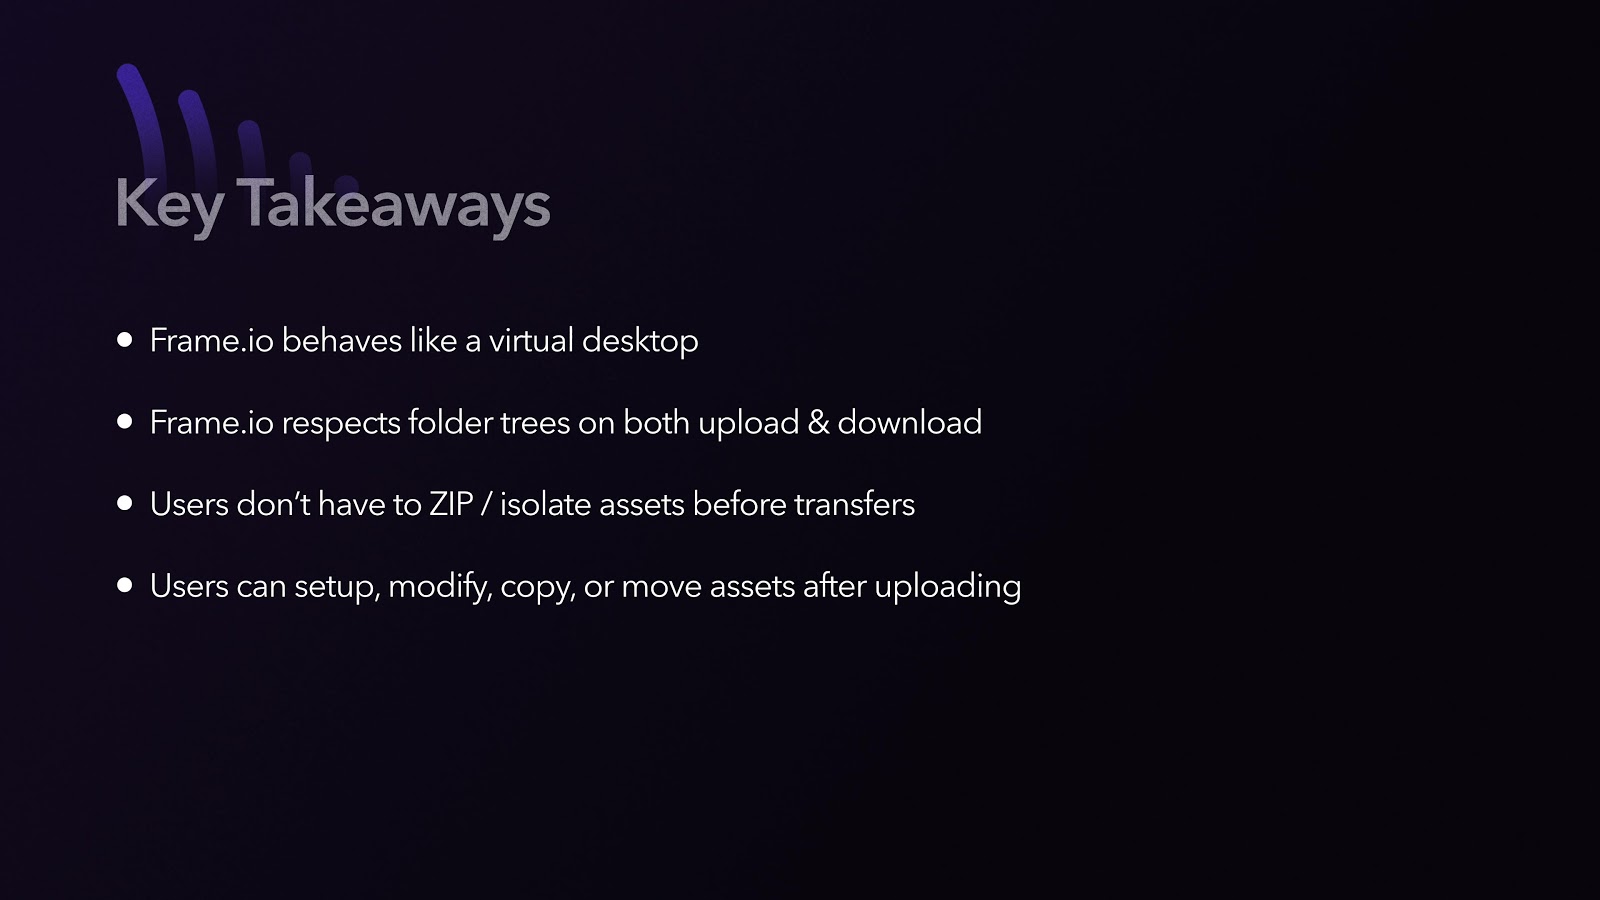
Frame.io behaves like a hyper-secure virtual desktop to which all your assets can be easily migrated, and managed in the cloud.
Post houses, assistants, post supervisors, and editors can start by organizing Frame.io the way you want to work—similar to the way you would on a local SAN, direct attached raid, or even a data asset manager.

When it comes to massive amounts of assets, organization is key. So to get going, we can start where things look familiar: on our own computers.
I’ve used a project titled The Lost Lederhosen and I’ve made folders that represent different parts of the workflow. We can create a template to organize all the different parts of the post process and separate them based on file type, department, or date.
Once I’ve built my folder tree on my local drive, I can drag and drop them into Frame.io, which rebuilds each directory in the cloud and respects your local folder tree arrangements.
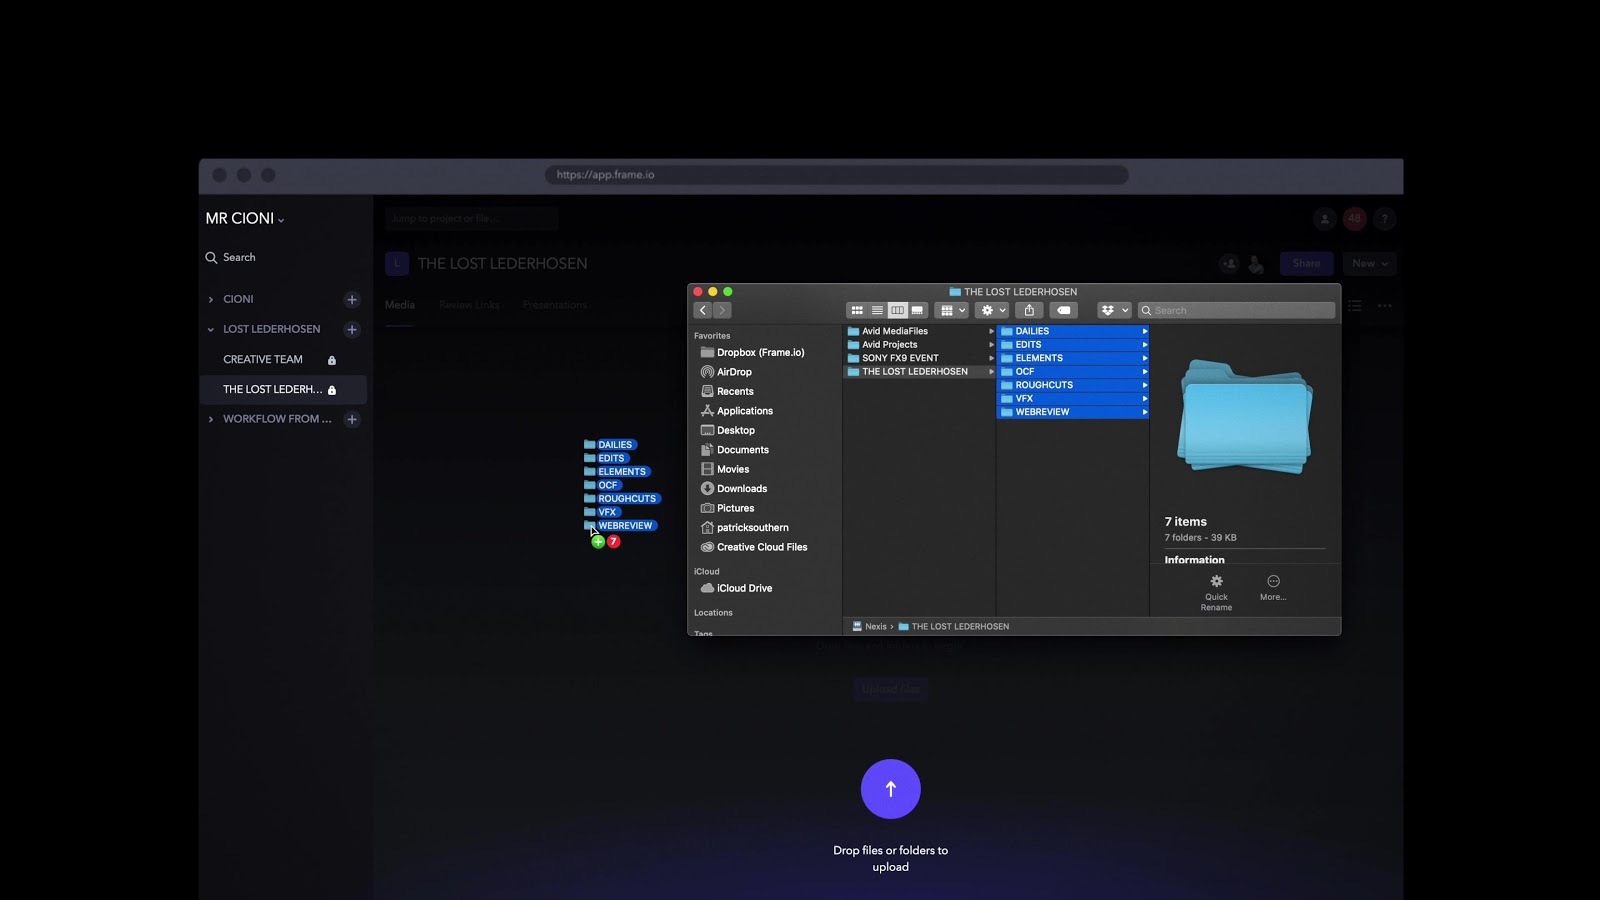
It will populate the assets if they exist, or create empty folders where they don’t.
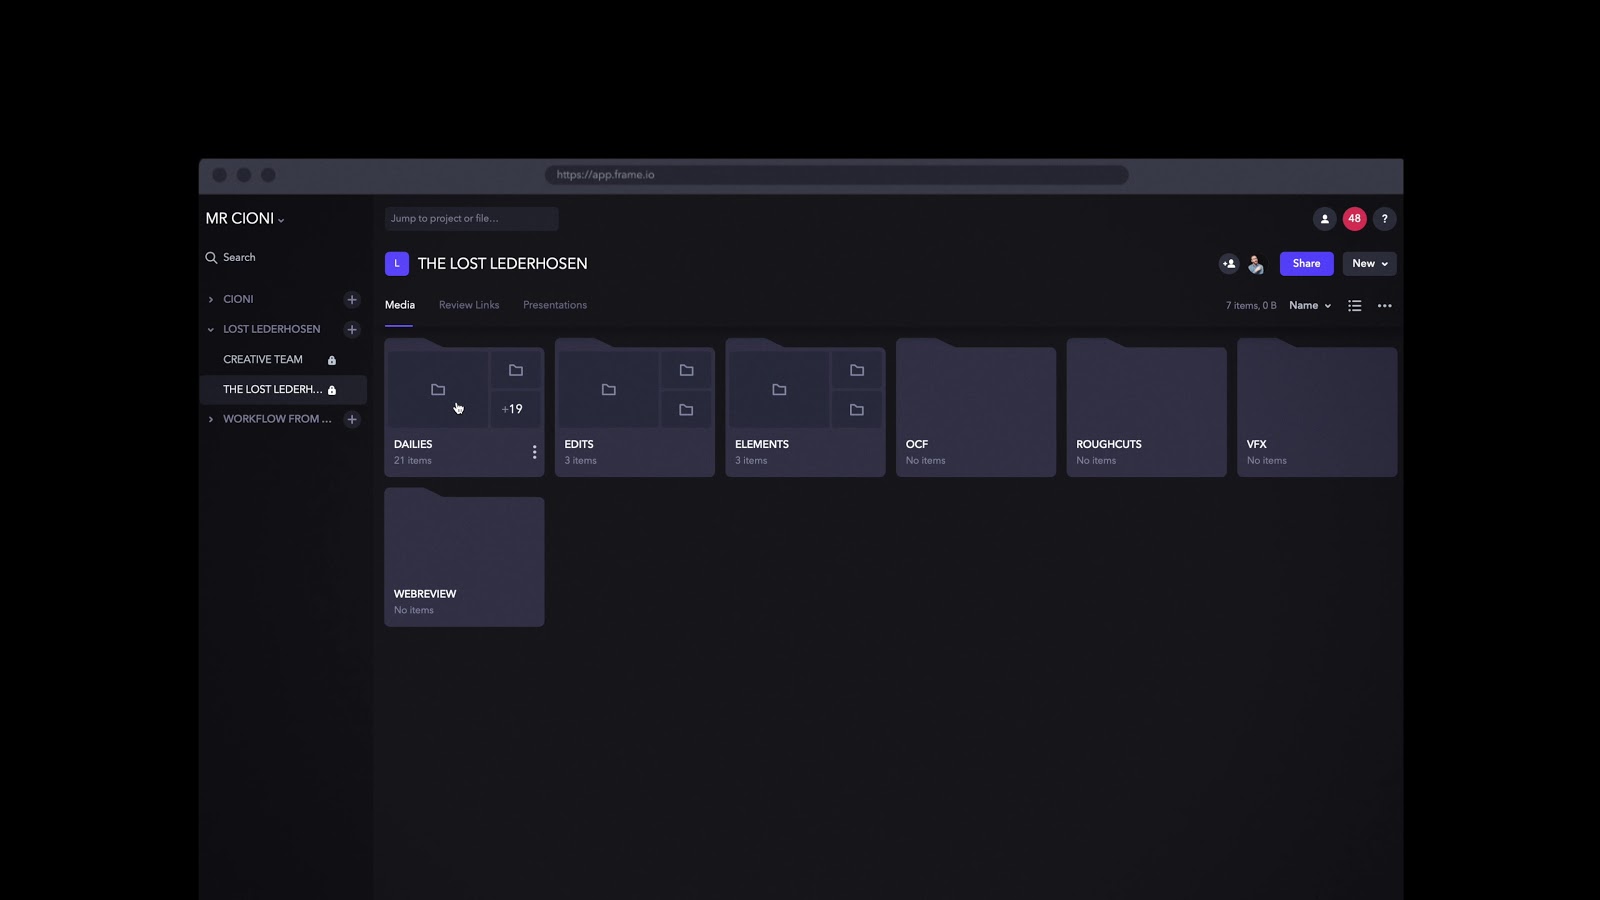
We’ve started with the directory marked DAILIES. I can create new folders, and make them private or public to users in the project.
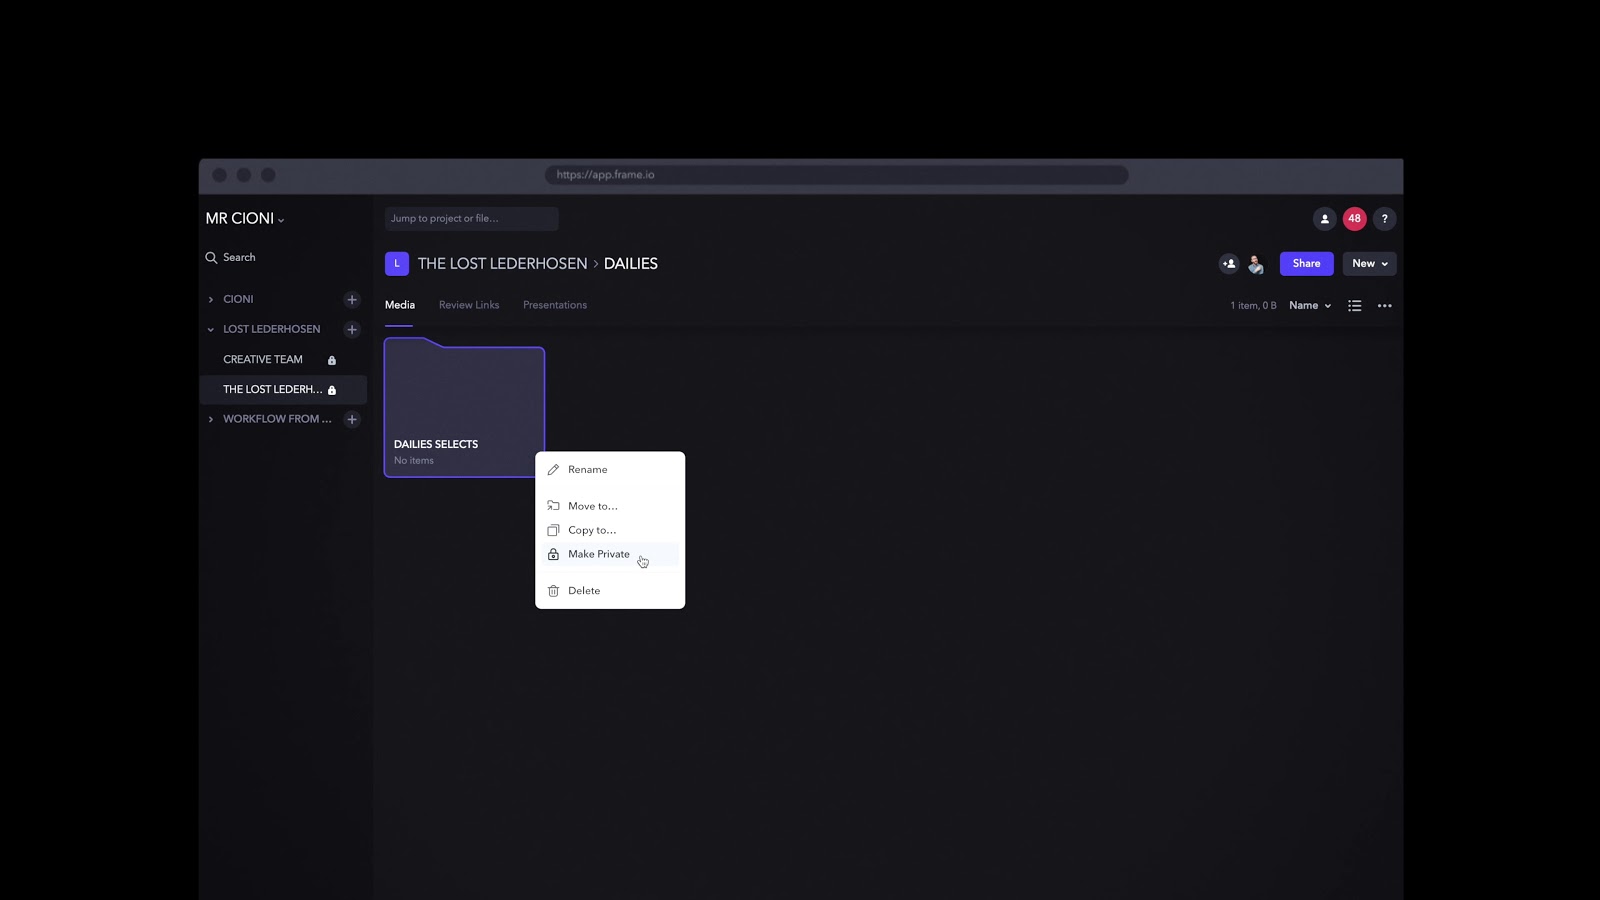
Just like on your local network, you can sort the assets in a number of ways, delete unwanted folders or assets, modify the name of any folder or asset, and move or copy assets to other directories at any point.
Just like you would in a facility, this type of organizational asset management is all in preparation for efficient offlining between a team of editors. For our air-gap edit, the workflow here starts by uploading your offline media so that it can be downloaded by each editor to work locally.
To comply with the offline air-gap ruling, an editor will need a local drive to work with. There are a lot of options out there, but I personally use a G-Tech G-Speed Shuttle.
This is a great tool because it is extremely powerful, scalable with several storage capacities, whisper quiet, and requires no IT support for setup. Think of the G-Speed Shuttle like a private SAN or NEXUS. It can support multiple RAID configurations, and because it comes with a Thunderbolt 3 connection, it gives you the speed of a large SAN with one directly attached cable. Even if you’re working from a laptop, the G-SPeed Shuttle can do 1,000 MBs/s.
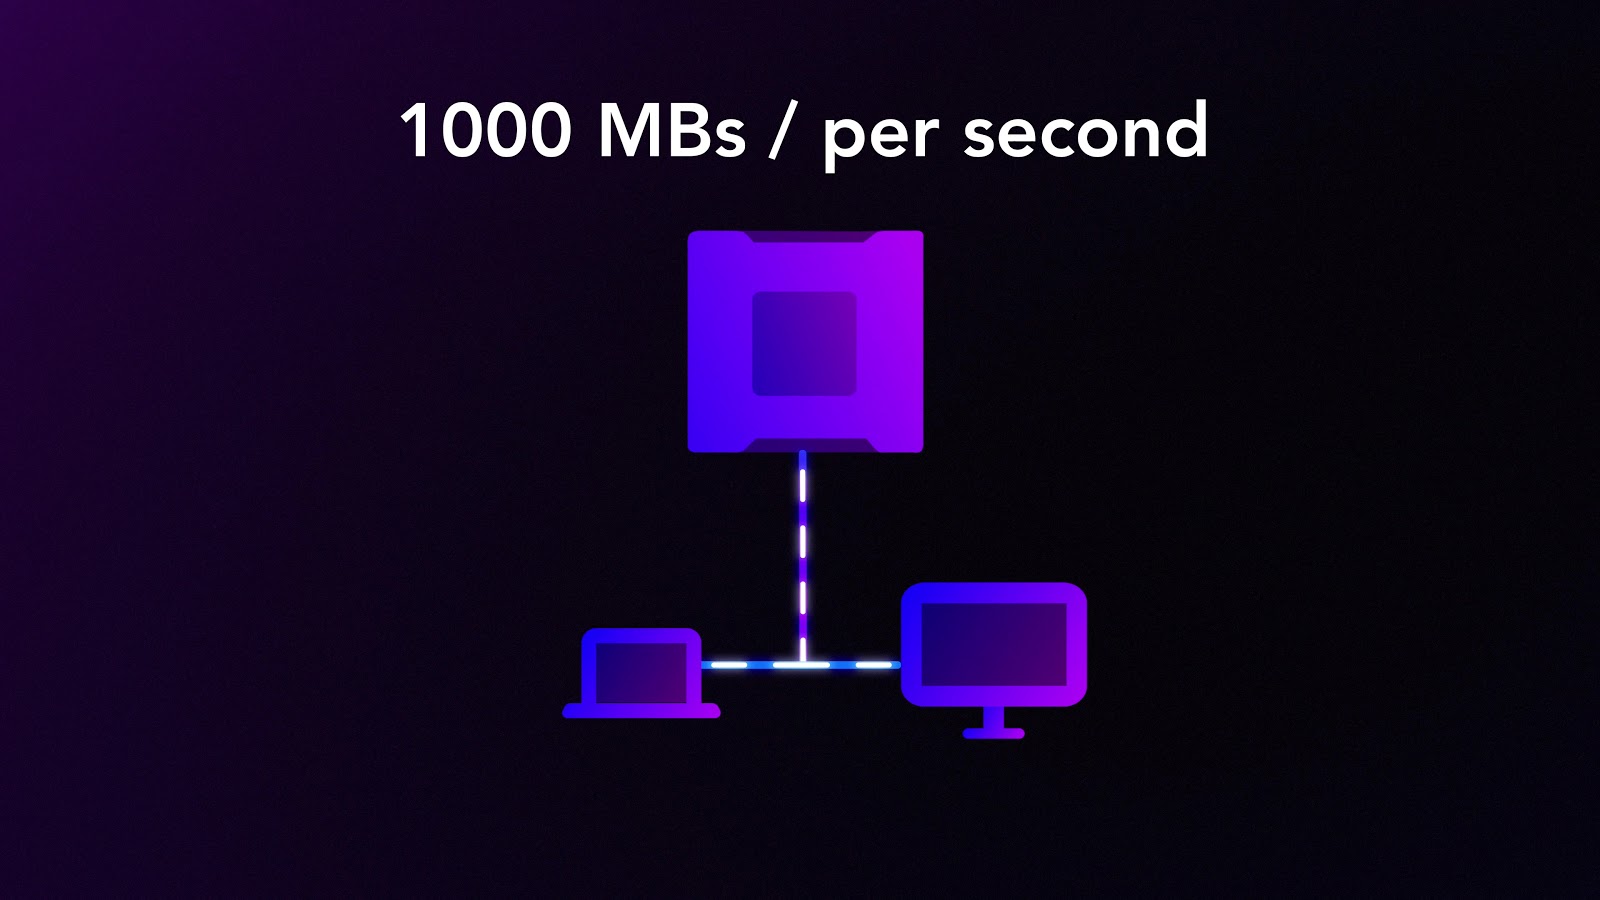
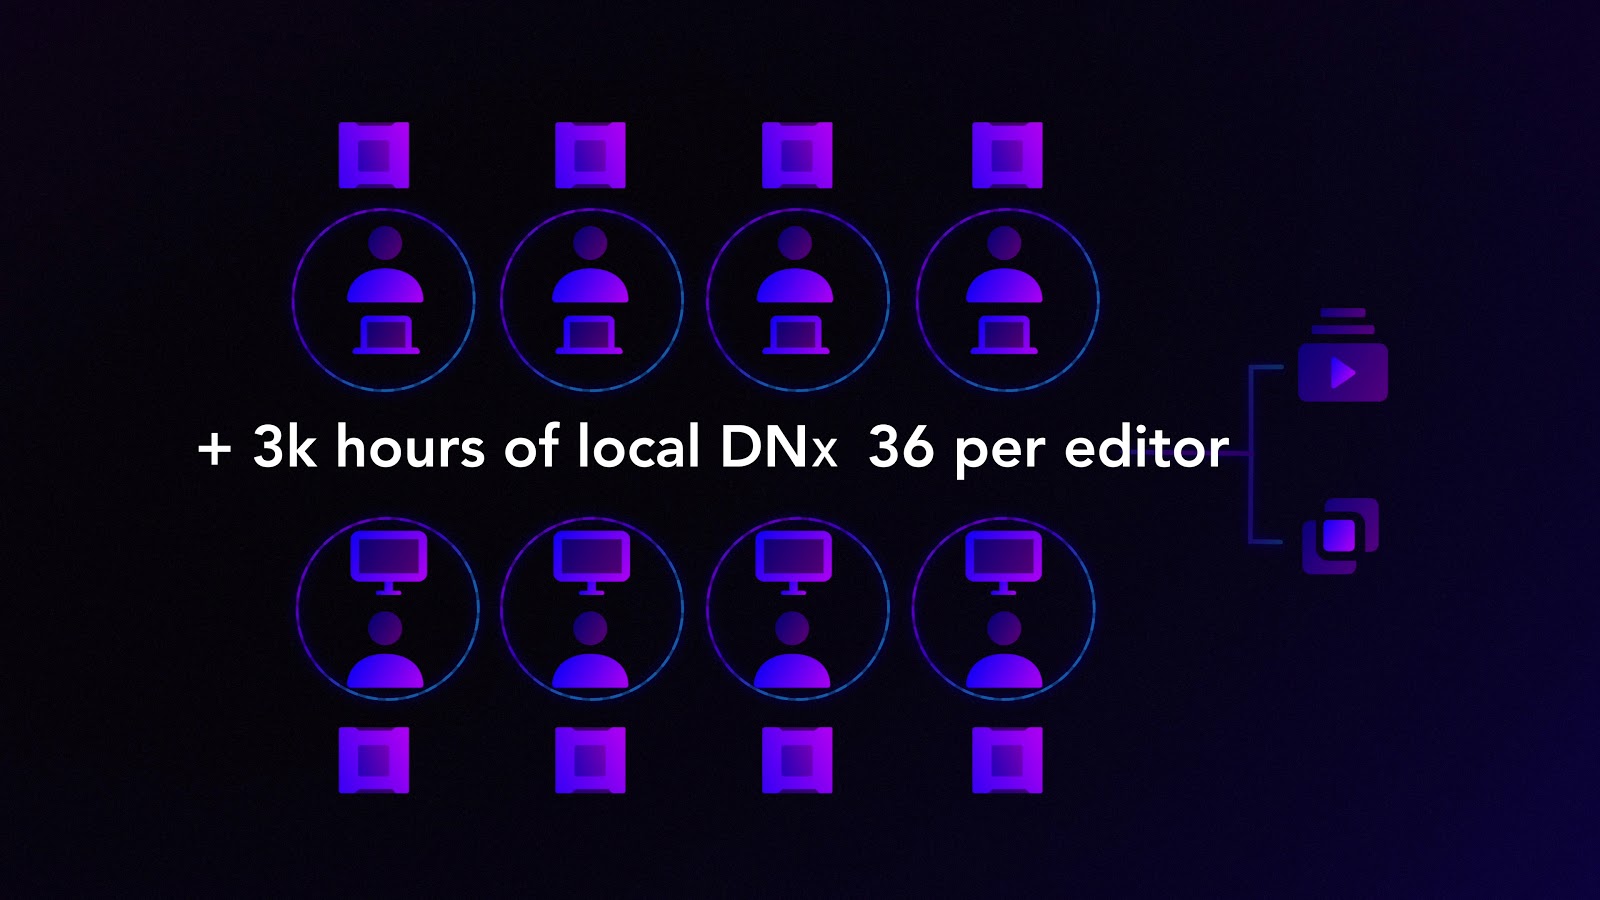
In our air-gap workflow, each editor can download media to our local raid using an online computer and then disconnect it and move it to an offline computer for the edit process. This requires each editor to have their own G-Speed, but each editor can store over 3,000 hours of DNxHD36 locally.
We discussed codec sizes and calculating download times in episode one. Most people’s home internet is easily capable of keeping up with edit dailies each day. So offline media in this workflow shouldn’t be a problem. But in our workflow, the AEs also need to manage VFX shots.
And while our air-gapped workflow is adequate for offline, it isn’t possible to download all the original camera files locally since they can be up to 100x bigger than the offline media.
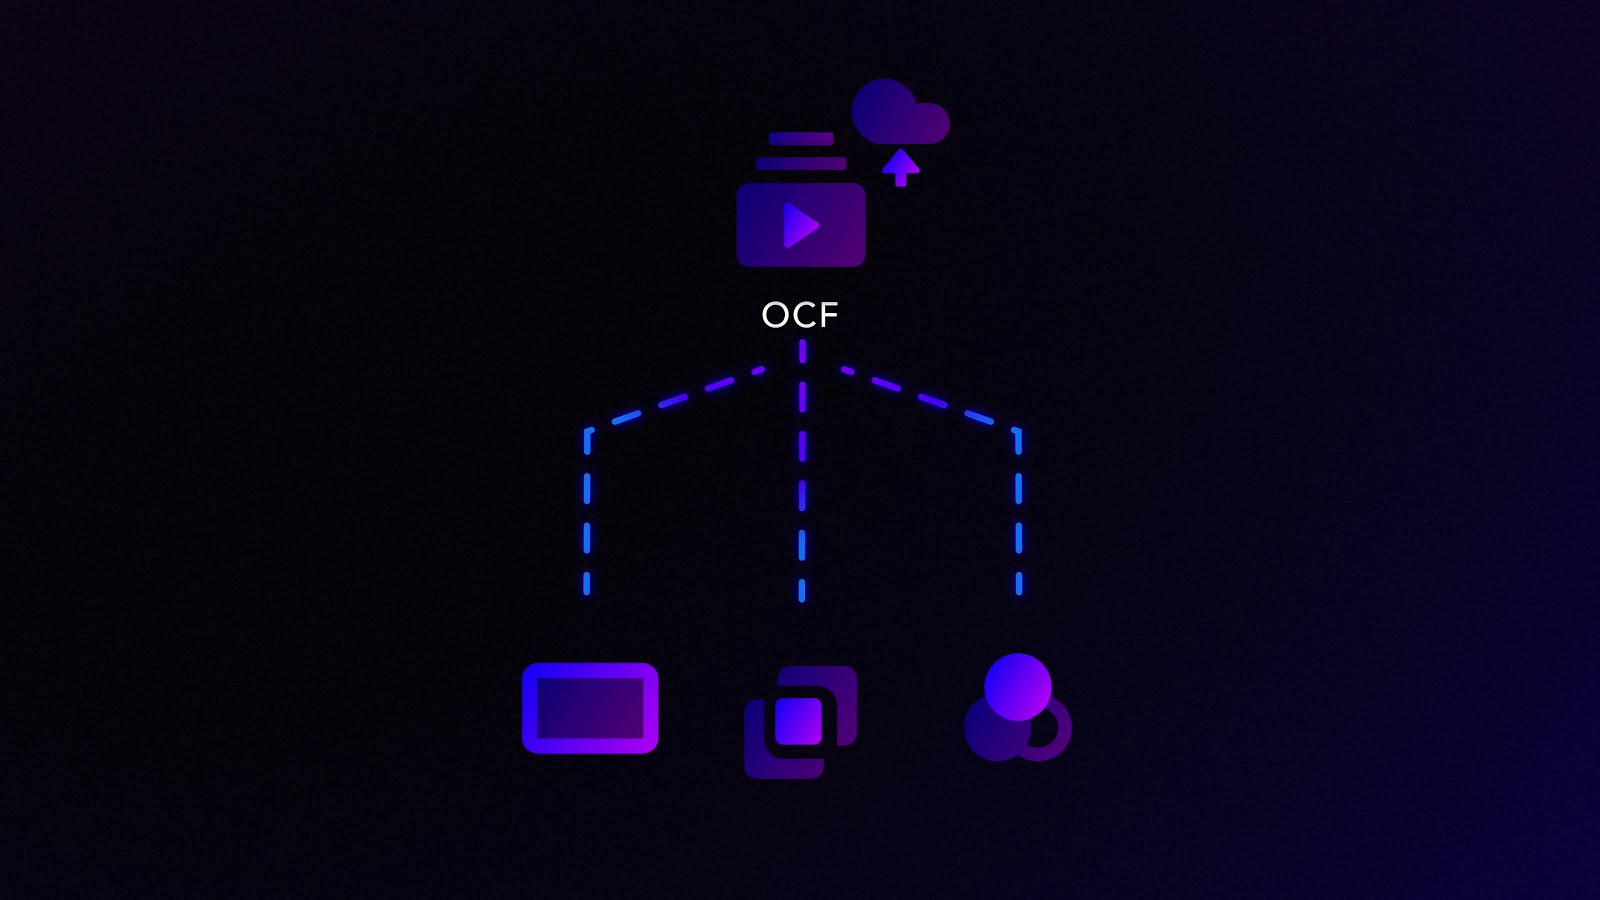
When it comes to a VFX pull workflow, we need to centralize the original camera files, or OCF, into the cloud as well.
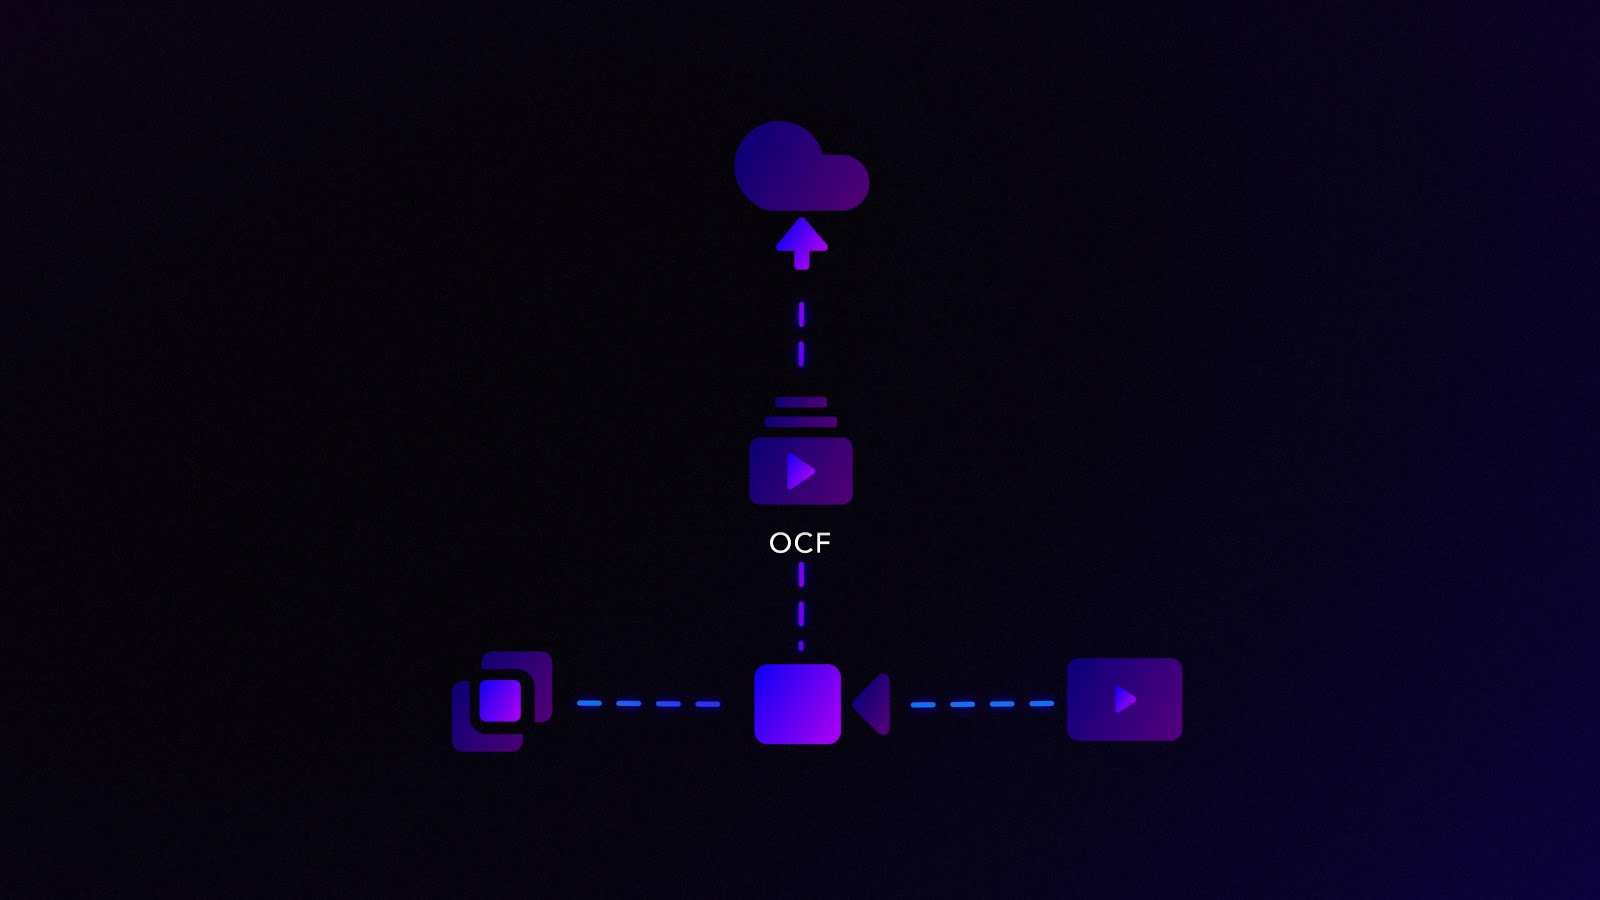
As you know, RAW files can be big, so getting the OCF files up may take a while—but once all the offline media is uploaded, it’s really important to start uploading that OCF because it will help streamline VFX pulls, marketing pulls, as well as the entire DI turnover process when working with teams.
Since many post houses are able to keep their vaults open, our workflow is using one of those companies to continue our cloud centralization process by uploading all the OCF to Frame.io.
Large asset transfers
With these large asset transfers, our post vendor will want a way to move lots of files to multiple directories. To do this, Frame.io has a dedicated uploader application that you can download for free on the Mac App Store called Watch Folders.
After you install the Frame.io uploader, select the app from the menu bar, login to your account, and select a local directory that you want to upload. Since I was already working off of an AVID NEXUS, I can take the same directory structure and tell Frame.io to mirror that structure by selecting “Upload Subfolders” and “Preserve Folder structure.”
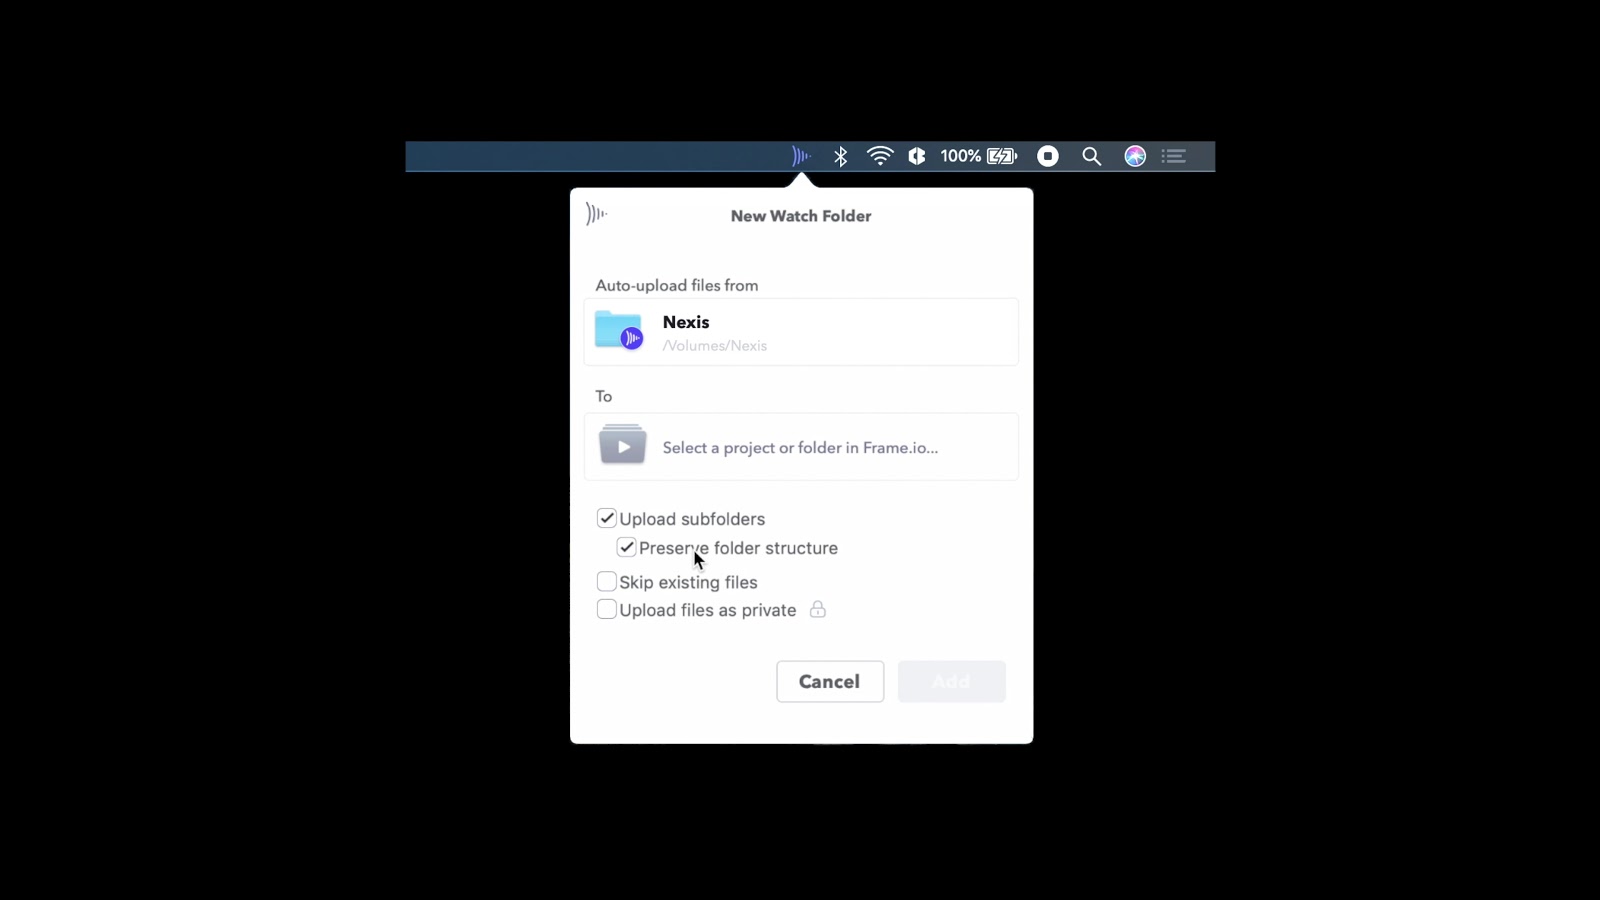
This is a good trick for keeping your file structures familiar. Next, you can select a destination directory in the Frame.io cloud and the uploader will begin migrating all the assets while respecting your pre-existing directory structures. Everything in Frame.io will appear exactly the same way as it was on your SAN.
So now we have a couple of different ways to keep working with our cloud media. As we’ve said before, in a pure cloud workflow, like AVID’s Edit on Demand, this is a great time to start remote editing from home on a system that’s online all the time.
Or you could use a remote control tool, like Teradici or HP’s Remote Graphics Software to tunnel into your remote NLE. But if you want the control and air-gapped security of local performance, we need to begin downloading assets onto our removable local drive.
To do that, Frame.io has a new tool called Frame.io Transfer, which will be available later this year.
After I login to Transfer through my Frame.io account, I can select a root directory with all my edit media and initiate a download to the folder of my choice.
Again, Transfer respects all folders within Frame.io and formats them on your local drive using the same paths.
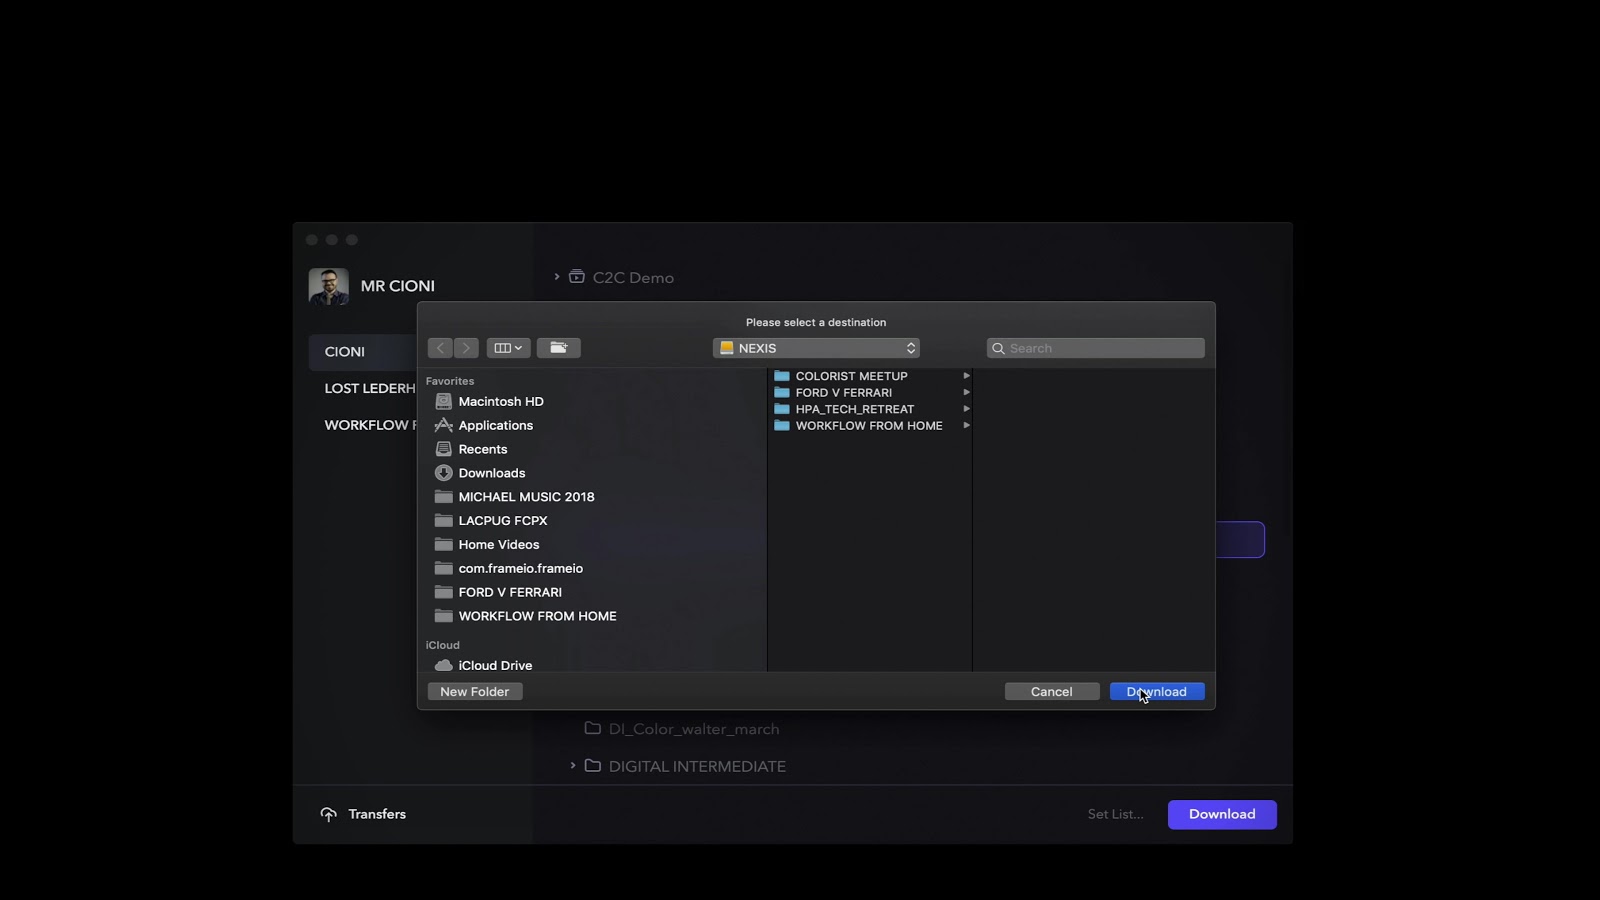
The “TRANSFERS” button shows you the progress, and it will save a log to your computer so you can check the results as the media is localized.
For the fastest results, it may be best to copy media directly from your SAN to your drive prior to working from home. But, in the event that opportunity has already passed, this workflow gives all our editors identical material downloaded through the Frame.io Transfer app. The next day they can work offline using their direct attached storage.
Pull lists
Now that our editors are cutting, we need to keep VFX artists working by providing them access to the raw files for compositing.
Because we preemptively centralized all the OCF in Frame.io, we can access the RAW files that we need in order to prepare them for VFX turnovers. We’ll need to use an online computer to do this.
One option is to create a VFX SHOTS list based on each pull list.
First, you set that up with the date. Next, you can manually navigate to the VFX shots needed, select them, and then choose “COPY TO” and move them to the VFX SHOTs folder.
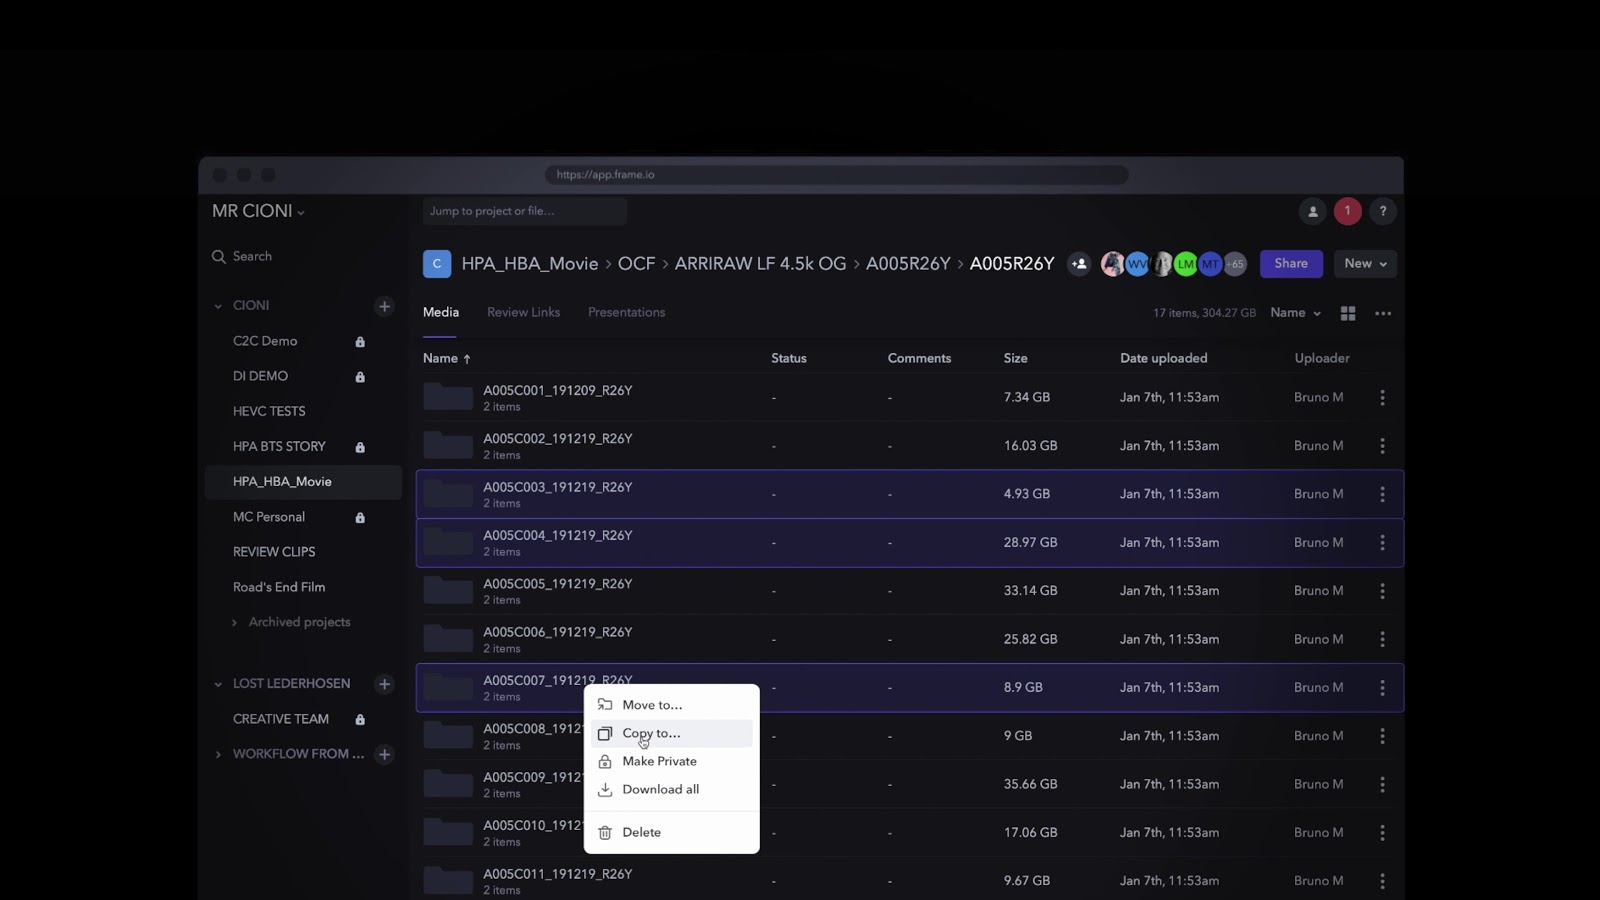
After populating this directory, you have the option to share these files to the VFX artist so they can download the takes.
A more automated option is to export an EDL or XML from your edit timeline that includes the VFX shots for this pull. These, of course, are generated by the offline dailies. Then we go back to a computer terminal that is connected to the cloud and open the Frame.io Transfer tool. This time we choose “SET LIST.” This allows us to upload our pull list to Frame.io Transfer and navigate to the OCF folder, which contains all of the original camera files.
Once we hit “DOWNLOAD,” Frame.io Transfer will use the Pull List EDL to dig through all the OCF folders, find matches, and automatically initiate downloads of only the clips that are only matched within the pull list.
We can also initiate multiple transfers at once to different directories, while the TRANSFERS button shows us our progress. In addition, a log is generated in your download directory so you can view the list confirmation results.
At this juncture you have a couple options: First, Frame.io Transfer is similar to LTO in that it will not trim clips, which means that a pull list will download the entire take associated with the edit.
You can then either A) deliver the list to the VFX artist to use Frame.io Transfer to pull down selects for compositing, or B) you can pull the whole takes down and then reconform them in a tool like Resolve to trim them. Option B is the best choice when working with limited bandwidth.
In this case, we would reconform the takes in Resolve by using the same initial pull list, then set them to output as trimmed EXR or Log files—which is a more typical way of VFX management.
With the Frame.io Resolve integration, you can choose Frame.io in Resolve’s Deliver tab, set your target directory to the VFX Pull List in the Frame.io cloud, and Resolve will automatically render and upload newly trimmed files.
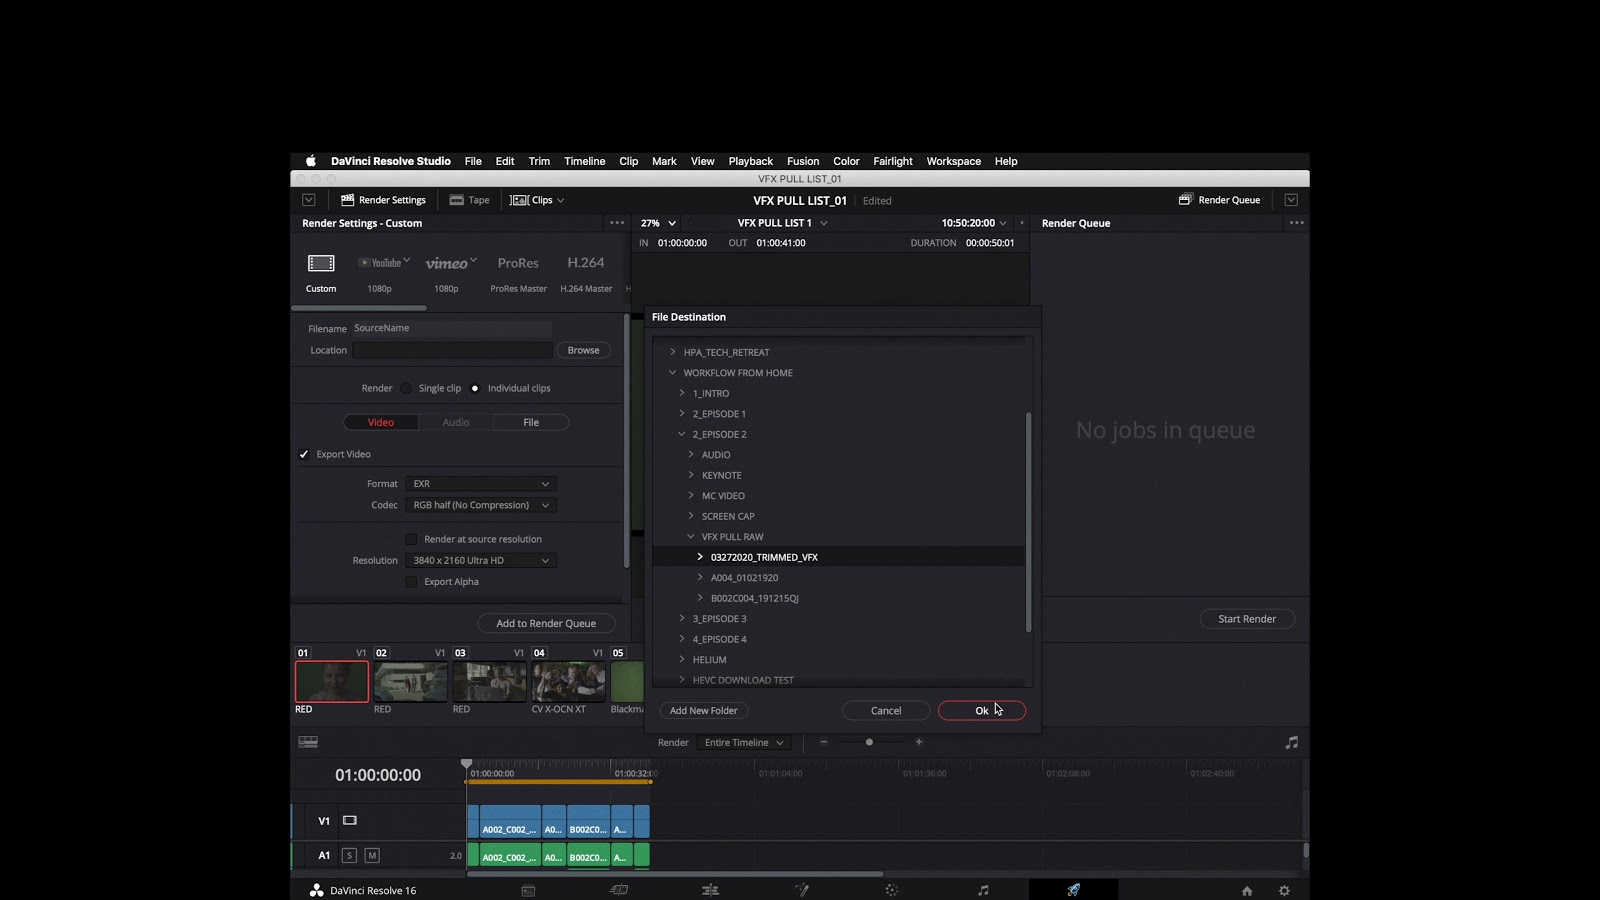
We can include the corresponding reference file, the LUT and CDL color files, and then add our VFX vendor to this directory and SHARE the assets as a REVIEW link where appropriate parties can be notified of the new file arrivals. And this can all be done while working from home!
Summary & key takeaways
Let’s review this workflow: First, we localized all the dailies into Frame.io based on an ideal air-gap workflow.
For large uploads, we used the Frame.io Watch Folder Tool to upload assets to specific directories and mirrored the same structure that was on our original SAN.
The editors and AEs downloaded the offline material from Frame.io to a local disk and then edited on an air-gapped computer. We also had the post house upload all the OCF to Frame.io.
When it came to a pull list, the AEs exported an EDL or XML and uploaded that to Frame.io Transfer, which pulled down just the selected takes in the list. We trimmed those in Resolve, and then published the trimmed clips back to Frame.io and shared them with the VFX vendors.
I want to thank everyone who has provided suggestions on topics to cover in this series!
If you found this information helpful, please let us know. We’re trying to explore a number of solutions for professionals who are interested in a workflow from home, and we’d love to hear from you.
Let us know what you want us to cover more of, and please don’t hesitate to ask questions. These workflows are probably not exactly your workflow, but together we can find a way to solve your problems so all of you can workflow from home.
Watch the entire series and find other resources on our Remote Work resource page.

