Producing a late-night TV show is a challenge under ideal circumstances. There are always deadlines and changes and last-minute ideas that get slipped in right under the wire.
But what happens when a show that’s always been produced in a studio with a live audience has to start producing four shows a week—with everyone from the host to the guests, writers, producers, and editors—working from home?
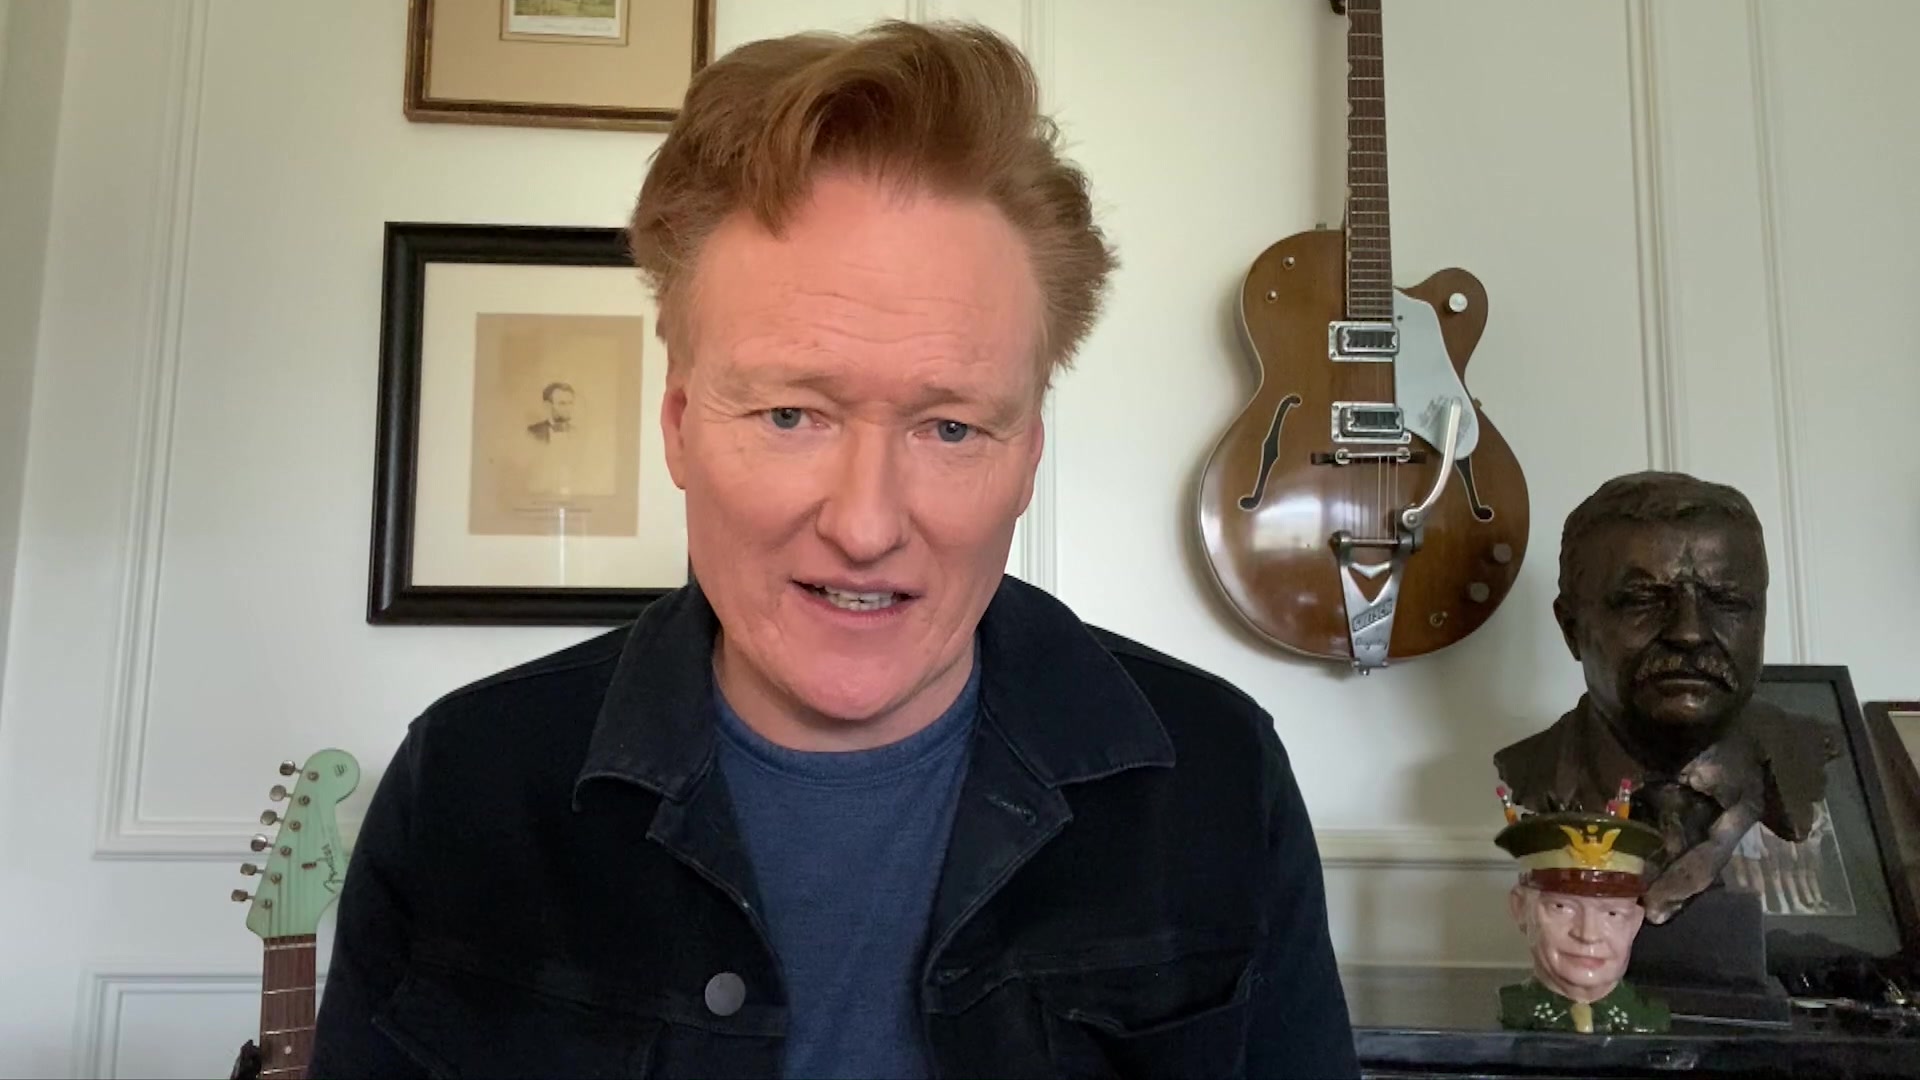
In this week’s episode of our Workflow From Home series, lead editor Robert Ashe took us behind the scenes of the popular late-night show Conan.
Rob’s got a sweet edit setup in the kitchen of the home he shares with his wife, three kids, and his dog—who wasn’t at all shy about making an appearance during our interview. Conan wanted a show that felt authentic, and this interview is as authentic as it gets.
There are a couple of things that make this episode extra special. It’s not just that you’ve got a show that’s being edited remotely. It’s that you’ve got a host who’s shooting his own segments on an iPhone from his house, and he’s interviewing his guests on Zoom.
It’s a combination of using available, mainstream technology along with some of the highest-tech, highest-speed technology gear. And one of the keys to the team staying in sync is that they use Frame.io.
Shooting Remote Interviews
Speaking of doing shows from home and interviews on Zoom, it’s become a kind of new standard operating procedure for everyone from actors to performers to those of us at Frame.io who are making this show.
It’s been a trial and error process, but now that we have a few shows in the can, we thought it might be useful for us to share what we’ve learned along the way to help you shoot better videos from home.
My setup is probably unique, in that I’m using a RED Helium camera and I’m shooting in 8K using REDCode 9:1. The RED also generates a simultaneous ProRes LT that acts as a proxy.
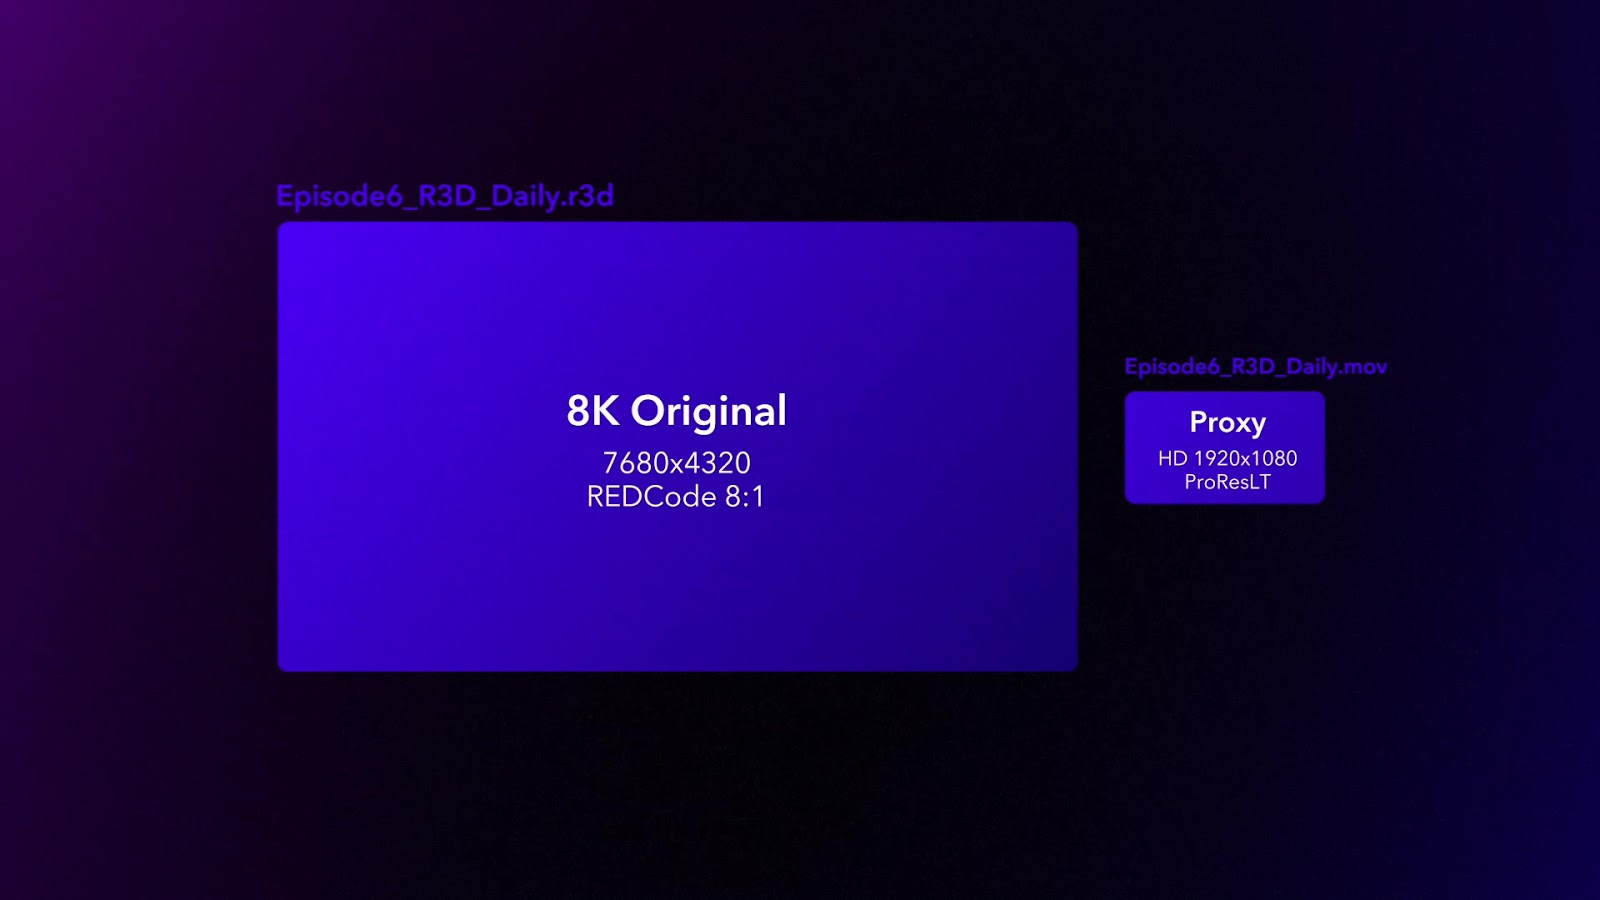
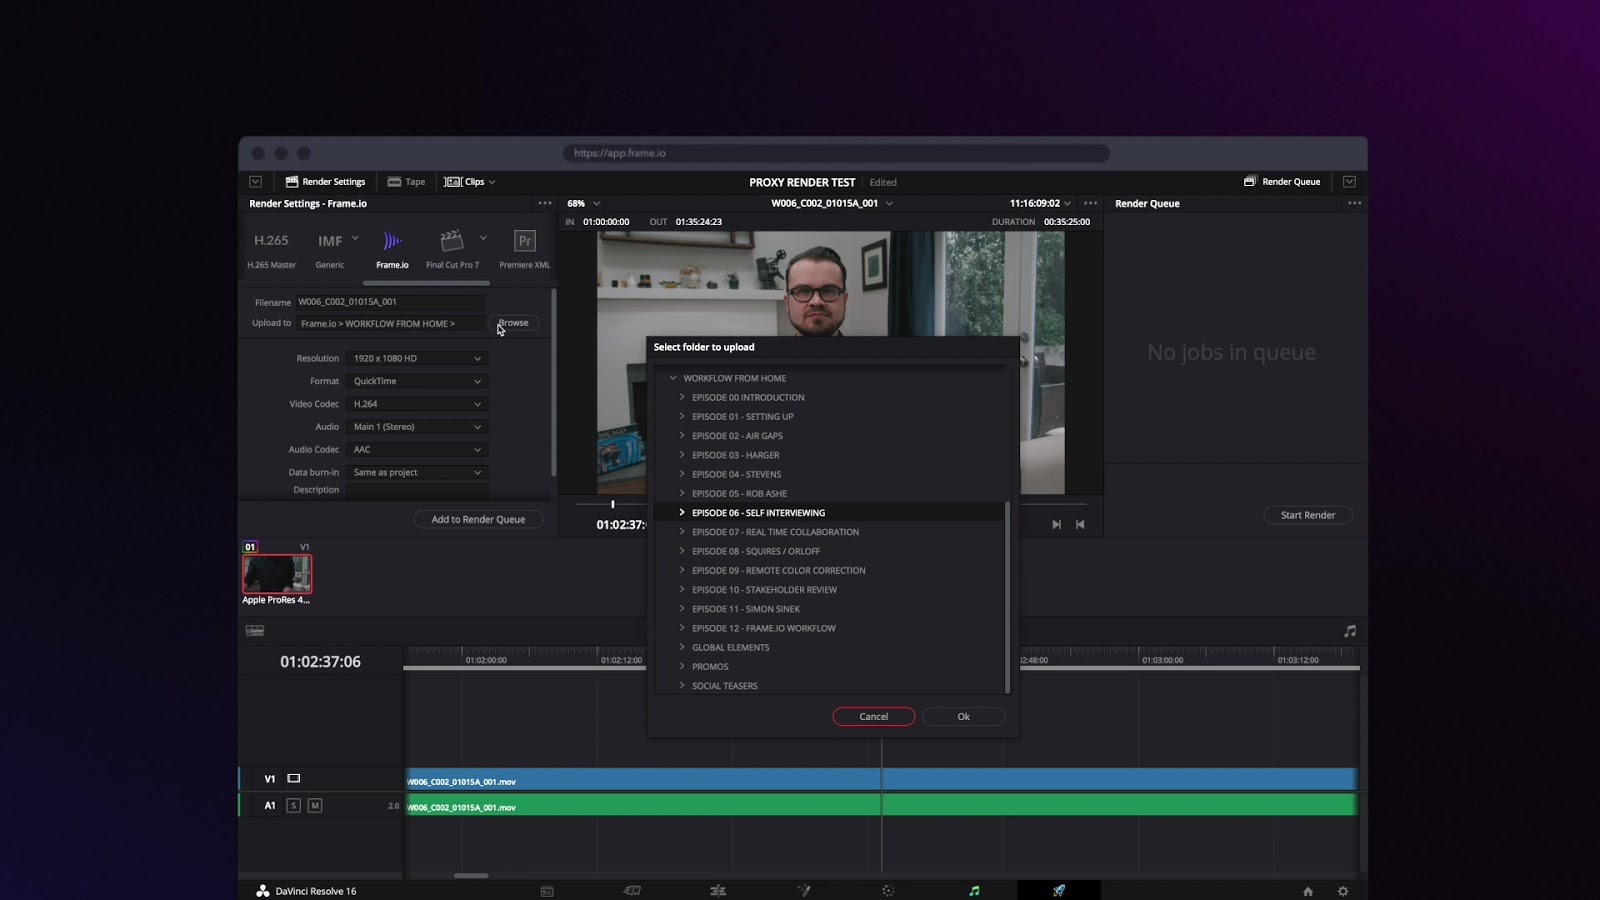
After I record the interviews, I load the mag into my iMac Pro, and download the RAW and ProRes files to my G-Speed Shuttle. I load the proxy into Resolve, apply a LUT, and use the Frame.io integration exporter in the Deliver tab to quickly render a timecode MP4 directly to Frame.io, which automatically notifies the editor that there’s a new asset.
For a 30-minute recording, the whole process takes a little less than an hour with a 20 megabit per second upload speed.
Accessories
If you’re doing stand-ups, you might be used to using a teleprompter. I use a Caddie Buddy teleprompter for iPad that costs about $160.
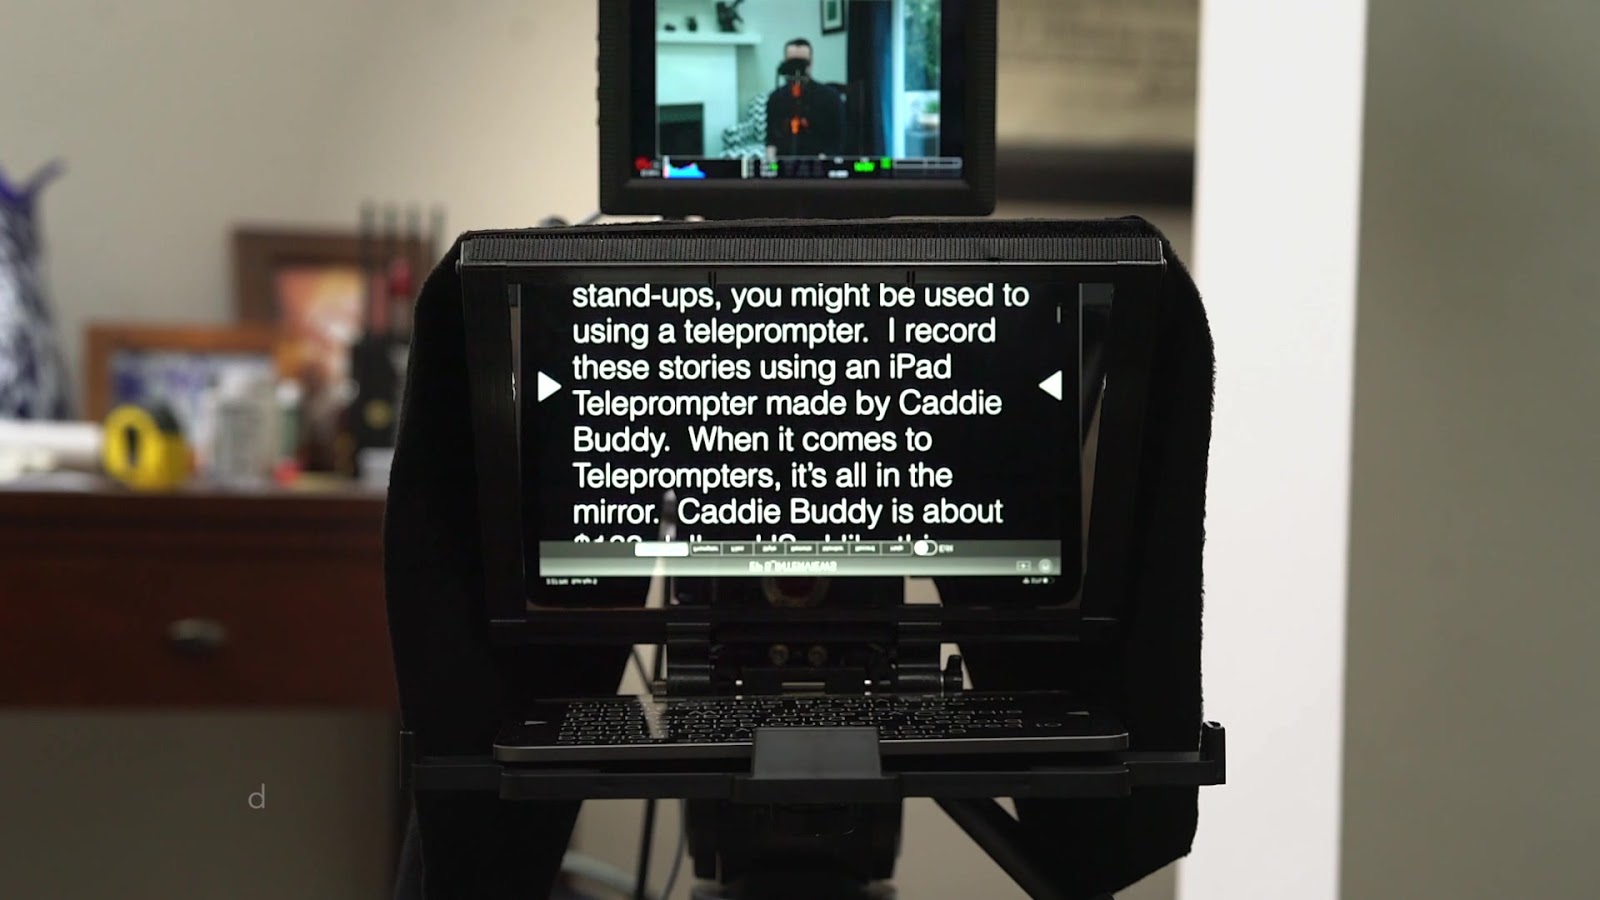
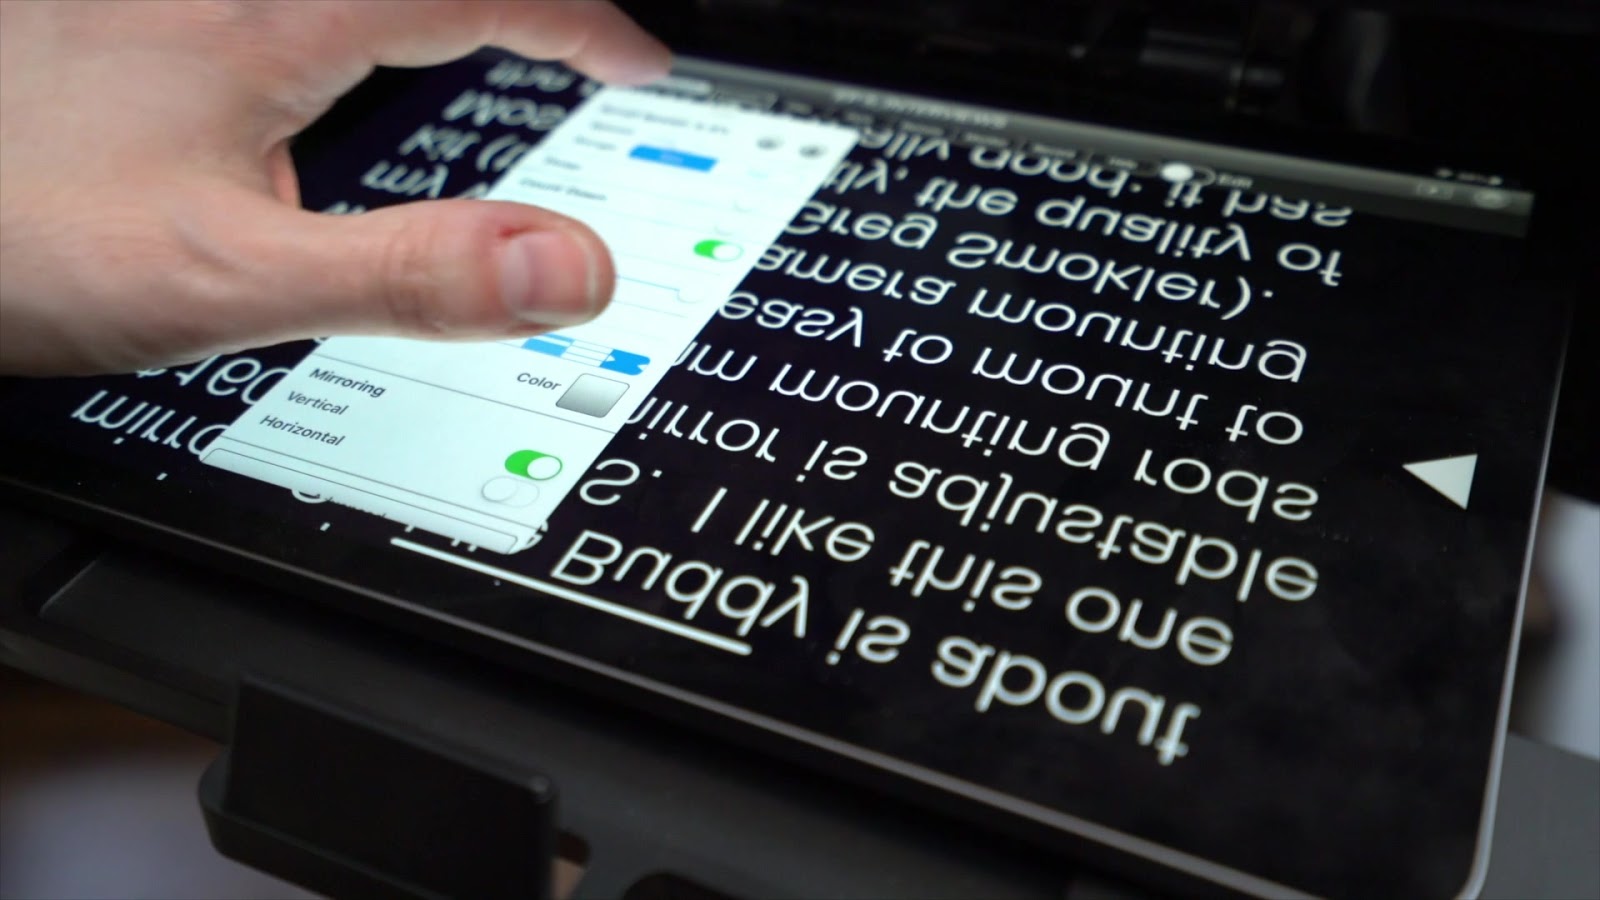
When it comes to teleprompters, it’s all in the mirror, and this one is adjustable, with 15mm mounting rods that make it easy to mount to my Wooden Camera mounting kit.
The iPad prompter app is called I-Cue, which allows you to set the speed and trigger start and stop with one touch, which is essential if you’re recording yourself.
Audio
I really love my Rode SmartLav microphone for recording audio.
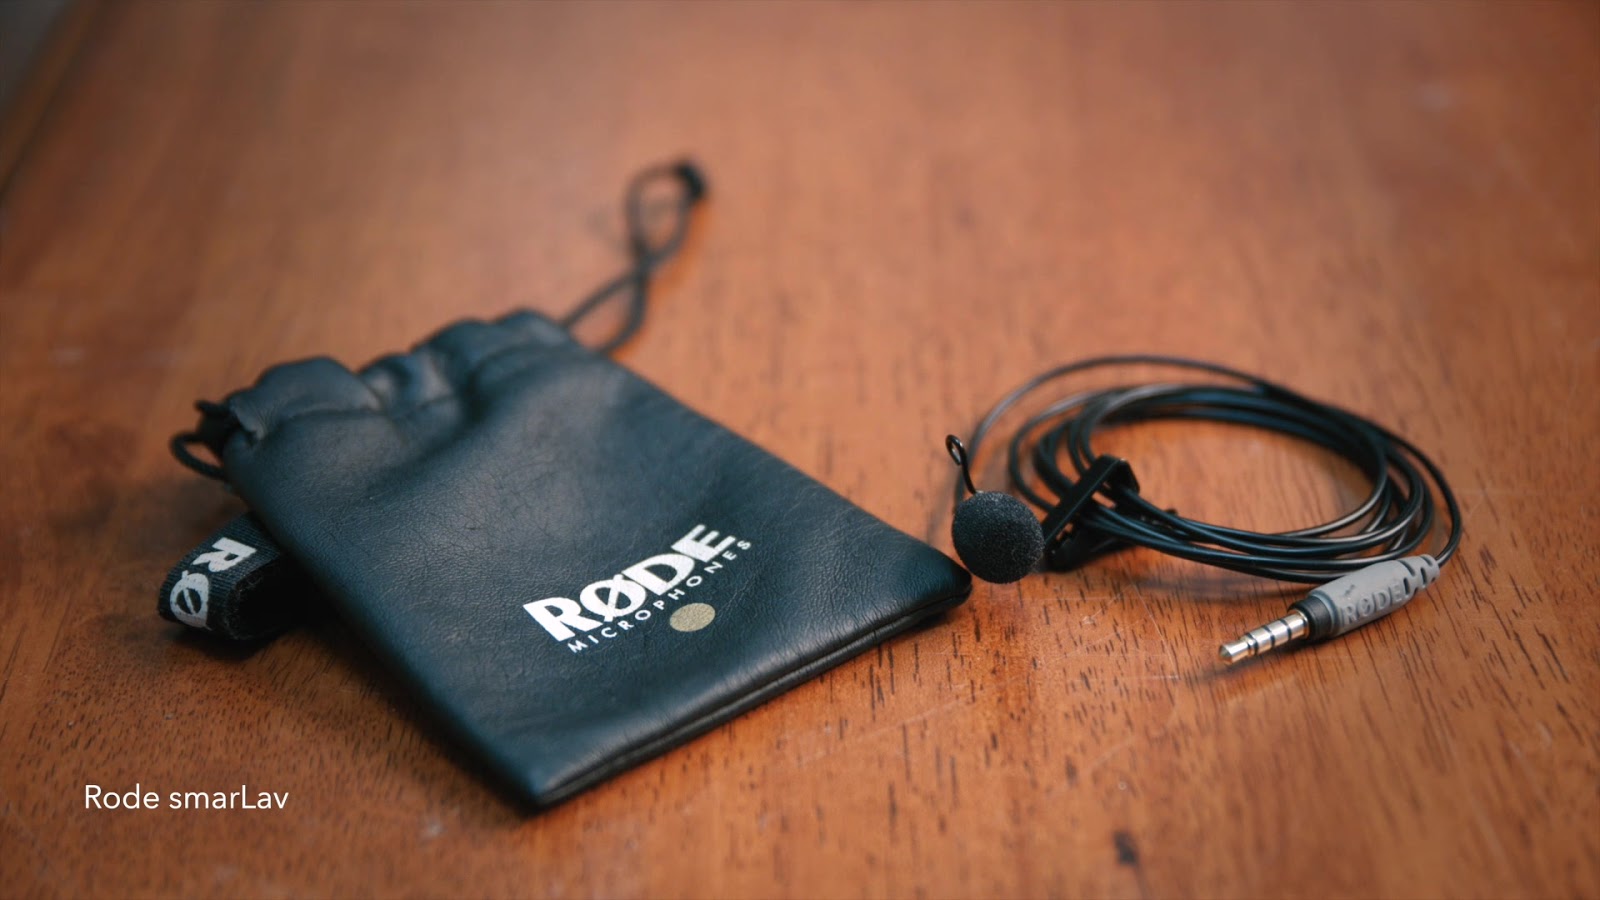
The SmartLav is about $80, plugs into my iPhone, and comes with an app that lets me record audio with an omnidirectional polar pattern that’s easy to mix.
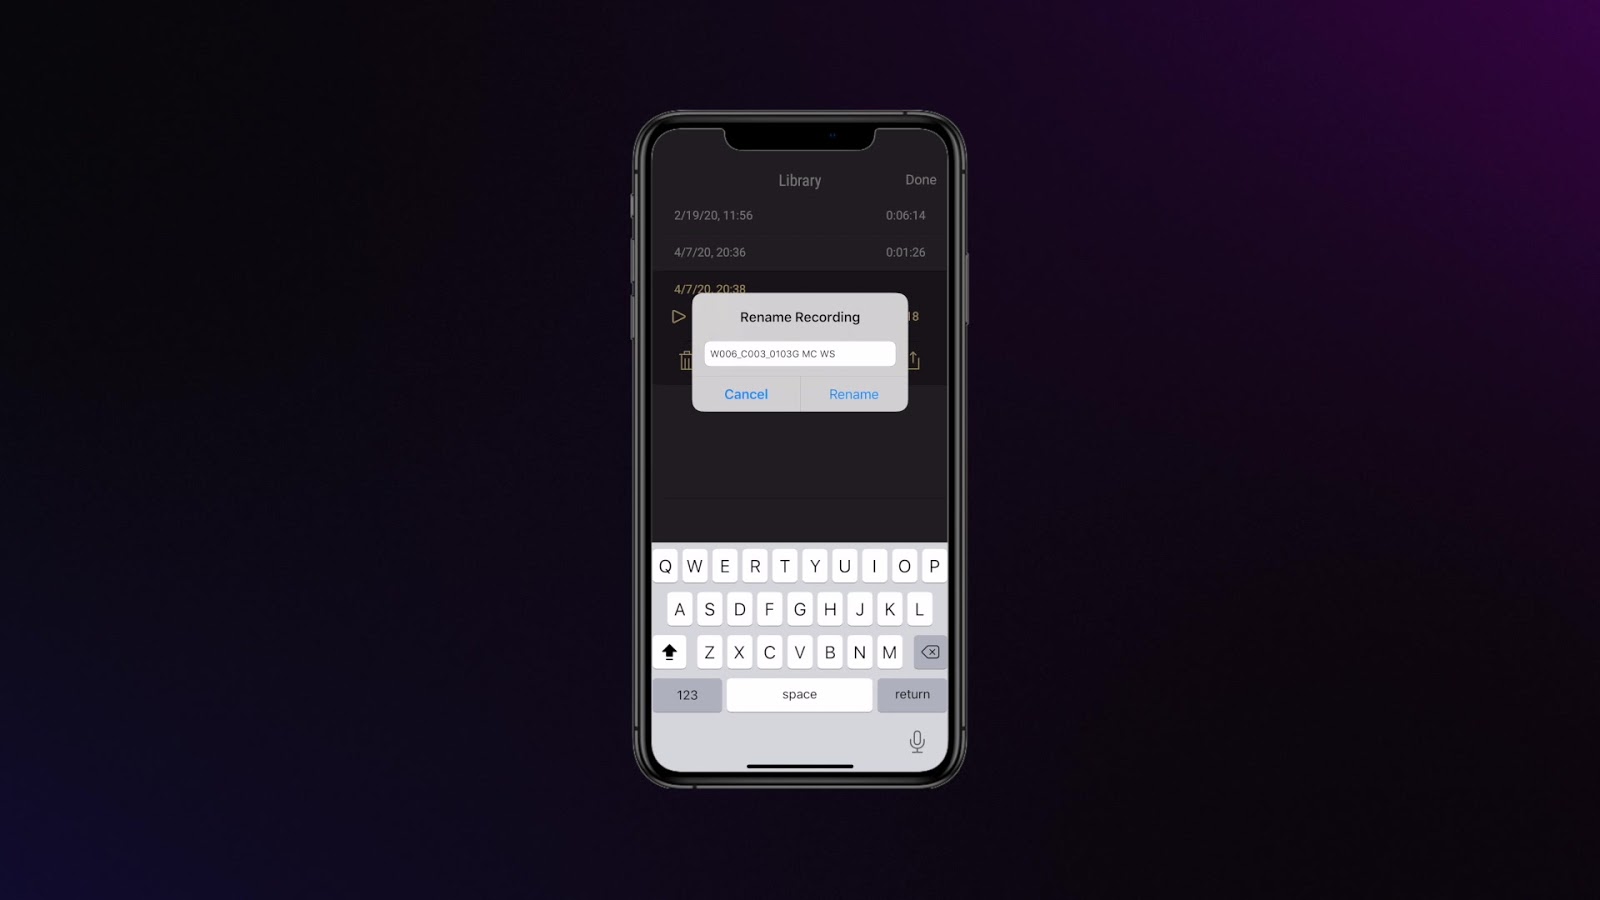
The best part is that after recording, I can select the audio file, name it to match the video file, and air drop it to my Frame.io watch folder, which automatically uploads it to the same directory as my video file.
Lighting
I’m not a cinematographer, and I know there are a lot of choices for LED lights, but I like using the Kino Freestyle for three main reasons. First, the colorimetry is best in class.
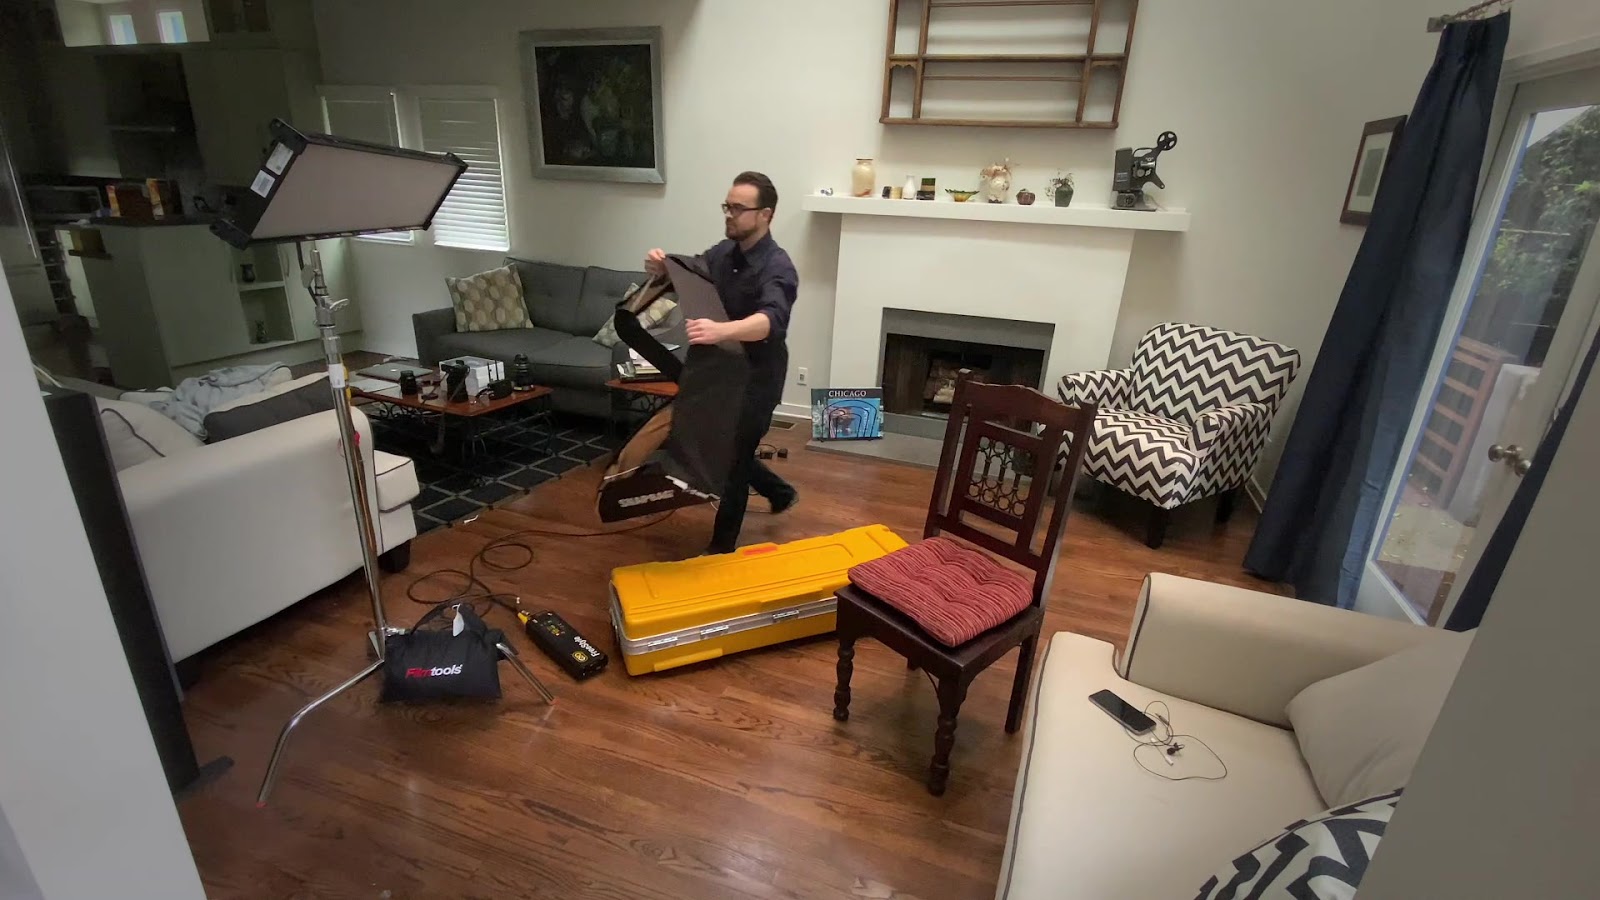
When you’re shooting at home with limited resources, a top quality light will make skin tones look better. The second is that it’s among the lightest professional LED panels in its class and you can hang it safely by yourself.
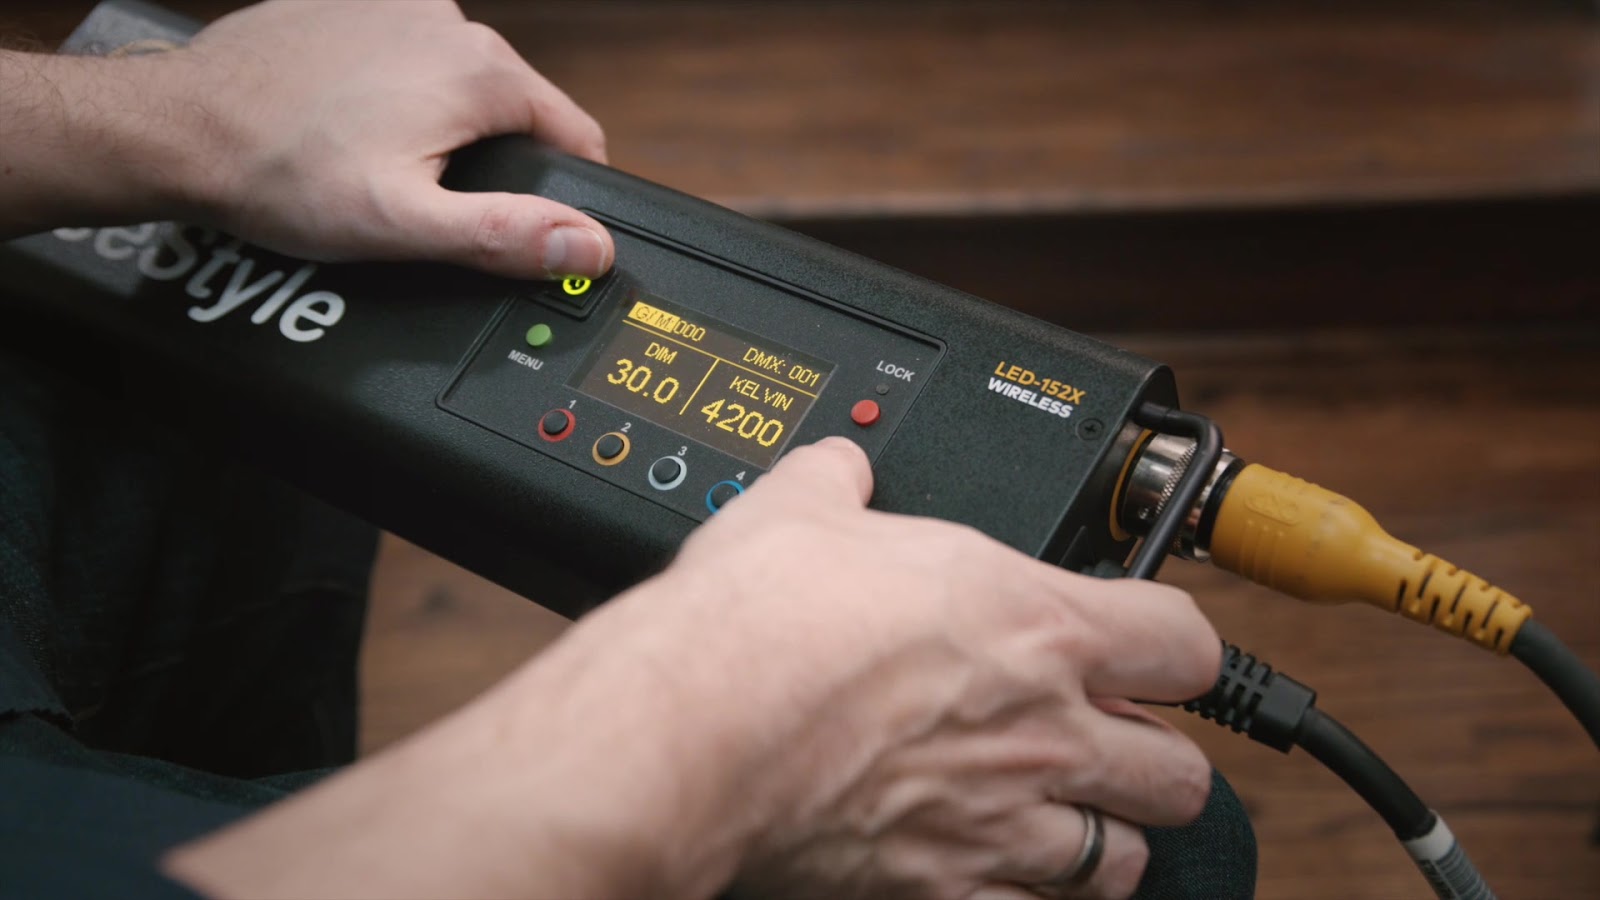
Finally, the controller is easy for anyone to use and the extension cable is long, so i can flip the RED monitor around, sit in front of the camera, and hold the controller in my lap to make adjustments.
When I shot this episode, the Caddie Buddy, Smart Lav, and iPad could all be ordered on Amazon and shipped to your home.
When it comes to the RED or Kino Freestyle or C-Stand, I recommend signing up for a KitSplit or ShareGrid account. They’re like the Airbnb of gear: you sign up, look for what you want, and the platform connects with owners near your home. It’s fixed pricing, ready to rent, and can include insurance.
So if you’re comfortable picking up a professional camera and lighting package, it’s an easy way to make your interviews look and sound great.
Webcam interviews
So what about when you want to interview someone else via some sort of teleconferencing and you want to be able to record their side of the interview apart from just the Zoom feed? And what if they don’t have a cinema-quality camera?
The first thing you need to consider is geometry. The problem with most Zoom calls is that they generally take place on laptops with built-in webcams that are placed on tables.
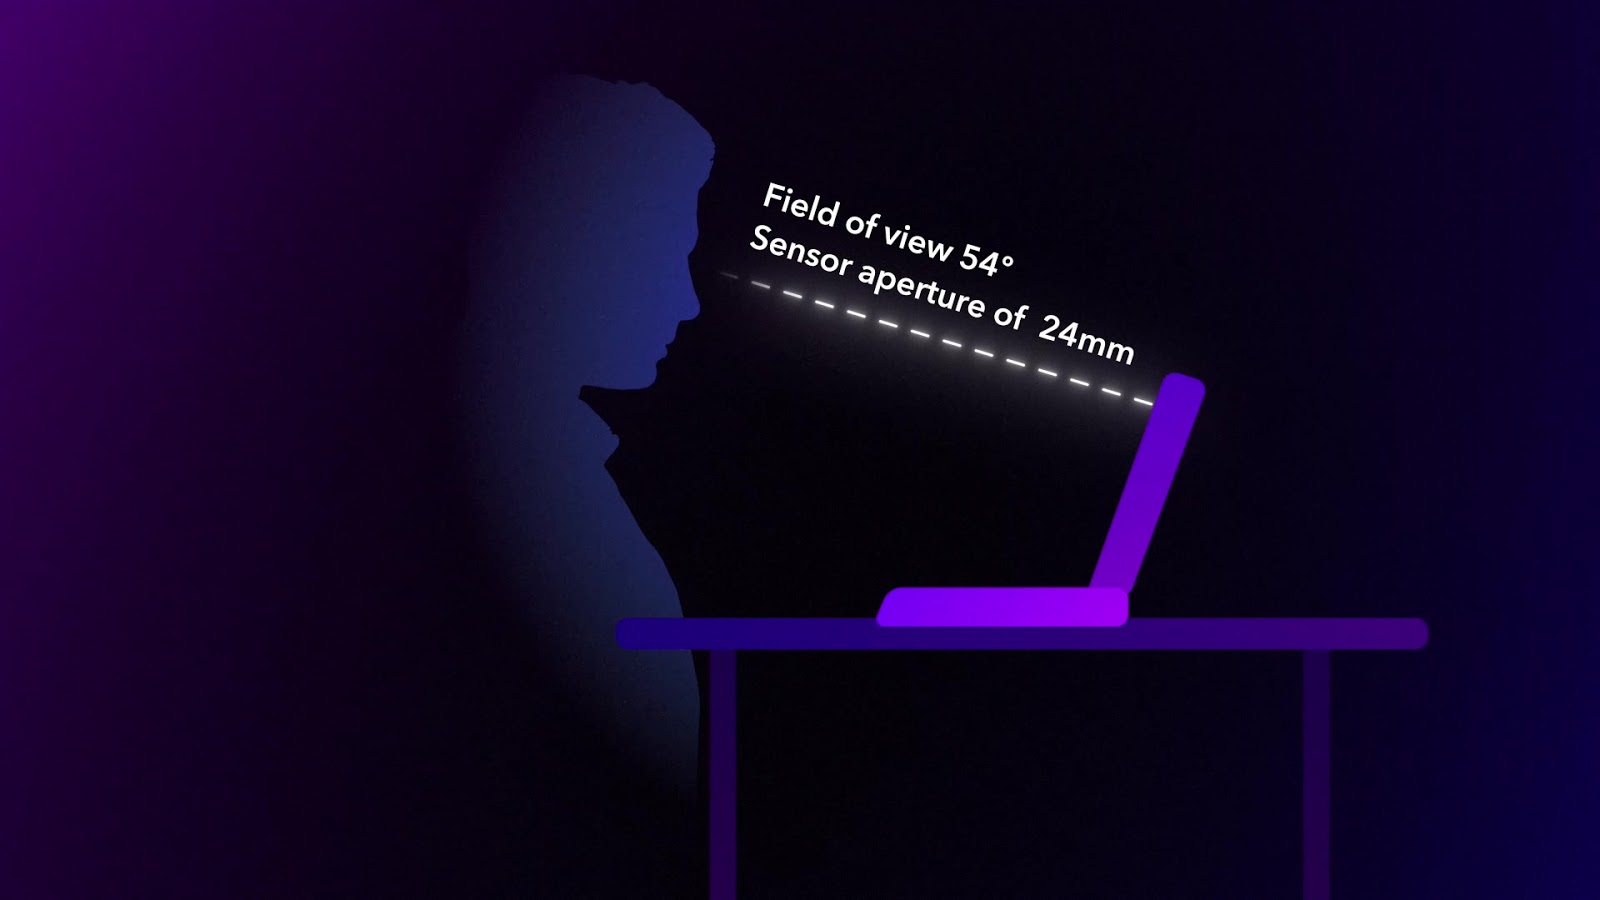
Since table heights are roughly 30 inches off the ground (or just shy of one meter) the angle of a laptop screen pitch can be between 20 and 30 degrees.
The default camera on most MacBook Pros provides a field of view of 54 degrees and a sensor aperture of 24mm.
Since these factors cannot be changed, one thing we can do is change the geometry. You need to get the computer a little farther away and you need the camera to match your eye level. If you want to make it look even better, use your smart phone as a key light.
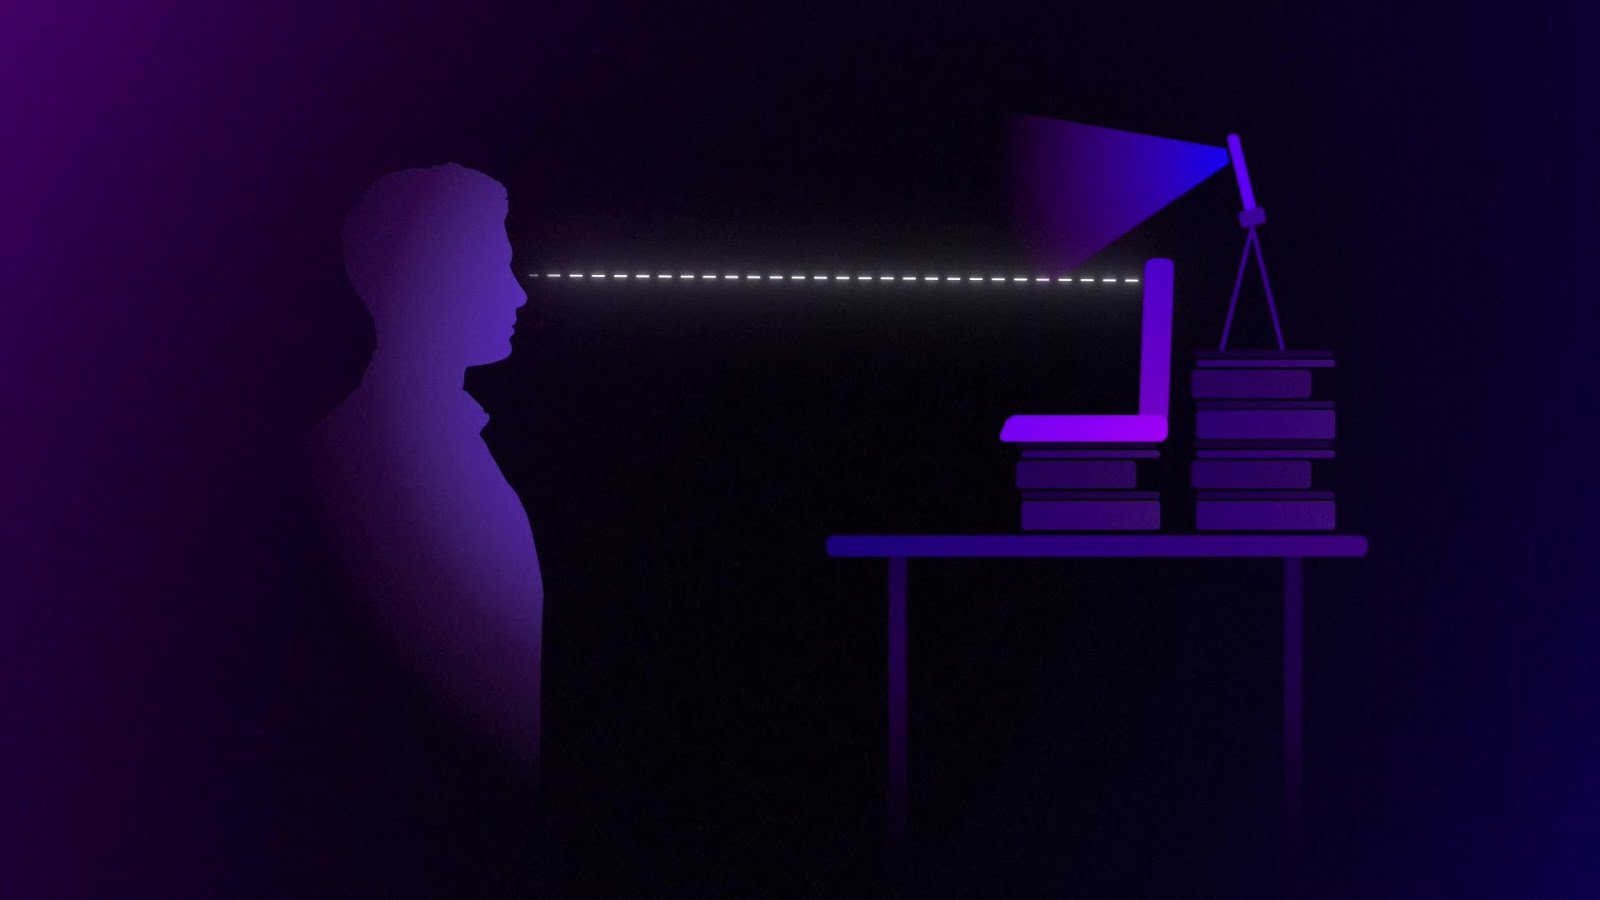
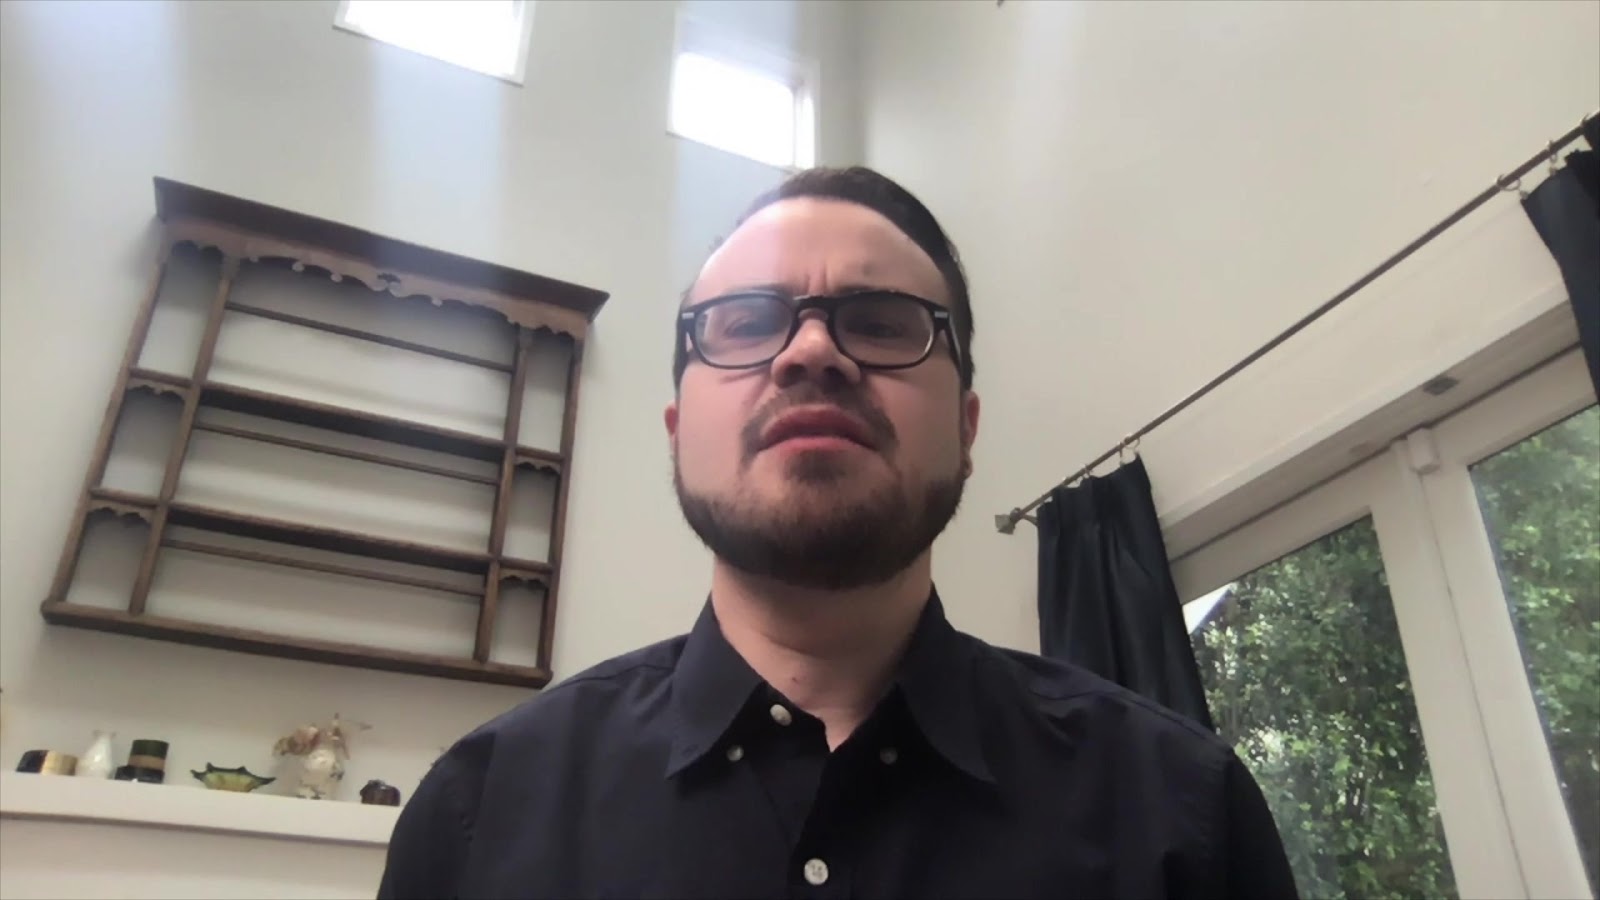
And perhaps most importantly, online web calls always have video displays of the other people you’re talking to, which, unfortunately, takes your eyeline off the camera and starts to mess with the nice geometry we set up. So you need to cover your screen or hide the app and use it for audio so that you’re able to focus on that tiny little camera at the top of the computer.
In the end, these adjustments can make a big difference when you’ve got your well-shot footage next to your interviewee’s and want them to look reasonably similar in quality.
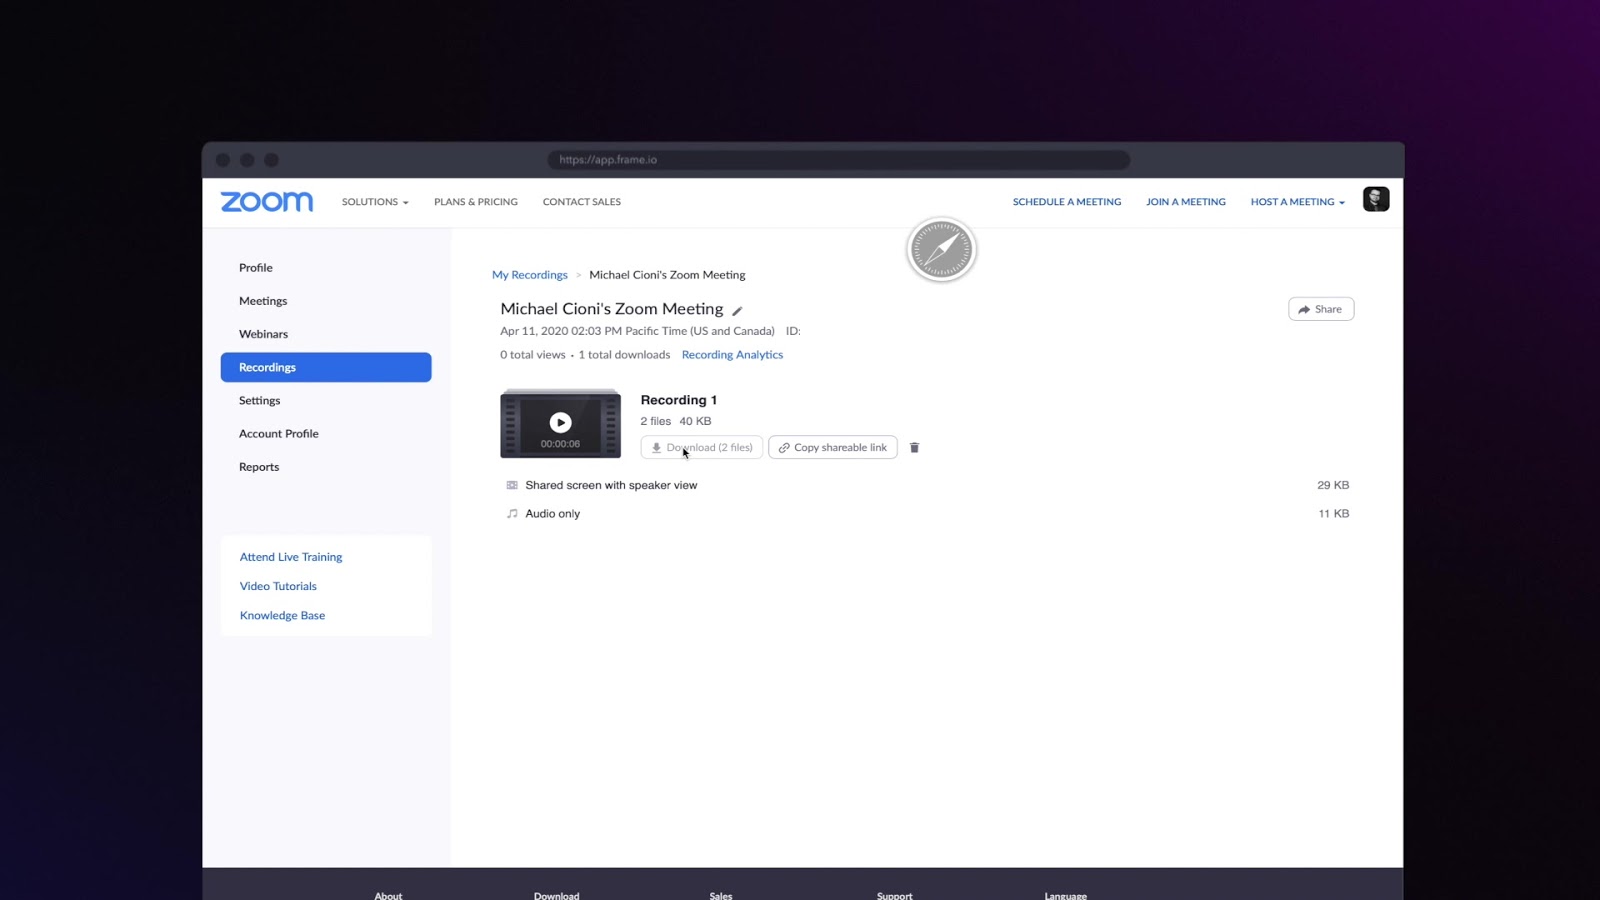
If you record your Zoom call to the cloud, you can load that as an asset into Frame.io so you can begin editing the interview quickly.
You can also connect an external camera into Zoom by using an external device to convert the HDMI signal out of the camera to Thunderbolt, USB, or ethernet.
For example, I use an AJA U-TAP HDMI converter to take the HDMI signal out of my SONY A7Rii and connect it to my computer over USB3.
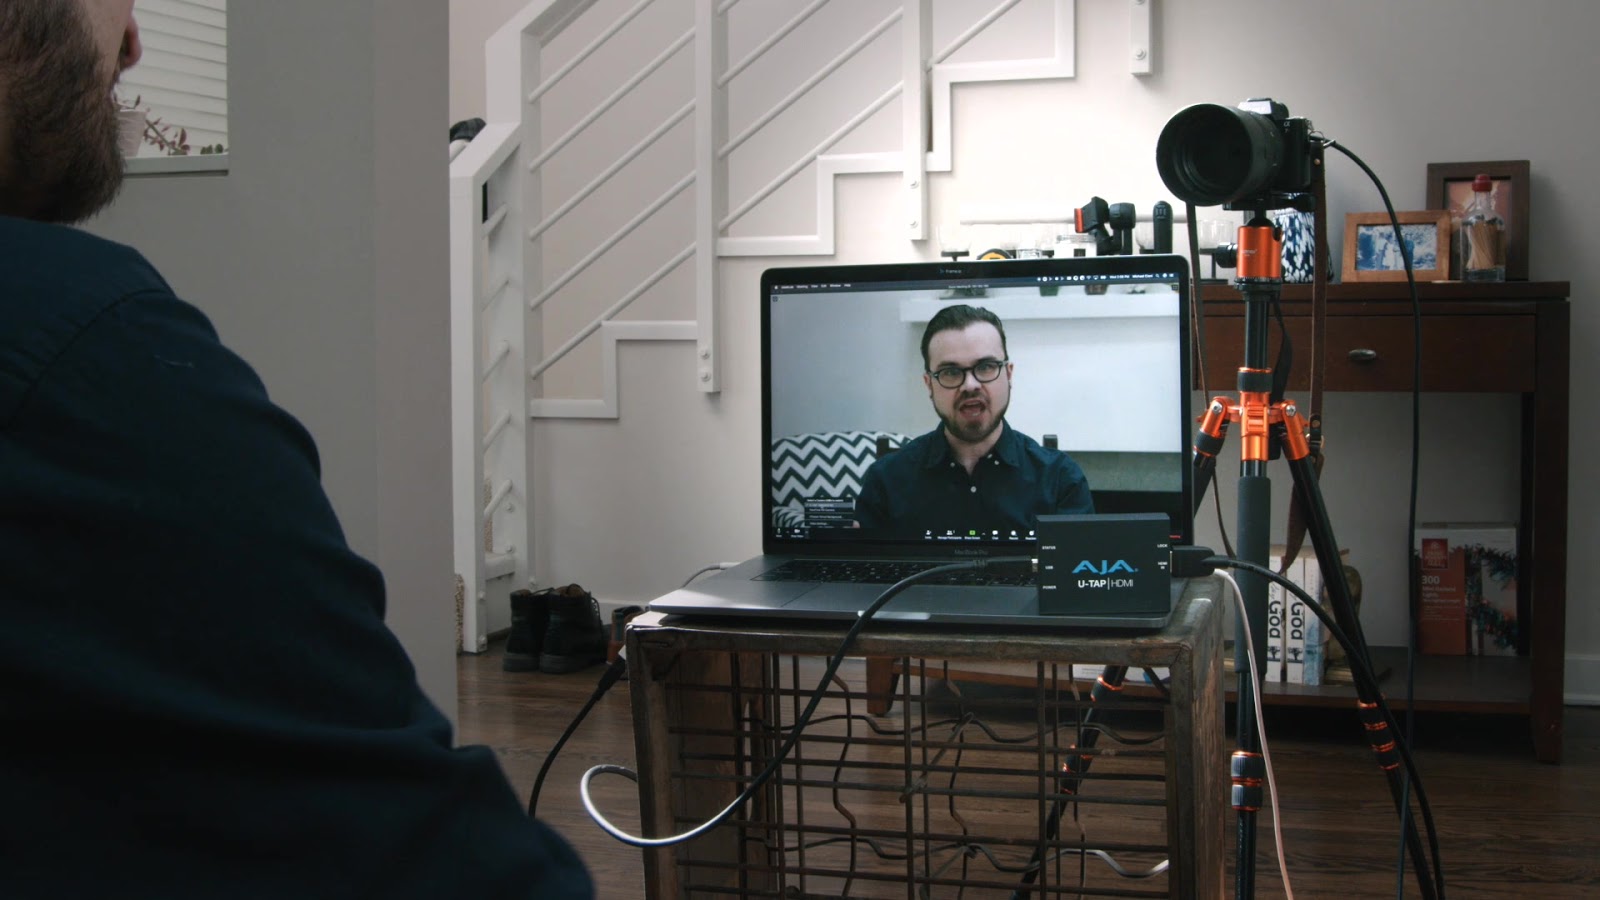
I can open my Zoom preferences, choose Video, and then select the A7 camera.
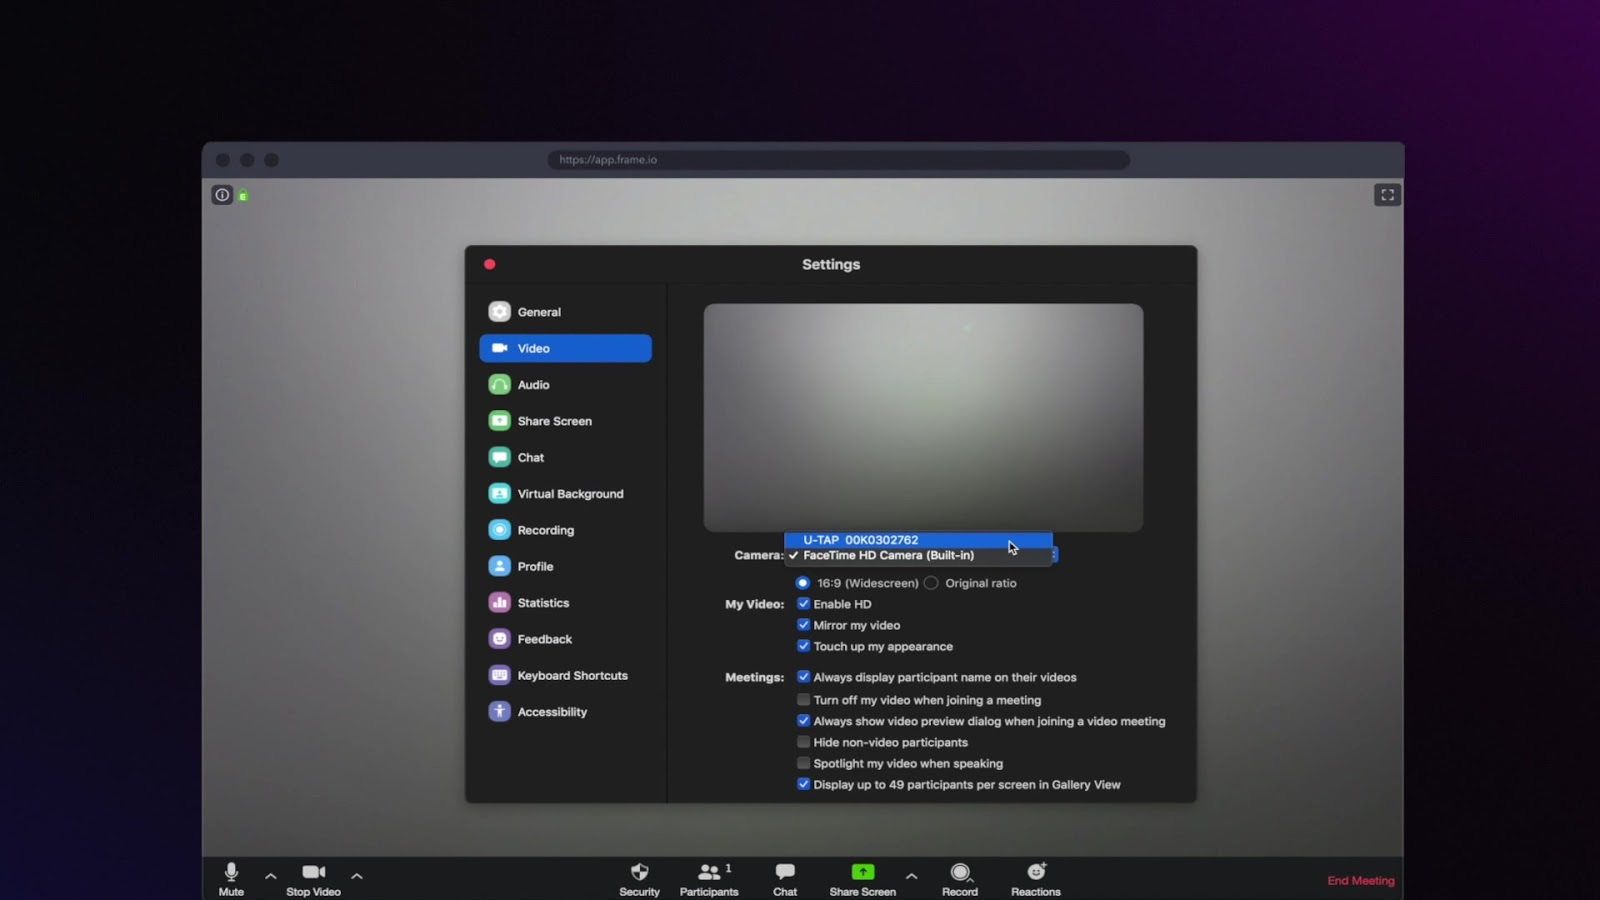
That gives me a higher quality camera that feeds directly to my Zoom, and I can use either my Smart Lav, or the computer or camera audio.
Smart phone interviews
But what if you don’t want to use the Zoom link and you don’t have access to an additional mirrorless or SLR camera?
The best solution is using something that we all have: a smart phone.
First, I recommend downloading a third party video recording tool that offers more manual control. There are lots of them out there for Android and iOs, so feel free to experiment and research.
I prefer Filmic Pro, which is $15. With Filmic pro I can set my resolution to 4K, my frame rate to 24, and I can connect my Rode Lav directly into the phone.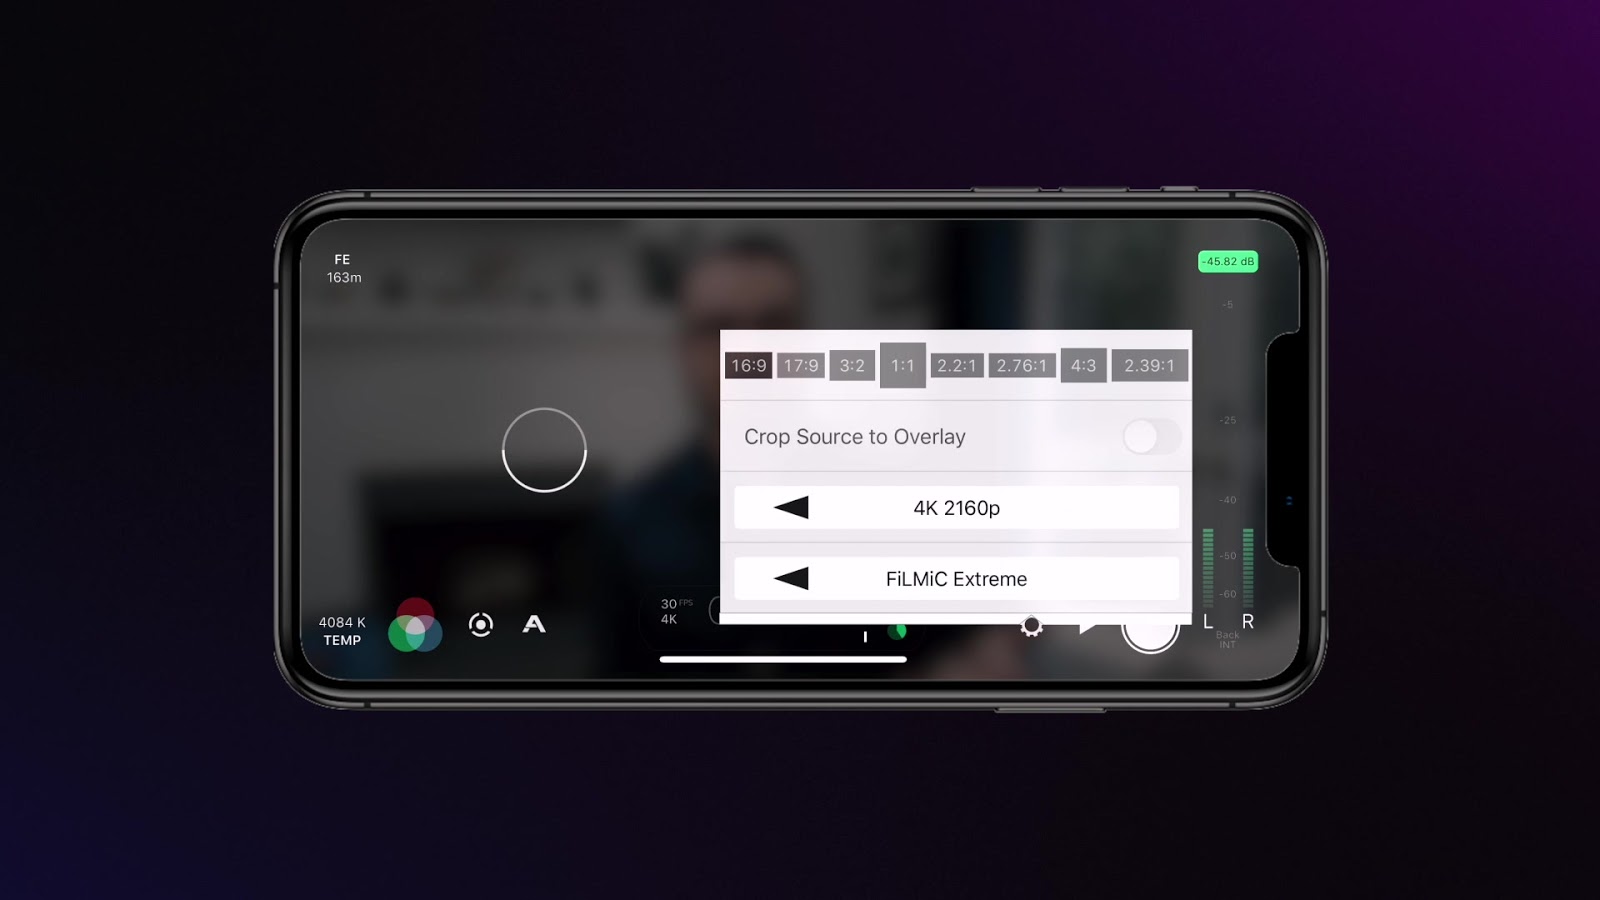
You’ll want to enable “Save to Camera Roll” as well as “Enable Timecode Track.” If you have an iPhone 11 Pro or iPhone 11 Pro MAX, then you have a lot of optical choices: The iPhone 11 Prowide lens is equivalent to a focal length of about 14 millimeters, the standard lens is equivalent to a focal length of 26 millimeters, and what Apple calls the “telephoto” lens is equivalent to about 52 millimeters. So backing the camera up and using the 52mm lens will photographically be much more appealing.
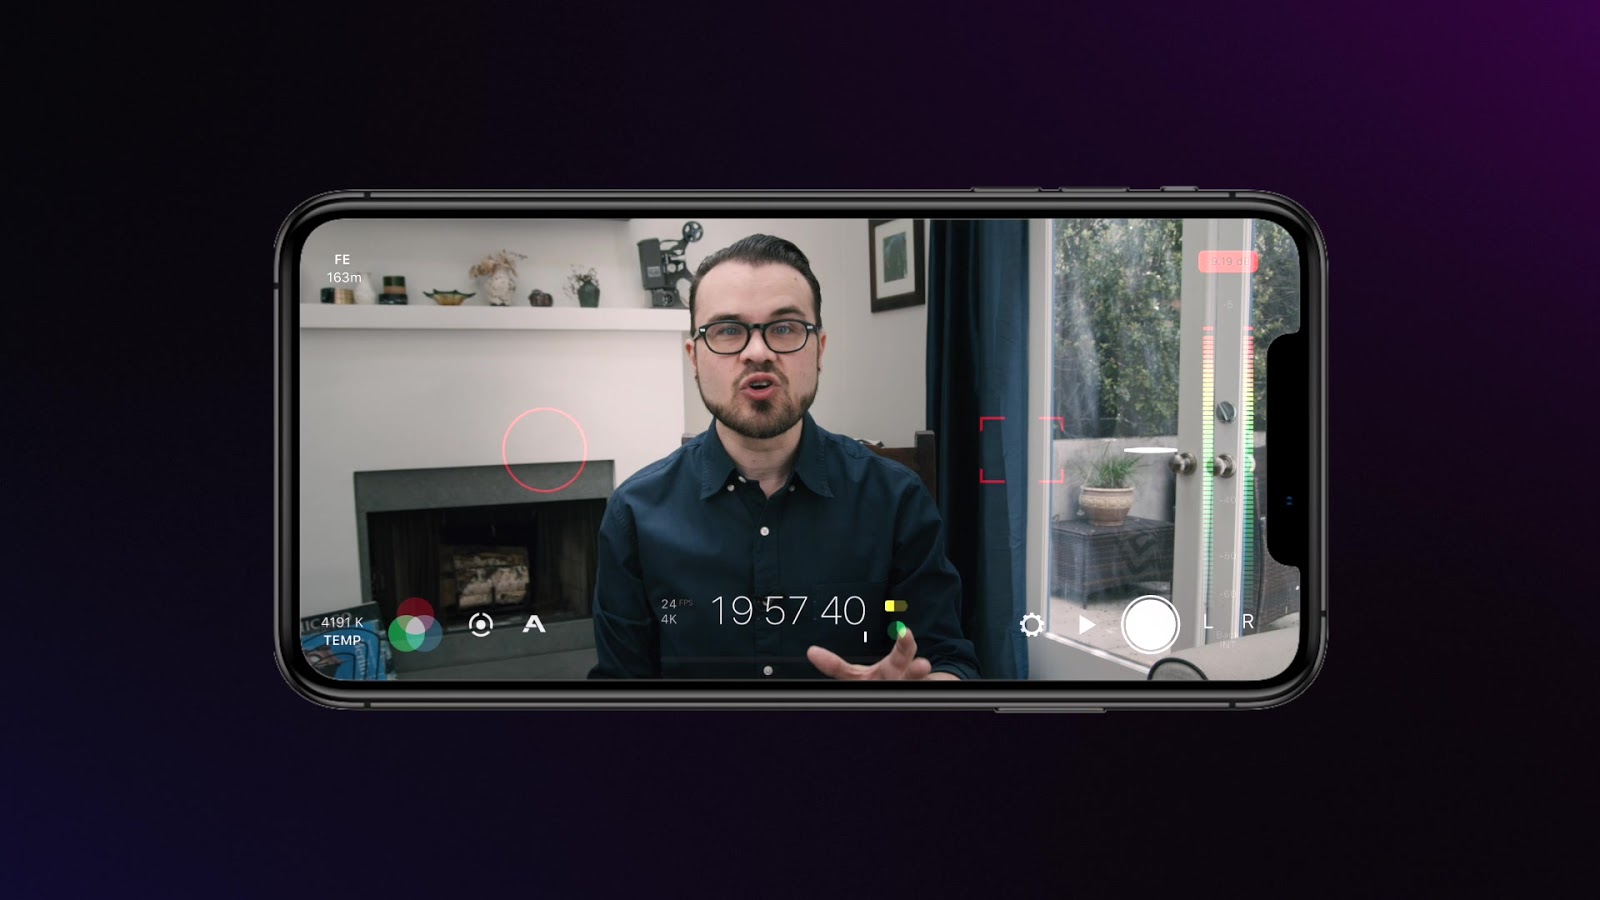
Turn on the torch as an additional key-light, and perform an auto white balance. It’s helpful to put something in your chair to help set up your shot. You can select and set the focus, and adjust the iso and exposure.
If you want to take this a step further, you can purchase the in-app Cinematographer’s Kit for another $14, which gives you the ability to shoot with a log-like, low contrast curve.
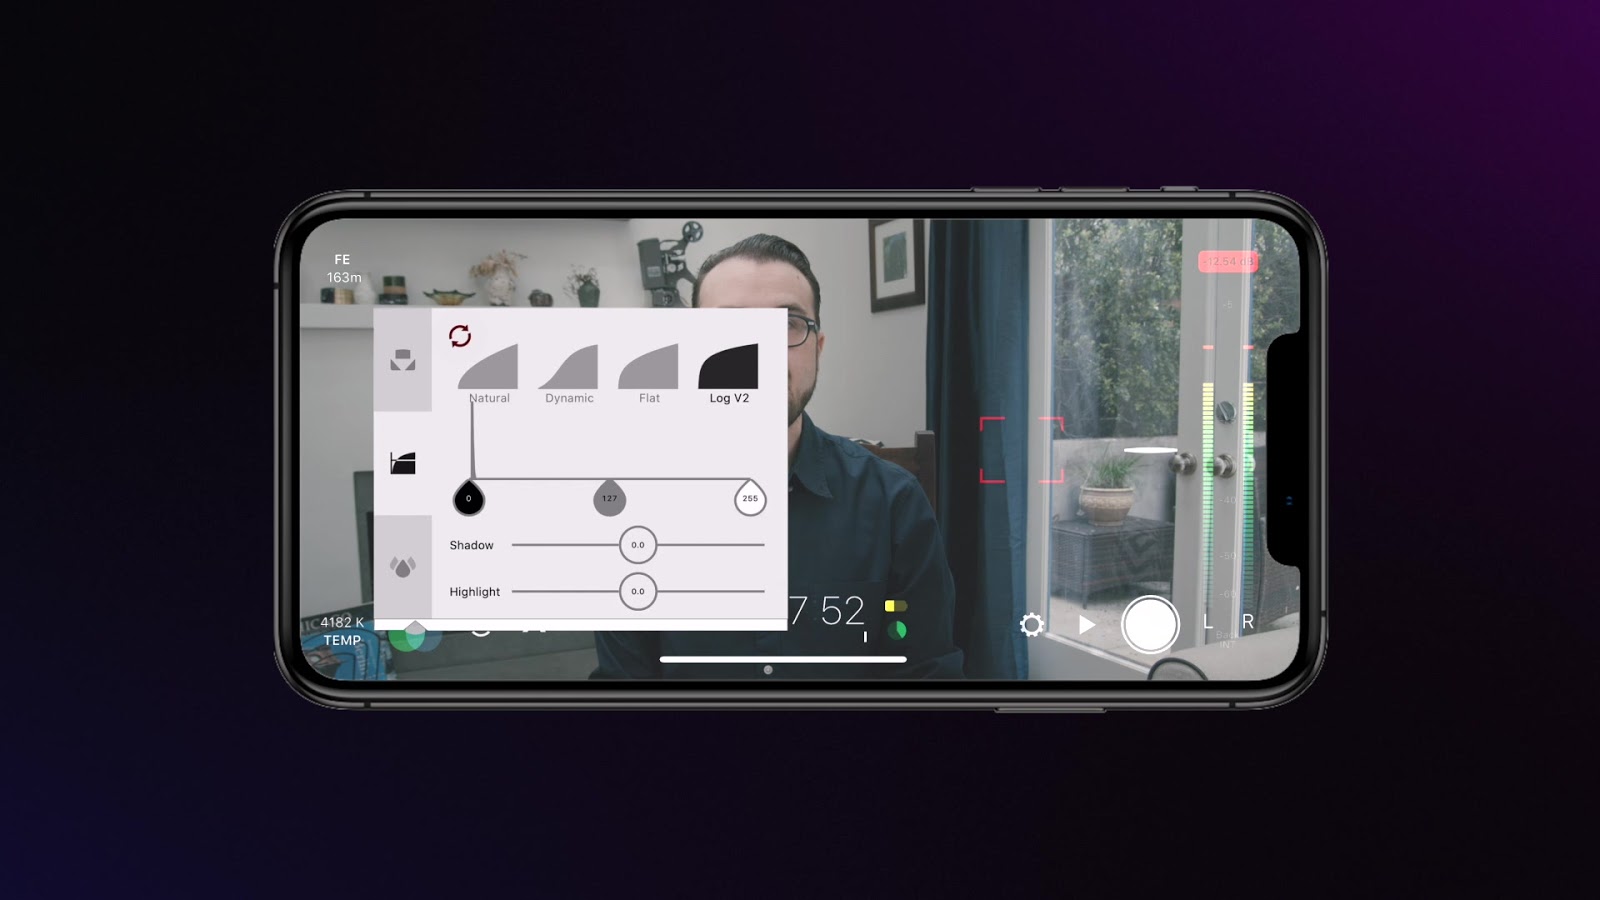
The benefit is it increases your control over color and contrast later, so this mild investment might be worth it to get those final tweaks to look good.

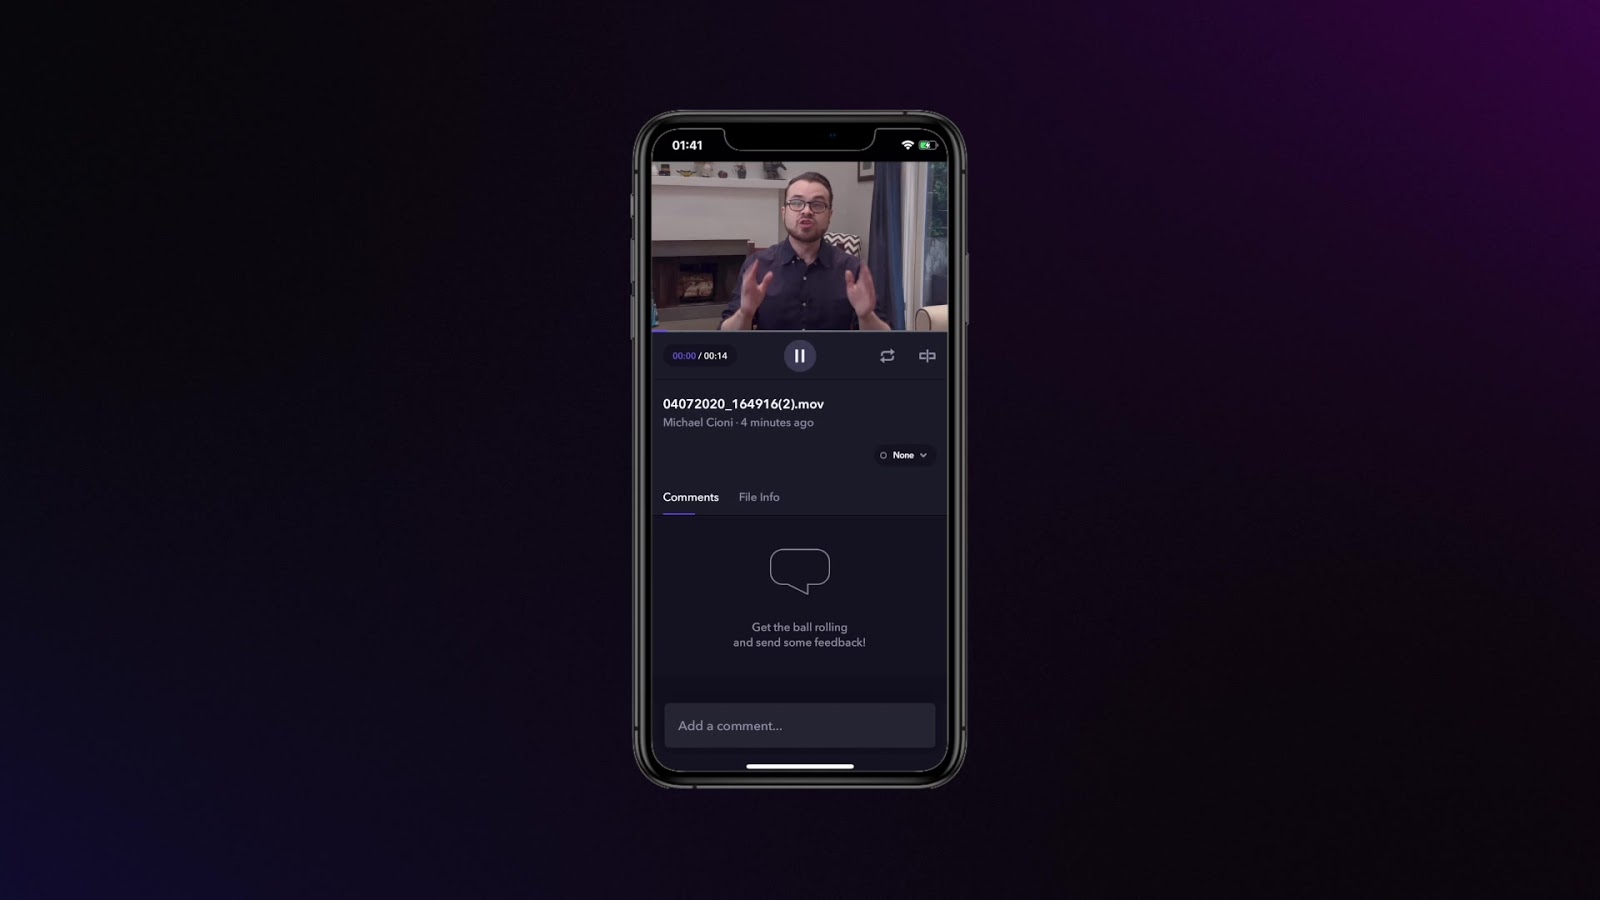
Once you’ve shot your self-interview on your iPhone, you can open up the Frame.io iOS App, navigate to the project you’ve been invited to, click on a folder, and select the UPLOAD button.
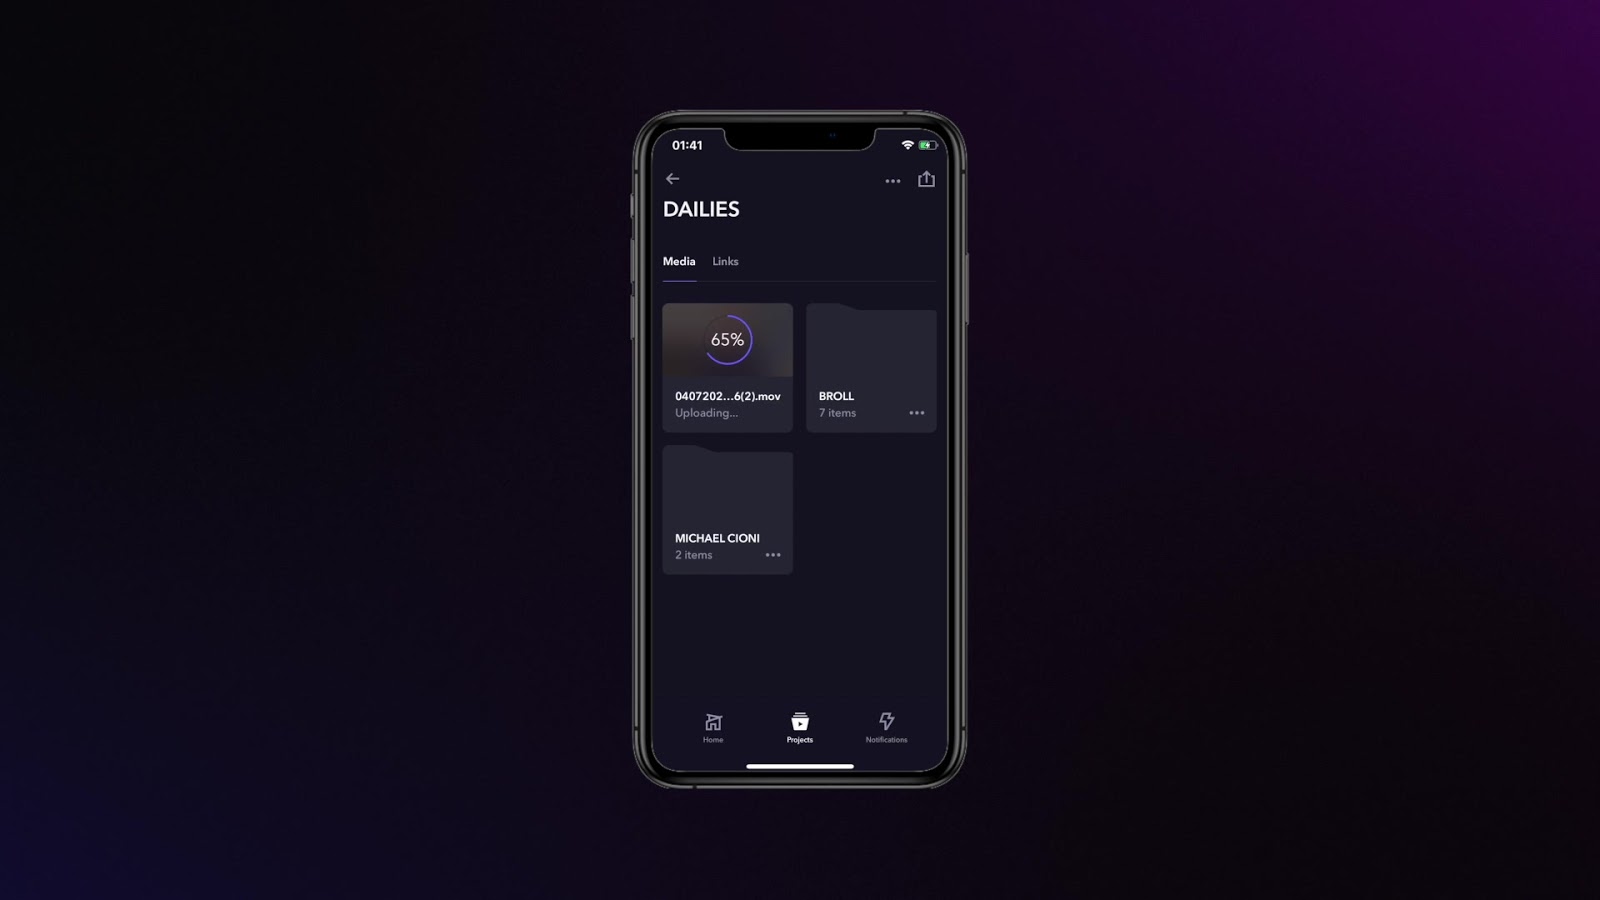
Frame.io will access your Camera Roll, and you can upload the interview directly to Frame.io your phone without any other work required. A notification will go to the editor and producer, and you’re done.
We’re learning a lot of things from this working-from-home experience. We’re learning that it’s still possible to turn out great shows, even when the kids are playing and the dog wants to be petted. We’re learning that our relationships with each other and with our work are shifting in ways that may be healthier in the long run.
But mainly what we’re learning is that we’re all getting better at troubleshooting. And when we return to some semblance of normalcy again, we’ll all be the better for it.
As always, we take our inspiration from you, so we look forward to hearing your suggestions and feedback.