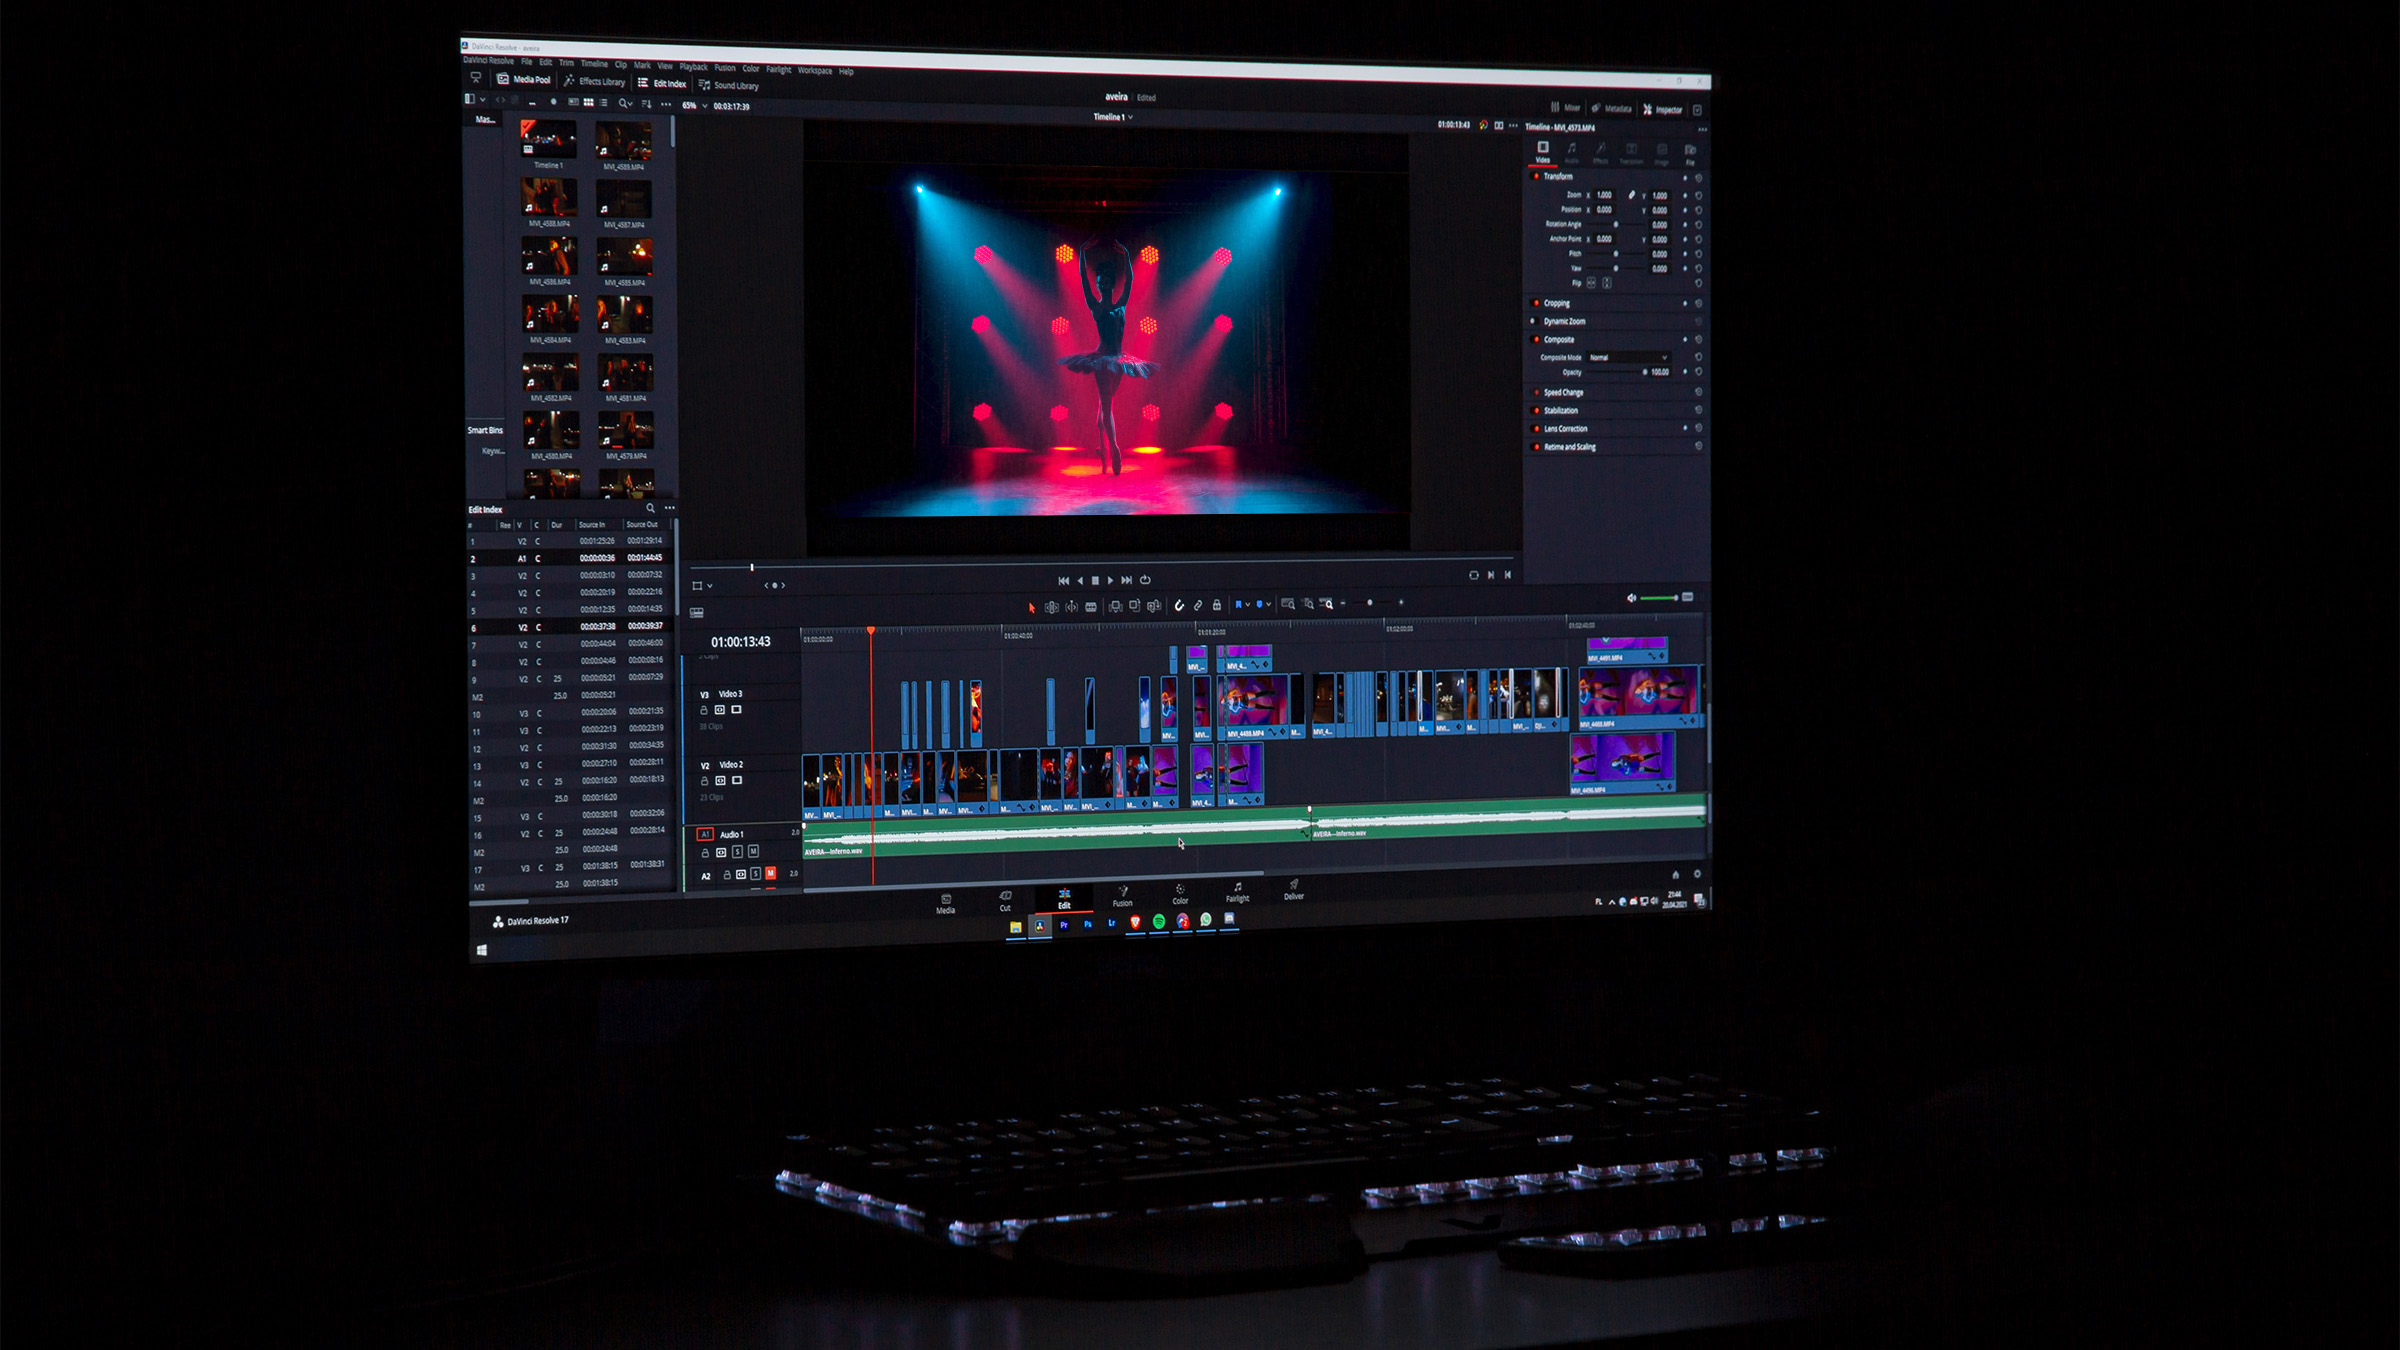
Over the past 17 years, DaVinci Resolve has evolved from a color grading application reserved for high-end facilities into an editorial, VFX, audio mixing, color grading multitool.
During the same period, file-based workflows, the democratization of software, and the internet have all led to workflows that are very different from traditional film and tape.
But these changes have brought with them a high degree of pressure and raised expectations around delivery. Deadlines are shorter, render times longer, and stress is higher.
When our computers start to buckle under the strain, our first response is often to replace them with something faster. It’s the obvious solution. But what if it’s not the best solution?
Top-tier work is created on older hardware all the time. It just needs a little planning.
So in this article, we’ll be taking a look at how to use the tools provided by DaVinci Resolve to get more out of the machine that you have.
Let’s start by considering the approach you’ll be taking, as this will help to define the tools that fit the task.
All in one
The all in one approach basically means dumping in source media and going to town without much pre-planning or separation of post production tasks.
Usually, this means working with original camera files, creating graphics as you go, working on VFX as needed, crafting an audio mix from original sources, and rendering out a final timeline directly from the same project.
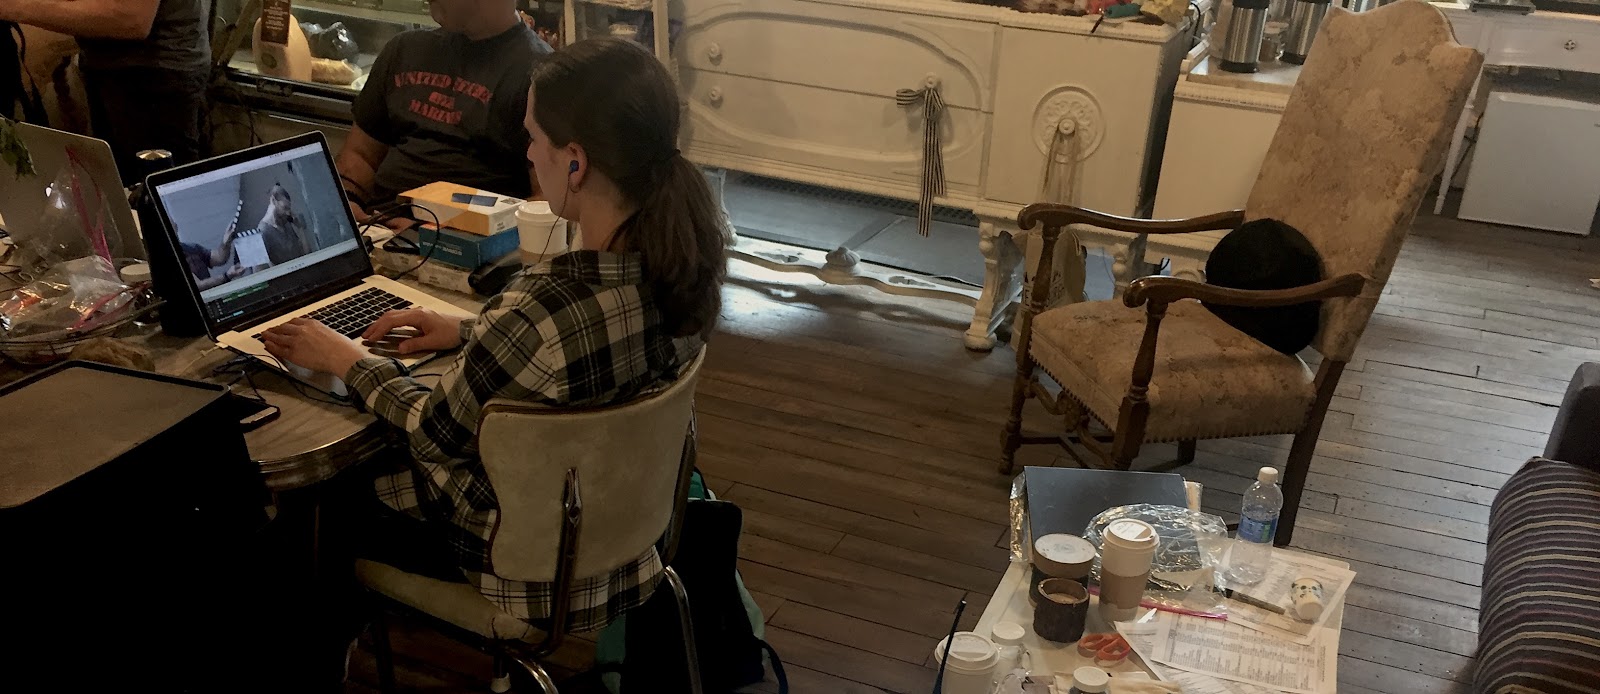
This type of workflow is more common among smaller production companies or independent shooter/editor scenarios. Typically, the project stays with a one-person generalist from start to finish, and you’ll often find it found in projects like wedding videos, music videos, corporate videos, or sometimes even independent films or YouTube videos.
Sequential
The sequential approach is a more conventional workflow with each stage of post production being handled in order.
From creating proxies, breaking down footage, screening, editing, motion graphics, color grading, VFX, online and delivery. Each stage might be handled by one person or multiple people, but there’s a clear differentiation between the various stages.
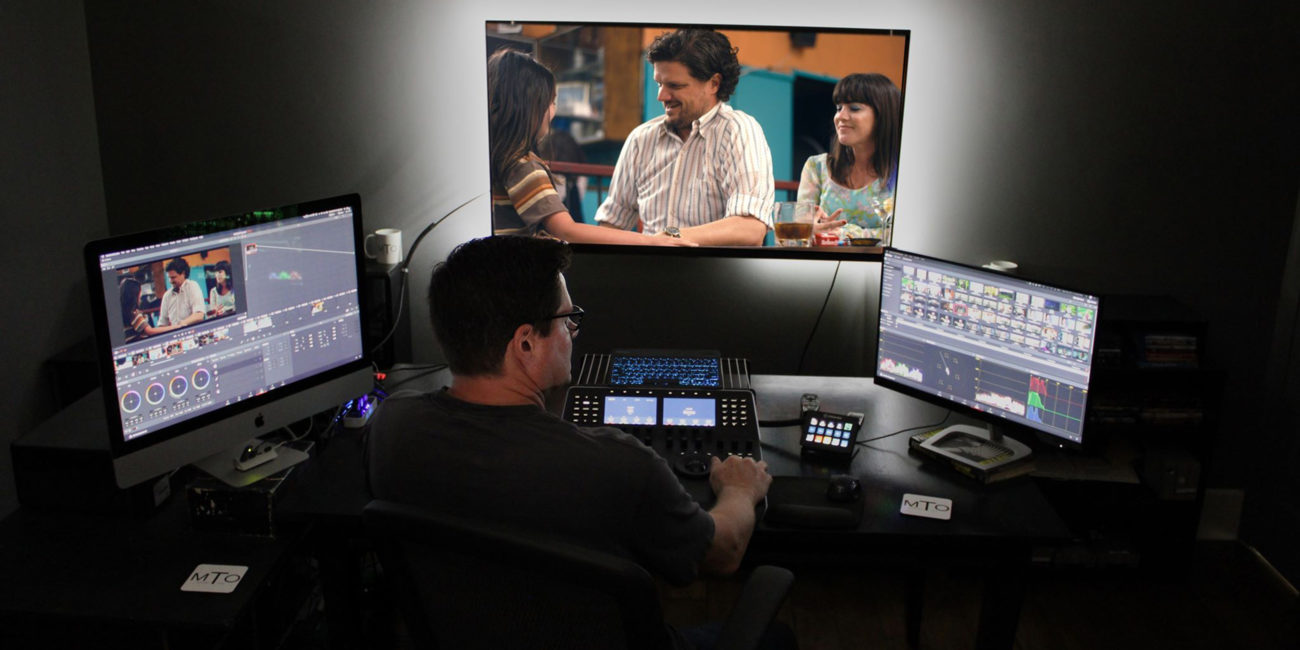
Usually, this would involve more specialists like editors, colorists, etc., than a single generalist, and you’ll find that it’s common in commercials, non-scripted TV shows, and documentary projects.
Standalone
The standalone workflow is still the most common usage of DaVinci Resolve.
While Resolve is being used more and more for things beyond just color, it’s still known as a high-end color grading tool for colorists.

The standalone approach can be used on any particular project, but it’s most common in higher-end workflows like feature films, television shows, and high-end VFX work.
Now that we know what the most likely usage models are, let’s take a look at the media we’re working with.
Back to the source
The original camera files produced by today’s cameras come in a range of aspect ratios, resolutions, frame rates, compression types, and codecs.
This variety can make things tricky, but it helps to break them down into the following categories: heavily compressed, raw, intra-frame, and intermediate.
Each type of codec and compression presents its own challenges.
Heavily compressed files
Heavily compressed camera files typically come from more affordable, prosumer cameras that shoot variants of H.264 (AVC) or H.265 (HEVC).
Because these codecs require more processing power to play back, working with them in Resolve can lead to stuttering previews, even on expensive hardware. As capture resolutions increase—you can get 6K video capture for under $2K, these days—the processor workload follows suit.

While the smaller file sizes make it easier to shoot lots of footage with these types of cameras, the files are very difficult to manipulate in post production. Also, they often lack a timecode track or sufficient metadata to support a full post production pipeline.
The solutions for working with heavily compressed files
If you find yourself working with heavily compressed original camera files, then the solution is to use a proxy or intermediate file workflow, based on your project approach.
Attached proxies
For all in one workflows, a great option to deal with heavily compressed source media is to use proxy files.
Proxy files are lower-resolution, smaller files in post-friendly formats like ProResLT or DNxHD LB that can be created within Resolve. These files can be attached to the original camera files in Resolve, allowing you to switch back and forth between the original camera files and proxies as needed.
As well as allowing you to work on less powerful systems like laptops, this approach is particularly useful for the all in one operator because it gives you one set of media for editing and another set for online and color.
Intermediate replacements
If you’re working in a sequential workflow, you might prefer to create intermediate files that match the original camera file resolution using a codec like ProRes 422 HQ.
Assuming you can afford the extra hard drive space, creating intermediate files in formats like ProRes 422 HQ or ProRes444 means that you’re working with files that are closer in quality to the originals.
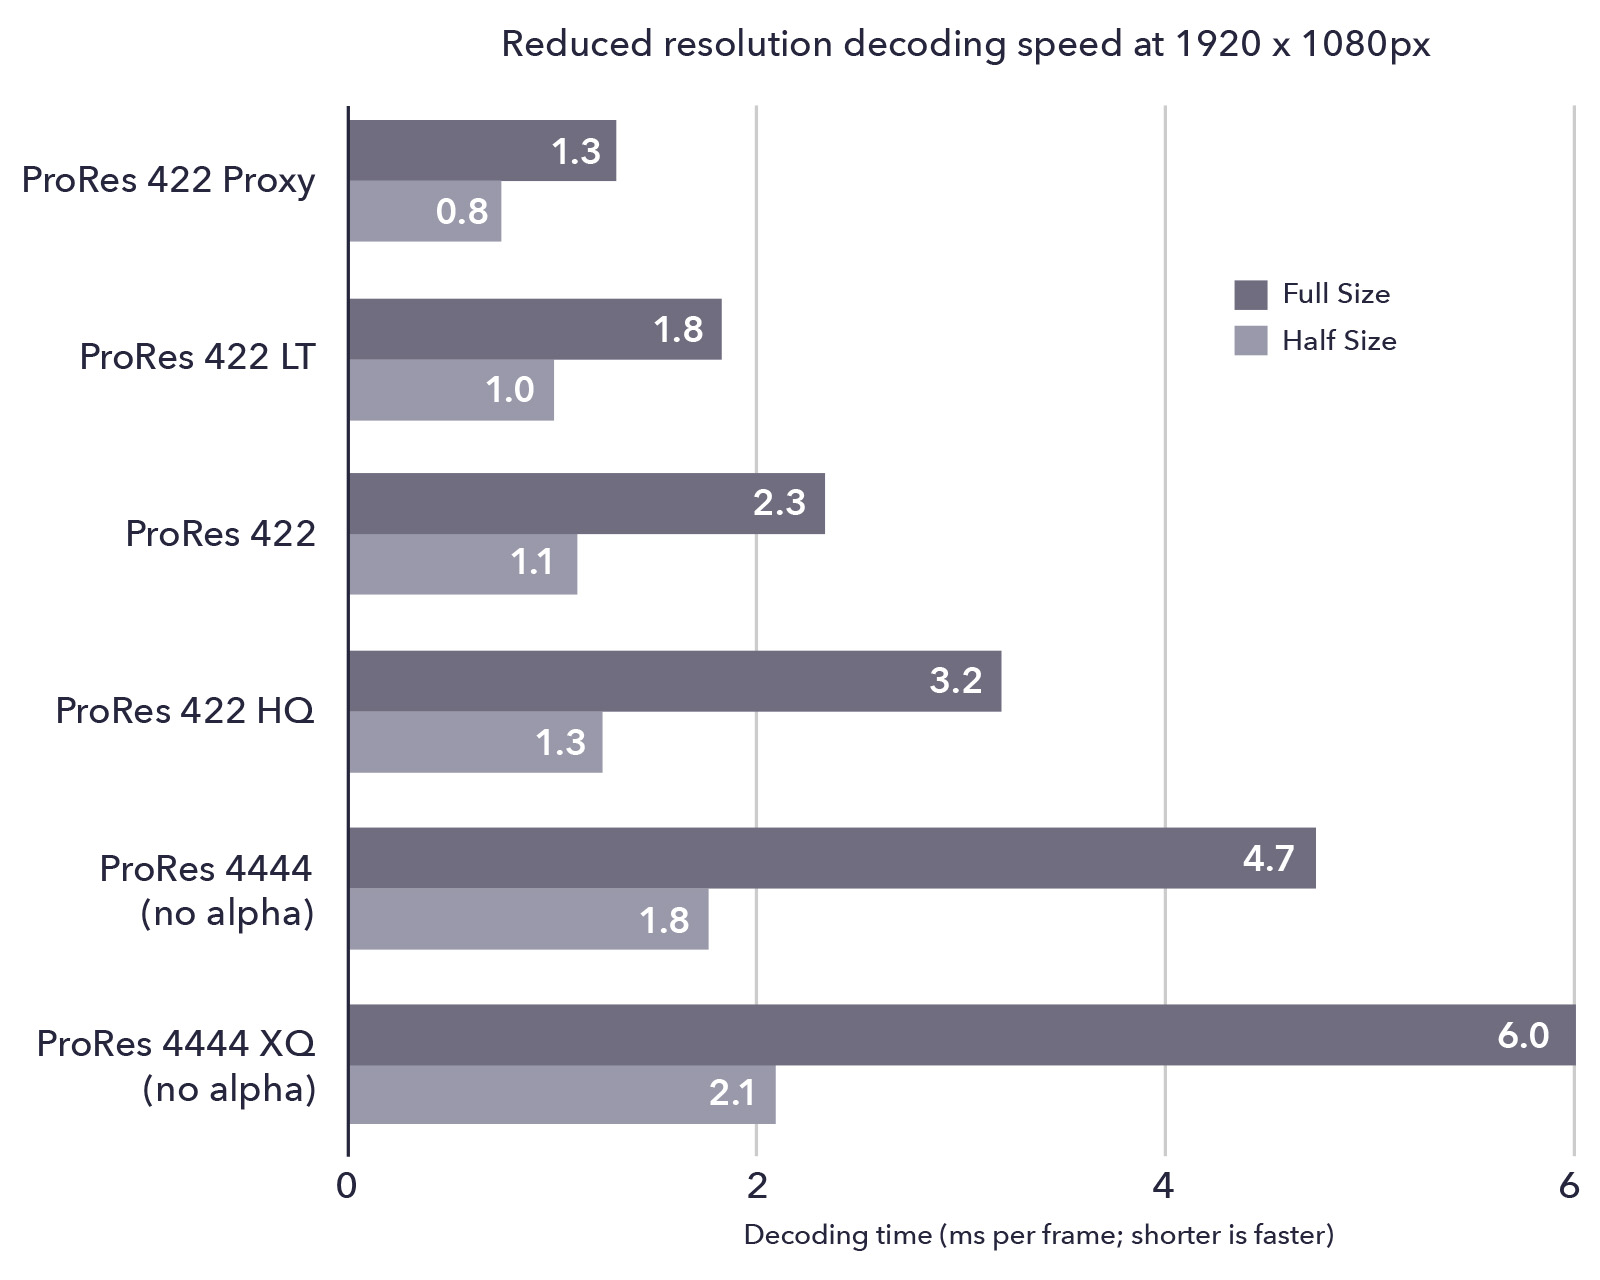
In addition to reducing your reliance on the heavily compressed original camera files, it also allows you to assign timecode and metadata like reel names—a significant benefit if you’re working within a team that’s exchanging media.
Unattached proxies
Your last option for dealing with heavily compressed files would be also to create proxies but not attach them to the original camera files, which is the traditional approach for standalone workflows.
As with the attached proxy file workflow, these lightweight files make editing easier on less powerful computers. And by using unattached proxies, editors in a sequential or standalone project workflow can avoid issues that can occur when attached proxies are moved across a network.
Raw files
More and more video cameras today shoot a form of raw.
Raw is not an industry standard, so it differs between camera manufacturers. Raw files aren’t video, they contain the data recorded by the camera before conversion to a video format occurs. So they need to be processed by computer hardware into certain pre-ordained color spaces and gamma encodings like Arri LogC or Log3G10/RedWideGamut before they can be viewed.
This process of converting data into video is called debayering.
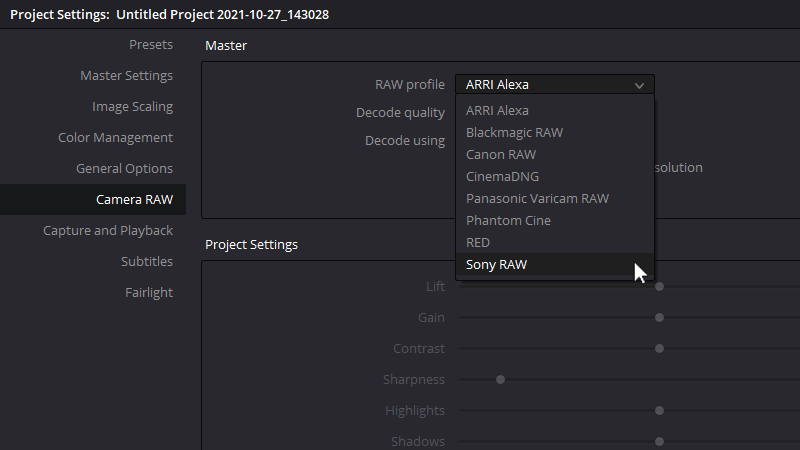
Debayering costs a lot of processing depending on the type of raw file, the resolution, and the quality of the debayer.
And because raw formats are all different, the debayer process is different. Some raw files don’t need to be fully debayered in Resolve. Like Blackmagic RAW, which is partially debayered in-camera.
Other raw files like Red RAW can make better use of GPUs in tandem with the software to quickly process.
But typically speaking, working with raw files comes at a cost. As your computer has to debayer these files during playback or rendering, every cut, effect, or layer you add will increase the workload. And that can end up slowing you down.
The solutions for working with raw files
It’s much more efficient to debayer once.
And generally, it’s best to save the debayer process for the conform or color stages of your project, which I’ll get to in a moment. It’s not impossible to edit raw files, but it is impractical. Having to change the debayer and change quality settings while you work or export is trouble you don’t need.
So your best approach is to create proxies in Resolve for the editorial process.
Debayer in Conform
Conforming is the process of matching high-quality source files like camera files with the editorial timeline.
But if you’ve taken the attached proxy option I described earlier, you already skipped this bit, and can switch between the raw files and the linked proxies—which is great for the all in one approach.
But if you’re in a sequential or standalone project involving multiple artists, you’ll need to do a proper conform. In this workflow, the raw files will be debayered in conform. This means that a conform artist will prepare a timeline with all the raw media and match the timecode to the offline editorial files. Once the conform is finished, the raw files will be debayered once. Additional intermediate files are generated for color, VFX and finishing.
When you’re working in larger, longer projects, having a conform or online artist makes it much easier to handle raw media during the course of a project. Plates can be generated for VFX, the color pipeline is established, and everything is processed in high quality, preserving the original intent of the camera media.
Debayer in Color
Alternatively, you can work with raw files in color instead of editorial.
In this scenario, color prep is sent from editorial and the colorist conforms back to the original raw files—giving them access to the uncompressed color data that they contain.
They can then make creative choices, organize the files by timecode, and process the raw files into the proper color pipeline before working. In this workflow, the raw files will be debayered in color.
Once color is finished, the exported files maintain the original quality and flexibility of the raw files, which is standard practice for color-managed pipelines.
A side note on debayer quality
Depending on the type of raw file, the debayer quality settings can be changed at the project level or individual clip level.
The debayer quality can be changed globally at the project level. You can also manually adjust the decode quality of individual clips in the color page. By lowering the debayer quality, raw files don’t need to be fully processed for playback.
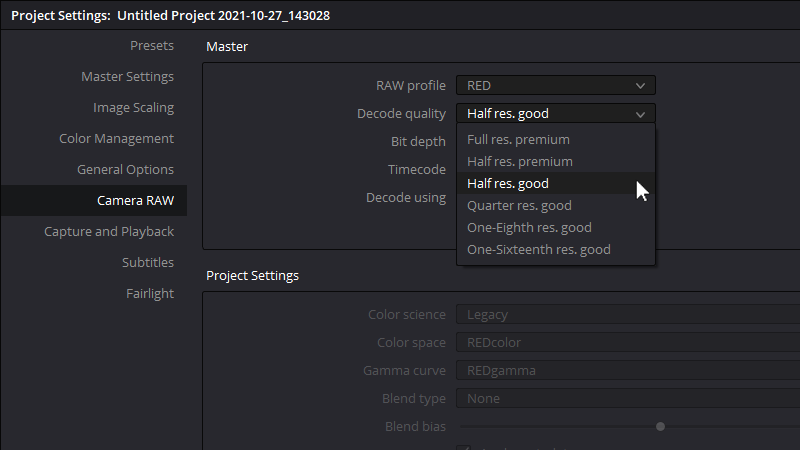
For the all in one approach, changing the debayer quality could be a good option for working directly with raw files but even during the conform process or color process above, lowering the debayer quality can help with the initial work.
Intra-frame codecs
Intra-frame codec files like ProRes or AVC-Intra are much easier to work with throughout post production than raw, so playback, rendering, and editing are much quicker at the base level.
However, even with these mid-weight files, Resolve might still struggle with larger resolutions, layered comps, or frame rate playback, depending on your computer.
The solution for working with intra-frame codecs
You may find that your hardware can handle intra-frame codecs; they’re efficient and quick to play back and render.
But if you find yourself making comps or you have really large resolutions, proxy files are the best way to keep things running smoothly.
Intermediate OpenEXR and DPX files
OpenEXR and DPX files are usually reserved for finish, VFX, and color work.
Generally, these types of files are created for VFX plates, renders from VFX, film scans, or intermediate digital camera negatives. Both file types have a strong history in the industry for higher quality workflows and preserving image fidelity from the camera.

However, processing these large files in real-time in Resolve can put a huge strain on your system. DPX sequences require very fast drives for smooth playback, while OpenEXR files need faster CPUs.
The solution to working with intermediate OpenEXR and DPX files
Proxy files are still an option but, for OpenEXR and DPX files, Resolve’s Optimize Media tool might be a better one.
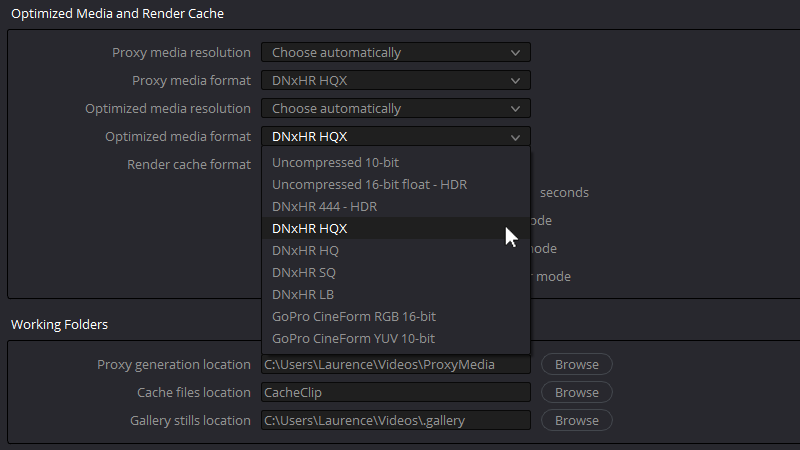
Optimized media in Resolve is a little different than proxies. Using the Optimize Media tool creates smaller, compressed files that Resolve manages internally—so there are no standalone files that you can access and manipulate at the OS level. Because OpenEXR and DPX files tend to be short, using optimized media instead of proxies means that you can adopt a proxy-style workflow without having to worry about file management.
And if that’s not enough…
There are always going to be times when your computer struggles with playback and processing.
If you’ve exhausted the above options, you might want to consider Resolve’s Performance and Timeline Proxy Modes
You’ll find Performance Mode under the User tab of Resolve’s Preferences menu—look for Playback Settings. Enabling this function will automatically adjust the quality of the operations in Resolve so they’re less processor-intensive. But Performance Mode can be tricky.
Since it’s an automatic background process, it can be tough to tell what the footage actually looks like. It can be very helpful for slow computers and offline work, but if your computer can handle it, I’d leave this option off.
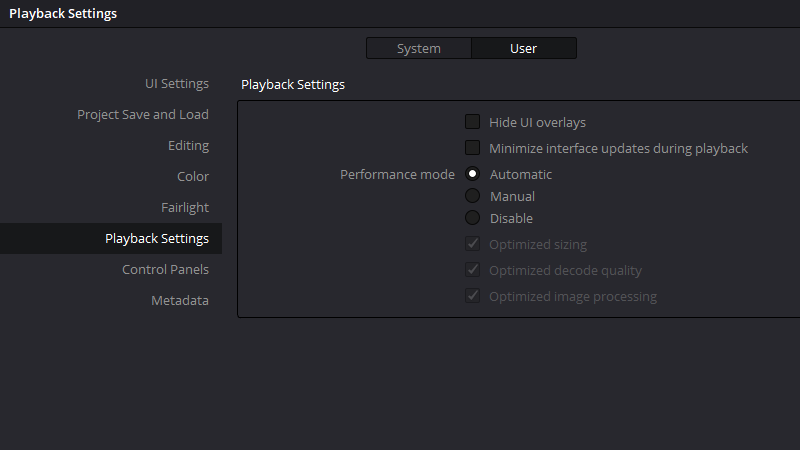
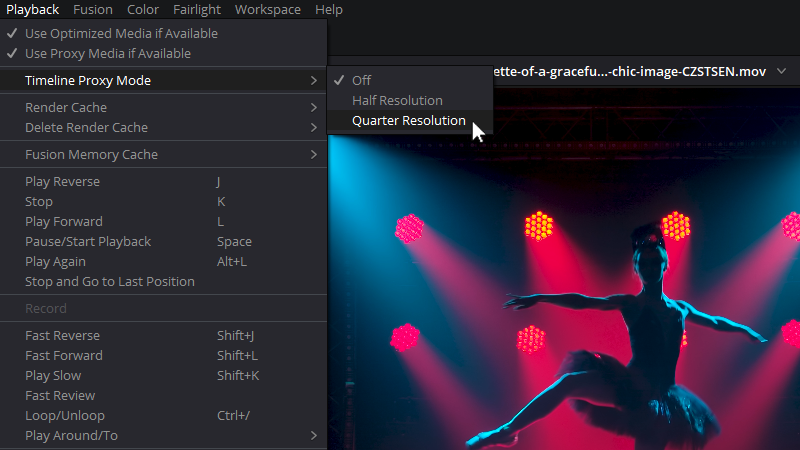
For a more predictable approach, consider Timeline Proxy Mode instead. You’ll find it in the Playback dropdown menu.
By default, this setting is turned off. Changing this setting to half or quarter will adjust the resolution of the incoming footage, which can help fix playback performance bottlenecks.
Cause and effects
Once you’ve tamed your file workflow, you should move your attention to Resolve’s effects.
Processor-intensive tools like Noise Reduction and neural/AI processing effects like Speed Warp or Super Scale will take the biggest bite out of your performance, and stacking stabilizers, lens flares, and blurs all adds up.
And if you’re working with raw files or H.264 camera files, you can overwhelm even the gutsiest computer, especially at higher resolutions.
Fortunately, Resolve provides a number of tools that you can use to stop this from happening.
Timeline Caching
Caching is a great way to improve performance in Resolve.
There are a few different ways to cache in Resolve, so it’s important to understand what caching means in this instance.
In most editorial programs, caching actually means rendering. In Premiere Pro’s software-only mode, for example, clips are selected and then rendered.
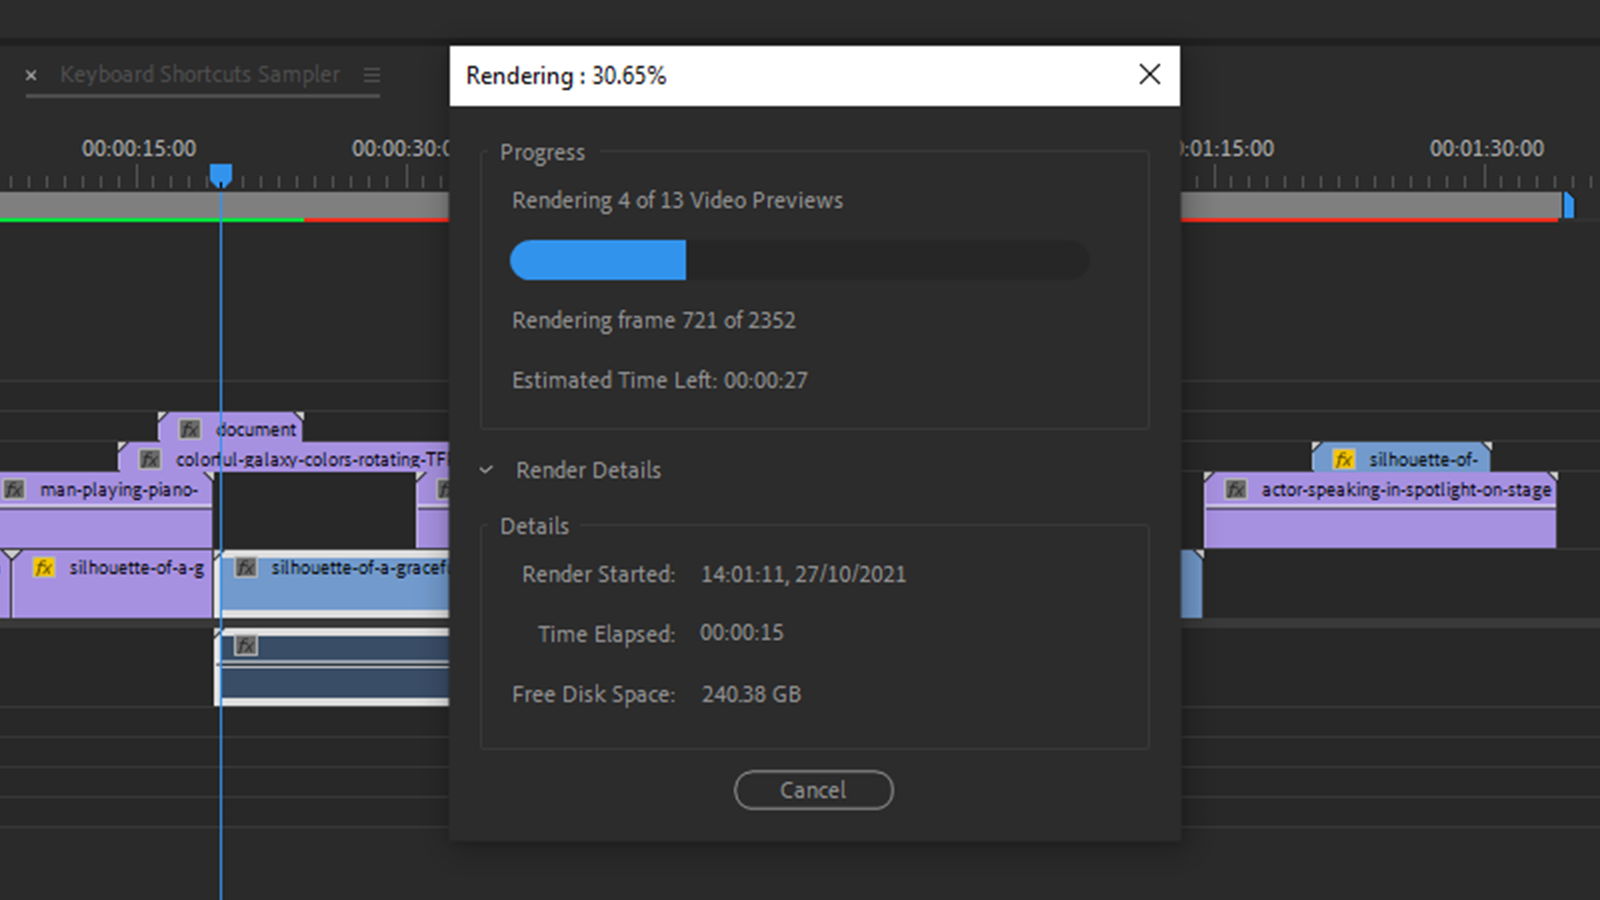
In Resolve it’s a little different. You can’t select a clip and just render it for playback like you can in Premiere. In Resolve, caching is turned on or off at the project level. Certain clips will be rendered and others won’t.
Resolve handles which clips are cached through the Render Cache setting in the Playback menu. When this setting is changed to “Smart,” Resolve will automatically choose the sections based on source format and effects used that need to be cached for real-time playback.
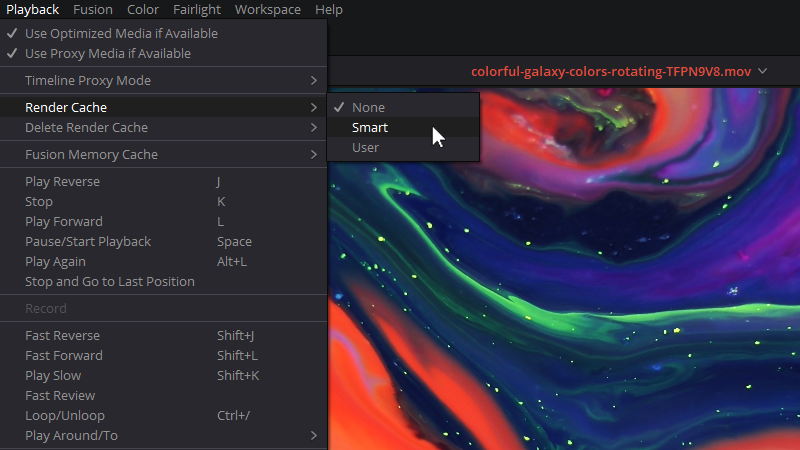
If you change this to “User,” Resolve will only cache clips that have the setting “Render cache color output” selected. In this mode, you’ll also find options in the project’s Master Settings for what Resolve will cache: transitions, composites, or fusion comps.
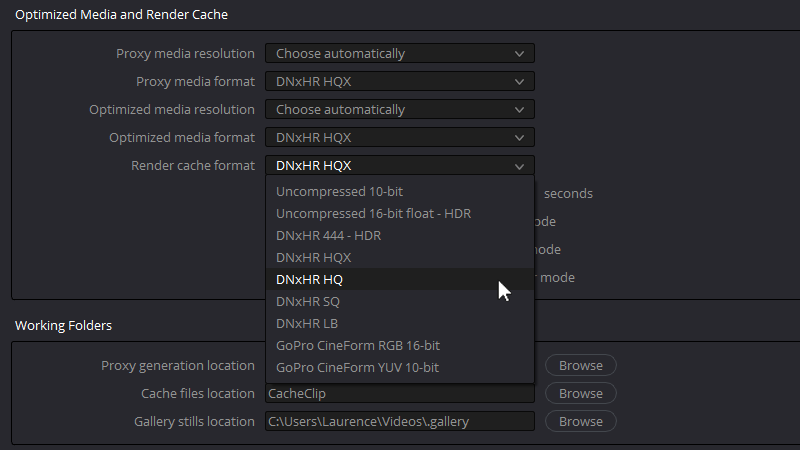
The Master Settings panel is also where the render cache format is chosen for either mode. The lighter the codec, the easier the playback will be on the drives and system.
One drawback of caching is that the clip will need to be re-cached if the clip is moved or adjusted in any way. And if the timeline has a lot of effects and there are a lot of editorial changes happening, re-caching can take a lot of time.
So it’s helpful to either not use heavier effects in the timeline until the edit is closer to being locked or to turn caching off until you’re ready to screen the whole timeline at once.
Node caching
In Resolve’s Color page, nodes can be cached individually.
Node caching is helpful for things like noise reduction that happen earlier in the node tree. By caching a noise reduction node earlier in the node tree, it’s much easier to see the effects of the noise reduction and work on color without needing to constantly be rendering or turning the nodes on and off.
It’s also helpful to cache OFX effects in nodes so that you can still work after the node without constantly caching in the timeline.
One way to implement cached nodes is by creating a shared node. If a shared node is adjusted, every other shared node will change so you can turn the cached effect on and off.
Another option is to create a fixed node tree. With a fixed node tree, you can ripple changes to the same nodes across the timeline.
Render in Place
In Resolve 17, Blackmagic introduced Render in Place, and it’s a really interesting option.
Basically, by right-clicking on a clip or multiple clips, you can render the output of any clip on the timeline to disk as its own separate file. The clip will render at the timeline resolution, but you can pick any format.
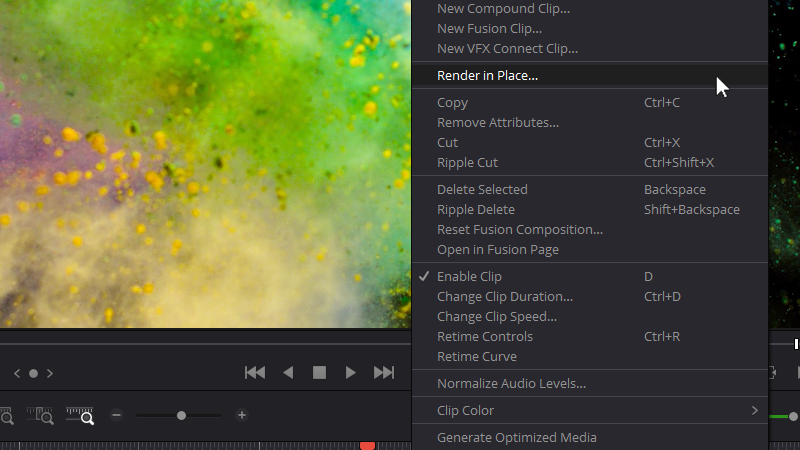
Like creating proxies, Render in Place externalizes caching so that a rendered clip is created with its own filename and imported into the project visibly—rather than Resolve managing temporary render files in hidden folders. The clip in the timeline maintains its connection to the underlying file as well so at any point, you can always go back to the source.
Render in Place is really helpful for effects-heavy clips. As opposed to caching, render in place creates a separate file on disk that isn’t overwritten so you can modify or move that rendered clip without needing to re-cache. So, if a heavy fusion comp needs to be colored for example, Render in Place can make it much easier to playback and manipulate that clip. Or, if you’re editing and some of the clips have speed warp applied, Render in Place could make it a lot easier to cut up and manipulate.
The file in the timeline is a new file. If you need to go back and adjust something underneath the render, you can also do that.
Rendering and Conforming
The final option for dealing with effects in Resolve is rendering complex effects in the Deliver page and conforming them back to the timeline.
For things like Fusion comps or composites, it can be helpful to bake-in effects, especially if other things are still changing in editorial or color.
Rendering in the Deliver page provides more options for file naming and formatting than render in place does so deciding to render and conform back to the timeline really depends on how much flexibility is required.
Save your cash
I like a new piece of hardware as much as the next person.
But being a finishing artist, colorist and editor for many years has taught me that workflow is always more important than hardware.
Every project will present different challenges, but once you know how to effectively configure your workflow and software to meet the needs of your project, things will be smoother, more efficient, and more enjoyable.
Not to mention a lot less expensive.

