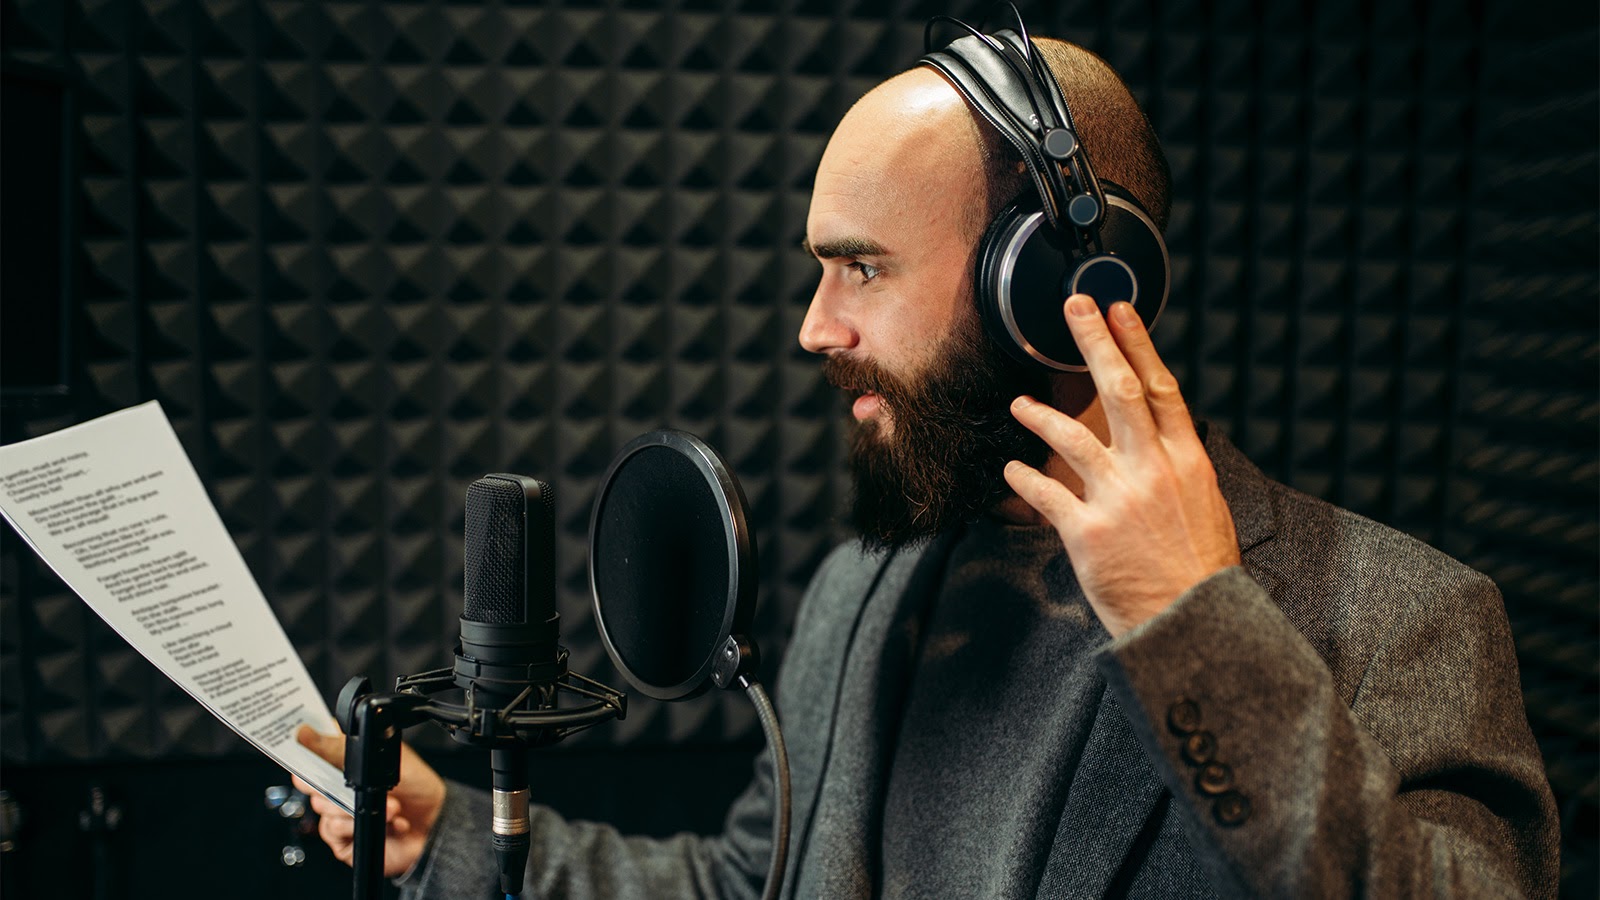
While your microphone has a massive part to play in the quality and character of your voiceover recording, it’s important to consider your environment, too. This can have an even greater impact on the sound you record and can be the difference between great and unusable.
Musicians often look for environments that influence or “color” their recordings. For voiceover work, your objective is to remove or reduce this influence as much as possible. But before you start stapling convoluted foam inside a closet, there are a few things you might want to consider first.
Smaller isn’t necessarily better
A lot of people recognize that big rooms can sound echoey and conclude that smaller rooms are better (a belief that’s reinforced by seeing singers working in small studios and vocal booths).
But this is not the case. In fact, small rooms can actually be more problematic. Here’s why: sound energy diminishes very quickly as it travels over distance (it follows the inverse square law—there’s a good video illustrating this principle right here). So placing the microphone in a small room or close to a wall means that any sound bouncing back onto the microphone will have traveled a shorter distance and will therefore be louder.
The biggest issue, however, is the influence that these reflections can have as they join with the audio that’s still being recorded. As the sound reflections combine with the sound emissions, they cause unwanted interference in the recordings that can be impossible to remove. The video below has a useful illustration of this.
The reason studio vocal rooms tend to be small is because they’re typically decoupled for isolation and internally treated to dampen and absorb sound, all of which is very expensive. (It’s also a business decision—squeezing in more facilities can lead to higher revenues.)
So while your first instinct might be to head to a smaller space, the first room to consider for your home recording might be the largest—your lounge. This also has the advantage of being filled with soft furnishings that will diminish and absorb sound waves. But it’s also the room that you’ll least want to change for the sake of work, so I can understand if you’d prefer to look somewhere else.
Nope, not in there
Don’t go in the garage. It’s a large room, but likely to be comprised of a lot of very hard surfaces like brick and concrete. These will reflect a lot more acoustic energy than your home interior’s drywall, curtains, and carpet, which will take time, money, and effort to fix. (The only place worse would be a tiled space like your bathroom.)
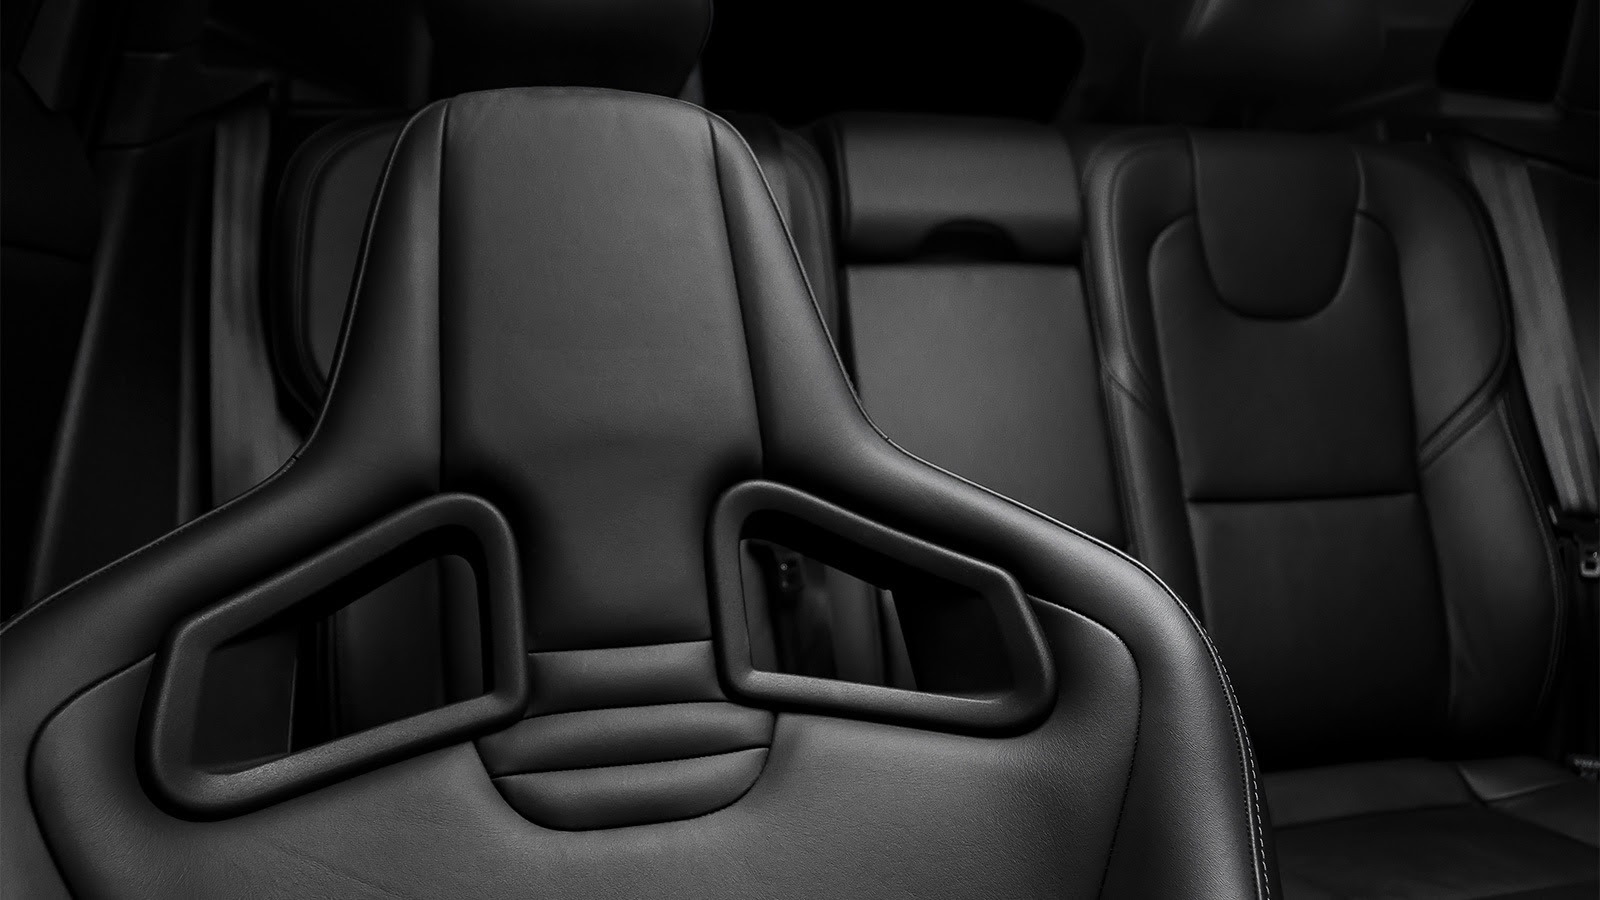
That said, you might actually want to try inside your car. While it might seem to contradict my earlier advice regarding small spaces, your car is isolated and filled with absorptive or diffusive shapes and surfaces. So you might find you get great results with a little experimentation.
The bottom line is that you should find a space that’s easily available, naturally quiet, and under your control. At least for the time it takes to get the job done. If you find yourself recording your VO in the lounge at midnight because the kids are asleep, the traffic has stopped, the birds have gone, and you can turn the aircon off without suffocating, you’re not alone.
Put the egg trays down
If you’re lucky enough to have a space that you can dedicate to this role, like a home office, you might want to look at ways to improve the acoustics on a temporary or permanent basis. The important thing to remember here is that we’re looking for sound absorption, not soundproofing. The market for sound control products often conflates the two, and we’re more interested in controlling the sound inside a space, rather than stopping sound from getting in.
Firstly, close the curtains or blinds and open the doors (if you can). Assuming you’re not letting in ambient noise, the latter can have a profound effect on the sound energy trapped inside a small space. And blinds or curtains will help reduce bounce from your windows. In fact, wooden Venetian blinds or shutters can be effective at diffusing sound waves if you pitch them at an angle.
Also, don’t overlook the floor. If it’s hardwood, concrete, or tiles, then you’ll need to go rug shopping. And pay attention to your ceiling. It’s harder to fix, but can also be a source of unwanted reflection.
I probably don’t need to say it, but egg cartons are not good for treating room acoustics. These convoluted cardboard boxes have a noise reduction coefficient of 0.4, which places them firmly in the Little Effect category.
Blankets
If you’re on a tight budget, I’d recommend acoustic blankets—even ordinary moving blankets as long as they meet fire standards. They’re great for temporary installation using hooks and grommets and can cover large areas cheaply. The heavier they are, the more sound energy they absorb, and you can layer them or hang them like curtains to increase their effectiveness. They can also be draped over troublesome surfaces like glass- or metal-topped desks.
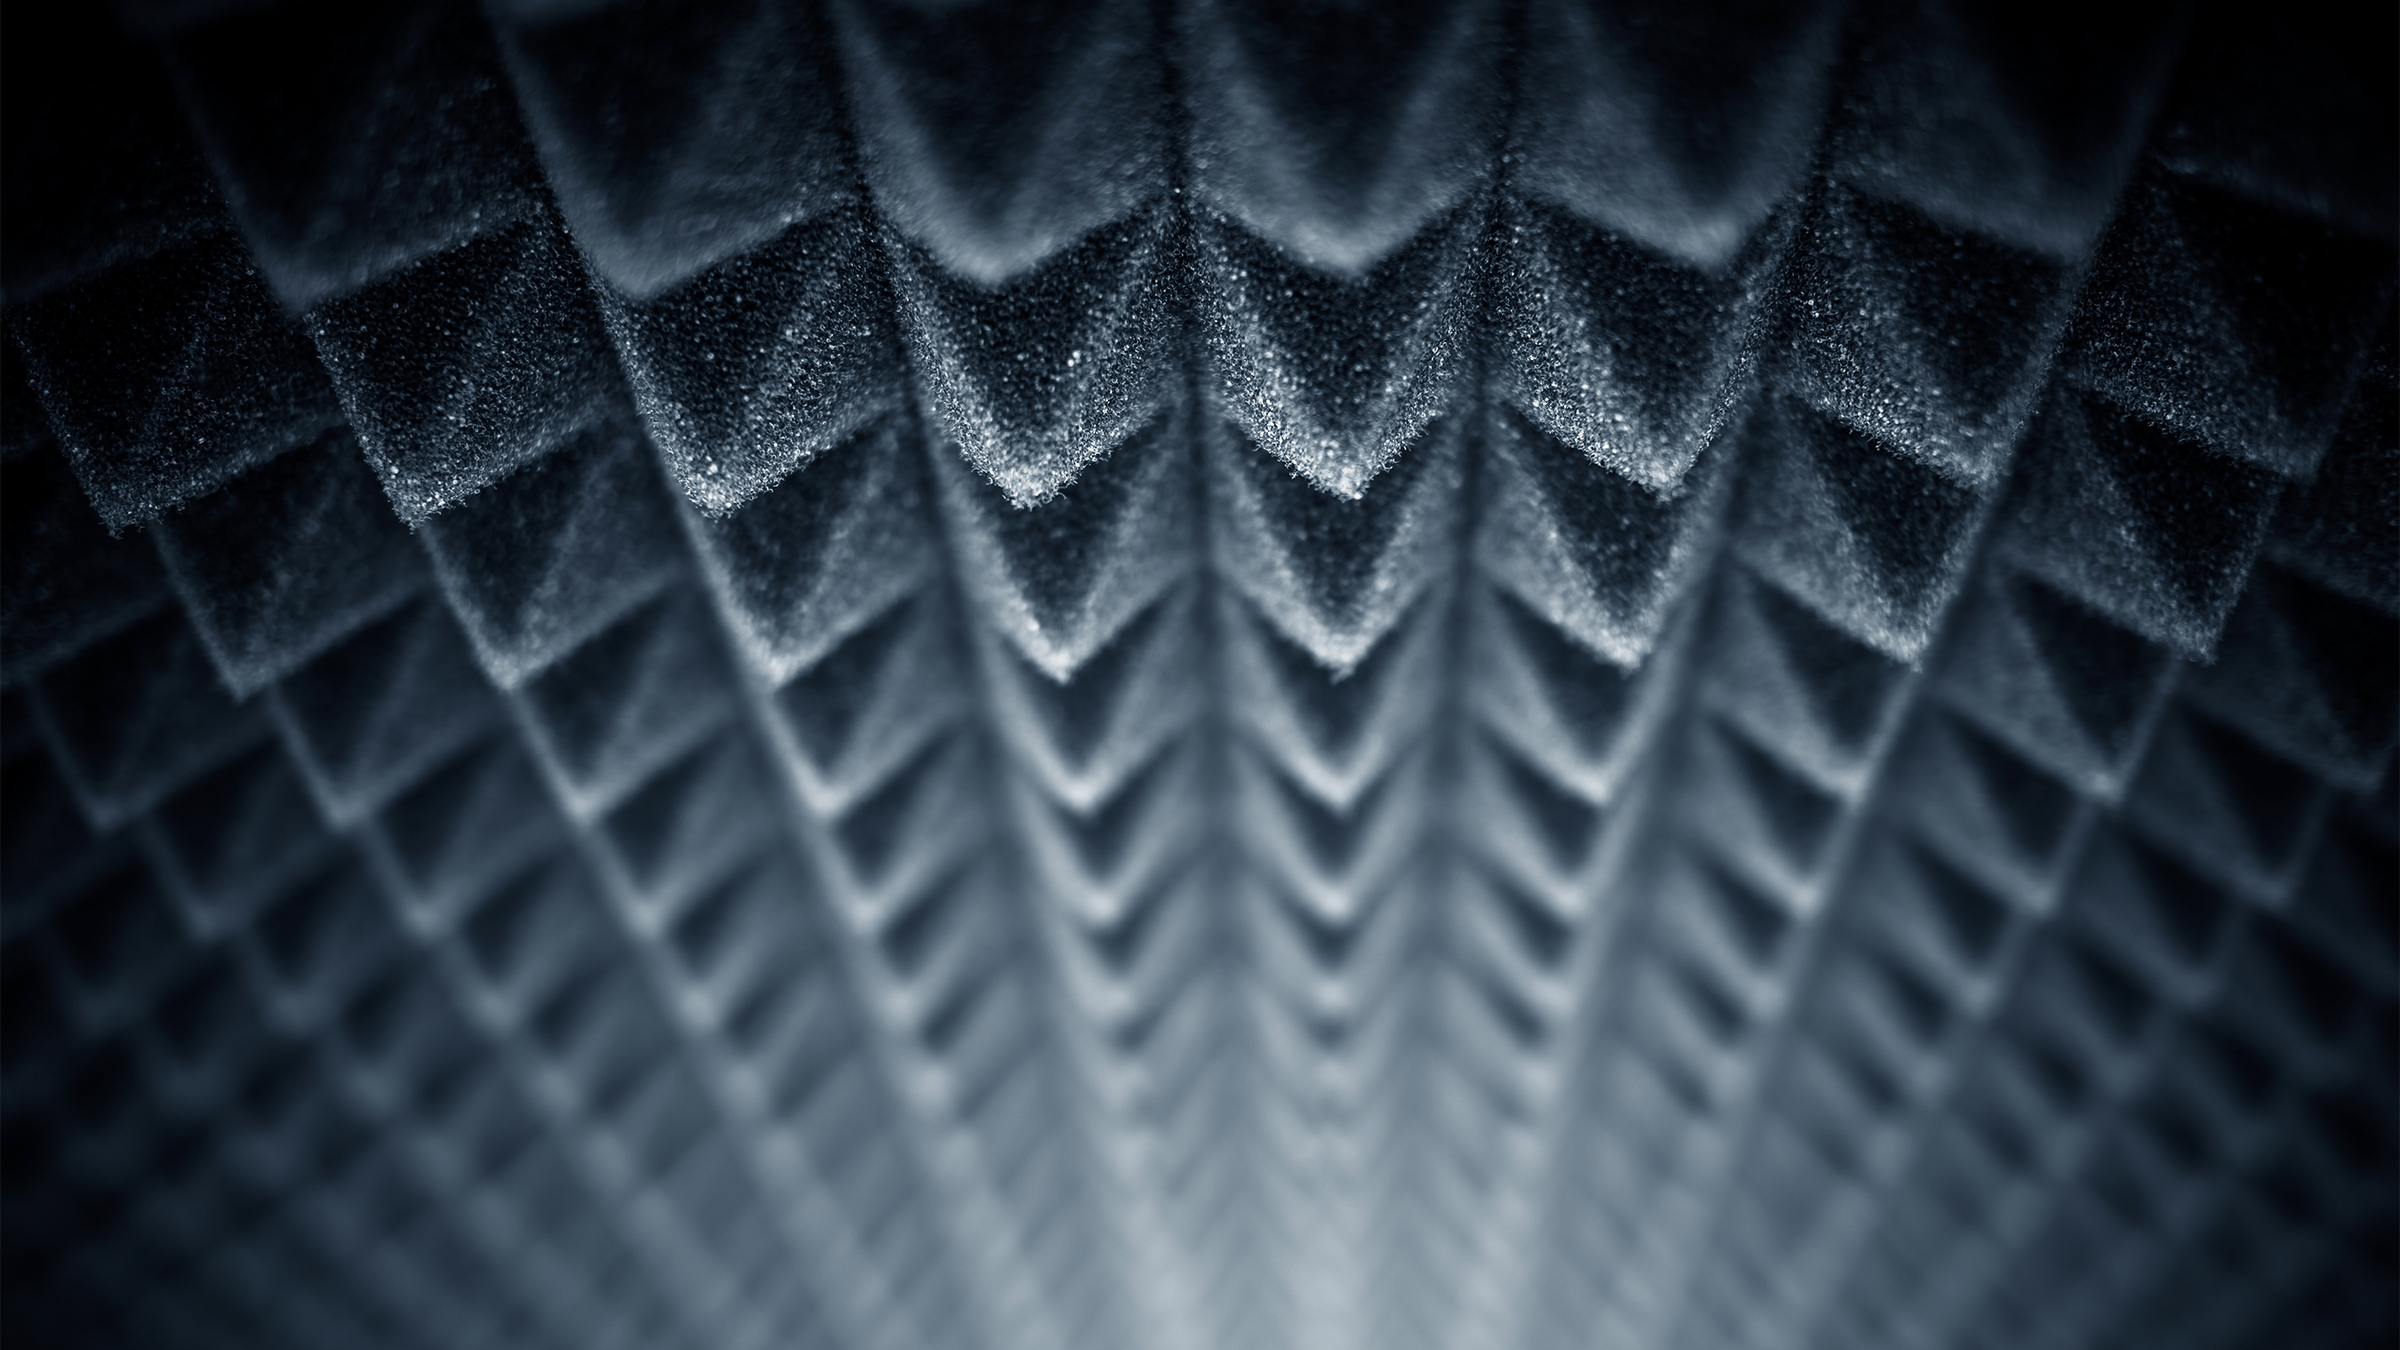
Foam
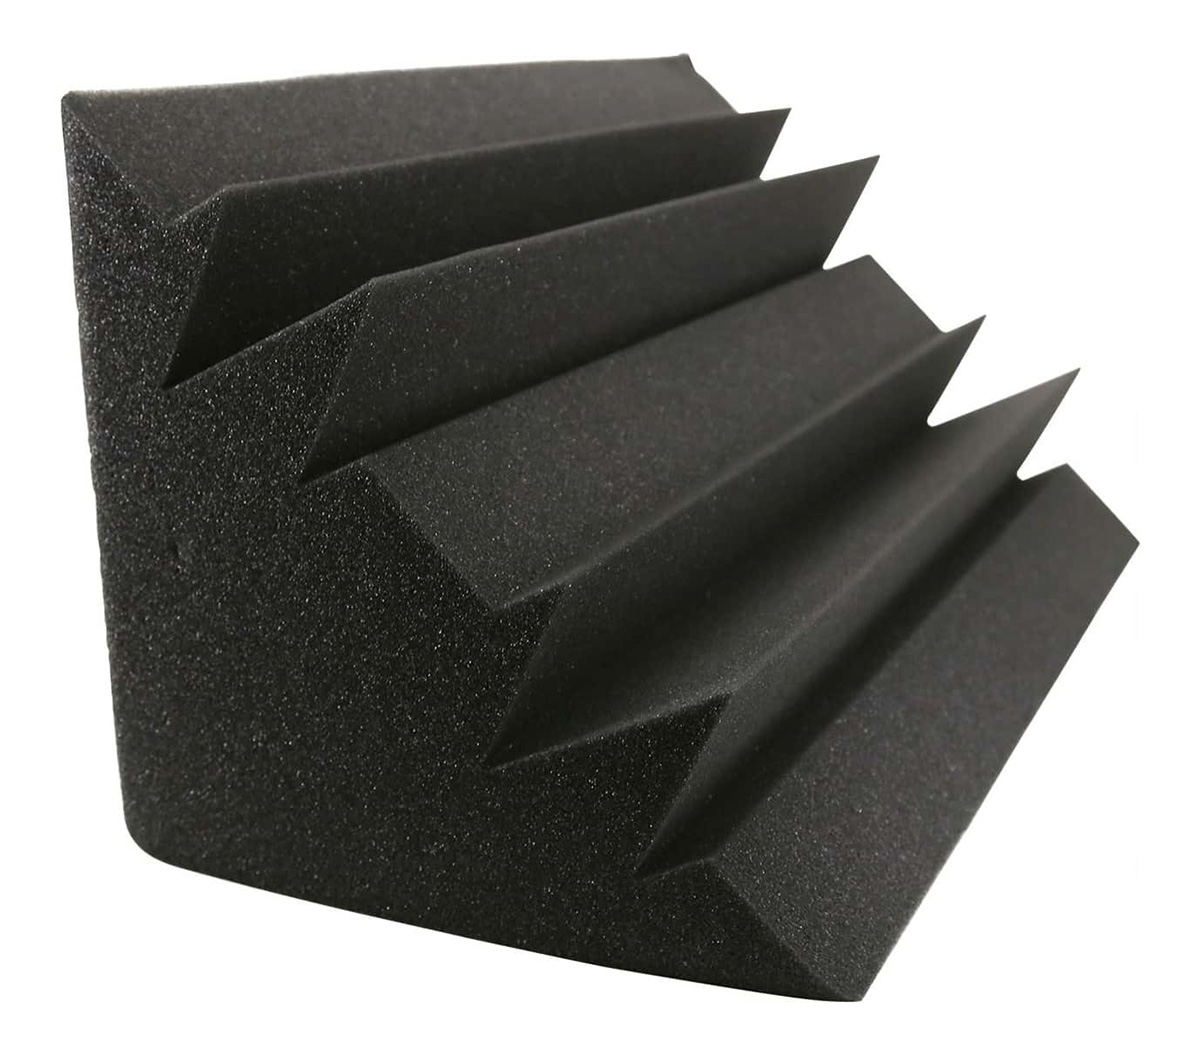
If you’re looking for something a little more permanent, then classic convoluted acoustic foam is a more aesthetic choice (and will give your space that recording studio look). But be aware that, while foam panels can help tame reflections of 500Hz and upwards, even 2-inch thick panels lose efficacy down in the lower frequencies which, for male vocalists in particular, may not be ideal. So don’t skimp on the bass traps as these will help to counter the lower frequencies that tend to lurk in the corners of your room.
Pro tip: If you’re going with foam, get an electric bread knife to cut it to size, and stick it to the walls using silicone sealant. Regular glue will destroy your wall or the foam panels if you ever need to uninstall, while silicone has enough adhesion to keep them in place, but will (usually) peel off a surface if you’re careful. (It’ll still leave a mark, though.)
Fiberglass
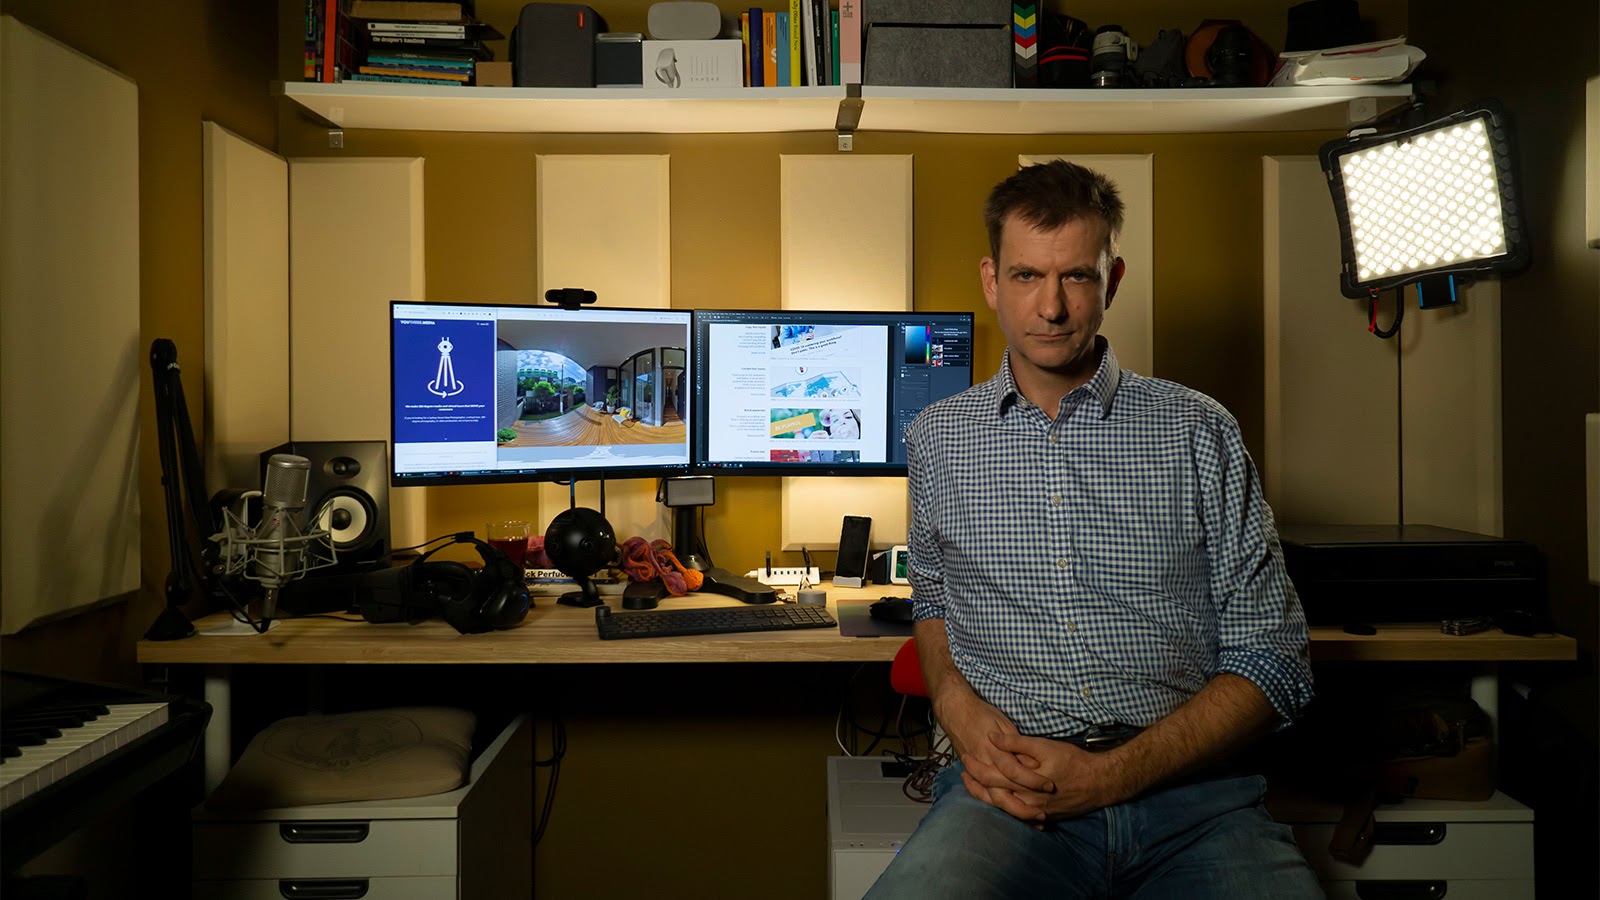
In my case, I chose to fit 2-inch fiberglass panels in an alternating pattern to help break up standing waves. (And they look nicer.)
Because they’re far denser than foam, they’re much better at absorbing lower frequencies. And this allowed me to dispense with bass traps by fitting two panels flush to the corners (not a conventional approach, but it worked). I hung them using four escutcheon pins each, so the damage of removing them will be limited, and I’m very happy with the end result. Even though I don’t look it.
More importantly, I got the sound I wanted. (These samples have been trimmed and leveled, but are otherwise untouched.)
Before installing the panels:
After installing the panels:
A note on aesthetics
When it comes to fitting out part of your home to be a recording location, aesthetics can be just as important as performance. Especially as the borders between work and home are becoming harder to define. So there’s definitely a case to be made for looking for a solution that works without constantly reminding you of your job.
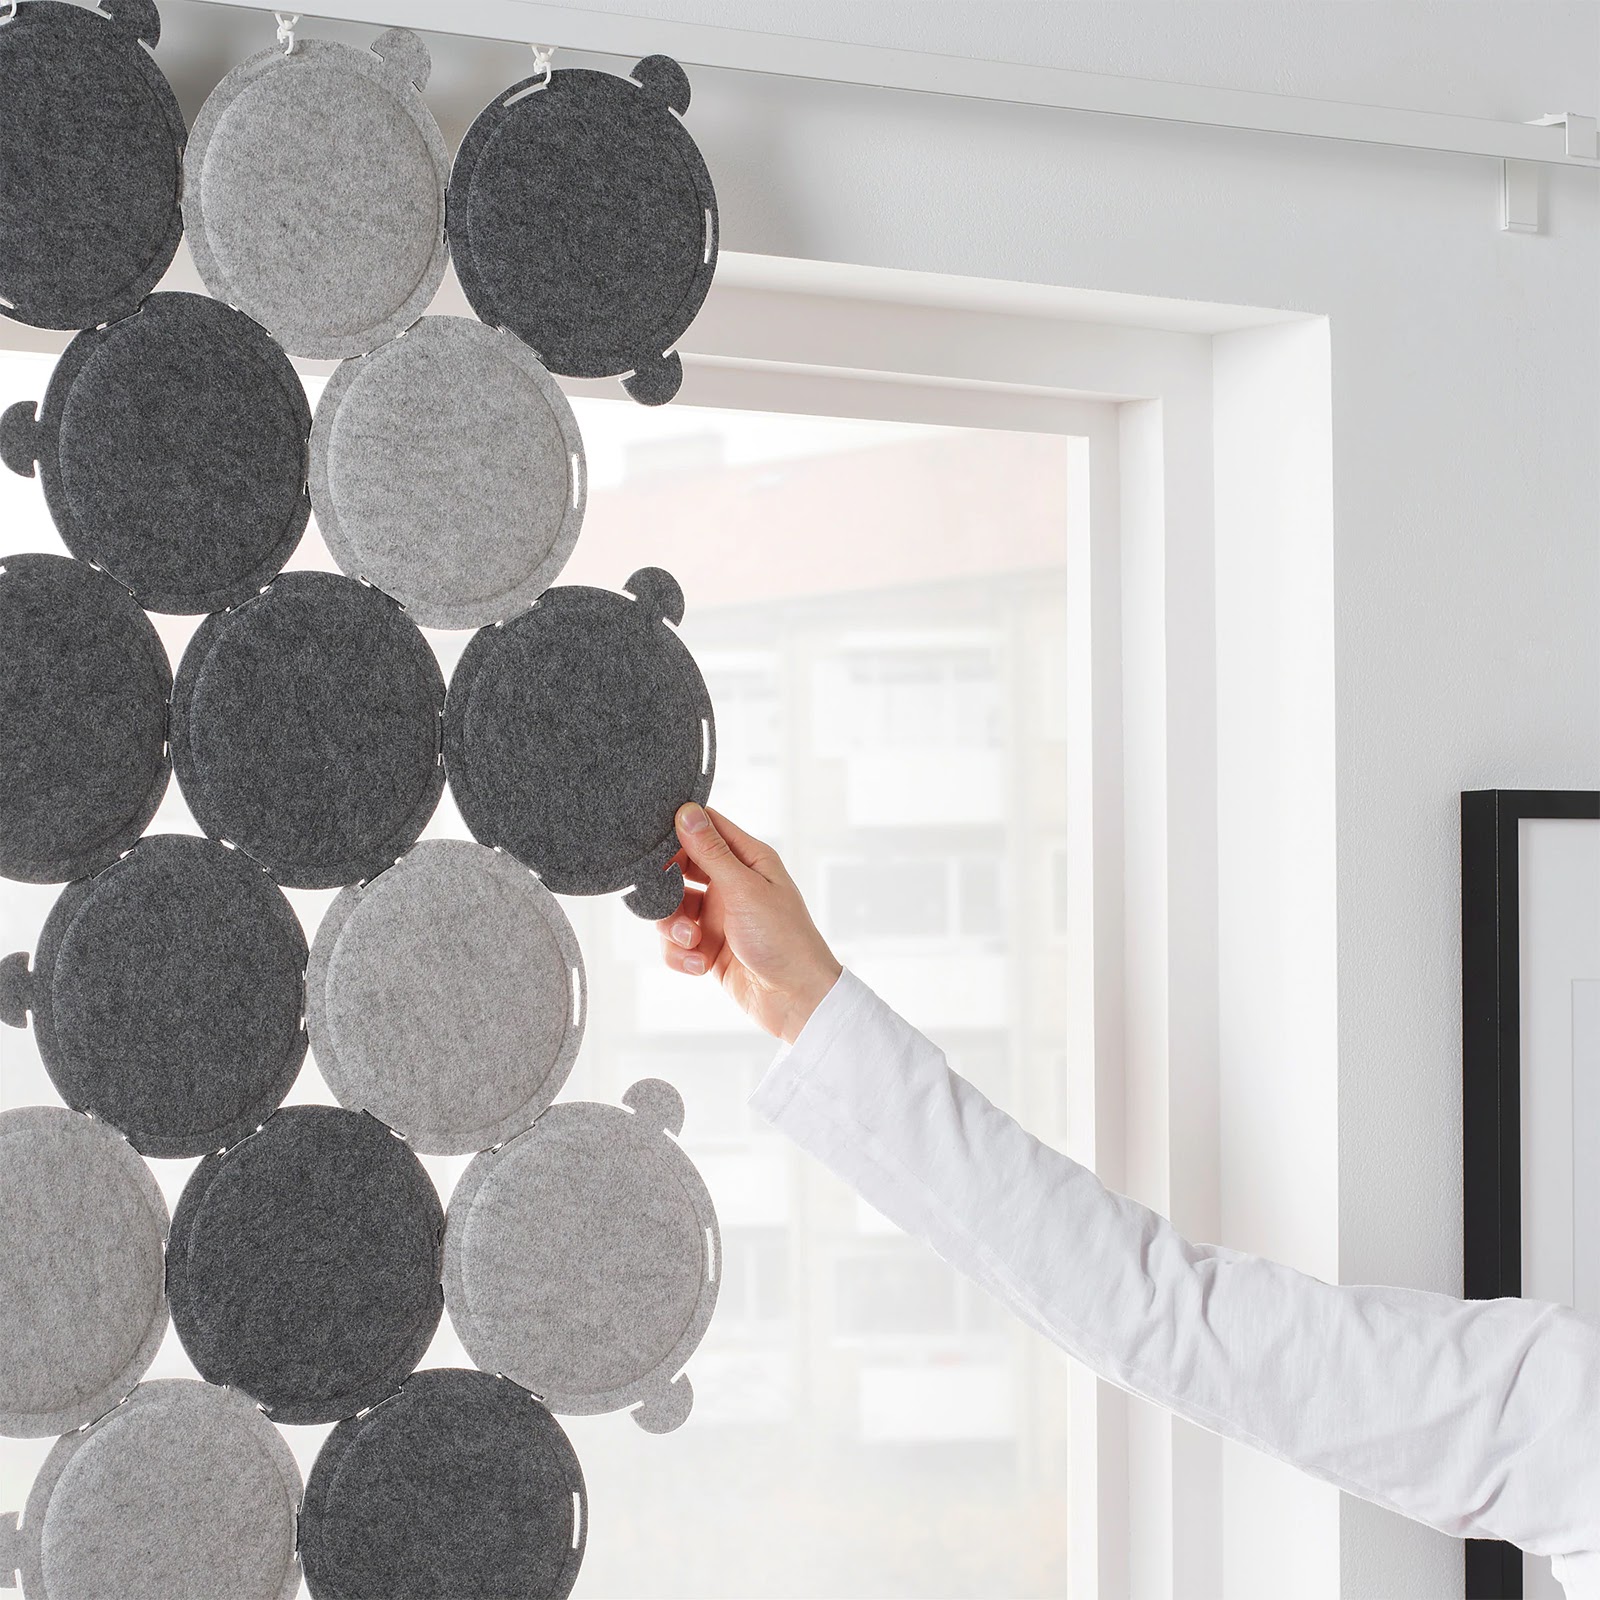
Some solutions can be as simple as stretching a custom print over a foam panel—especially effective when you can supply your own artwork for the print. While some designers and manufacturers have developed acoustic treatment that’s art in its own right.

You might even find that adding acoustic control to your living space makes it a more pleasant place to spend time, making it a win-win.
Mic placement
The first place to consider putting your microphone is where it feels most comfortable for you. You don’t need to stand up to record as long as your chair allows you to sit upright. But you do want to be able to breathe easily and avoid any pressure on your diaphragm, so get off the sofa.
If you’re working with an omni- or bi-directional mic, you might want to position yourself so that you’re facing away from any wall to reduce reflections. If that’s not possible, try to face the wall at an angle as this will reduce direct reflections.

If you’re desk-bound, then microphone arms are a great way of keeping things tidy when you’re not using your mic (and make it easier to use your mic for other things, like your next Zoom meeting). If you mount it close to the front edge of your desk, you’ll be able to choose to sit or stand. Your call.
Hooking it up
If you’re working with a USB mic that acts as its own interface or you’re plugging a 3.5mm TRS jack directly into the sound card on your computer, then you can skip this bit. Otherwise, you’ll need something to convert the analog output of your microphone into the digital signal that Adobe Audition needs.
I use a first-gen Scarlett 2i2 which, like most USB interfaces, doesn’t tend to introduce much of its own personality into your recordings. So what I’m getting is, for the most part, what the microphone is giving. It’s also uncomplicated, which works for me.
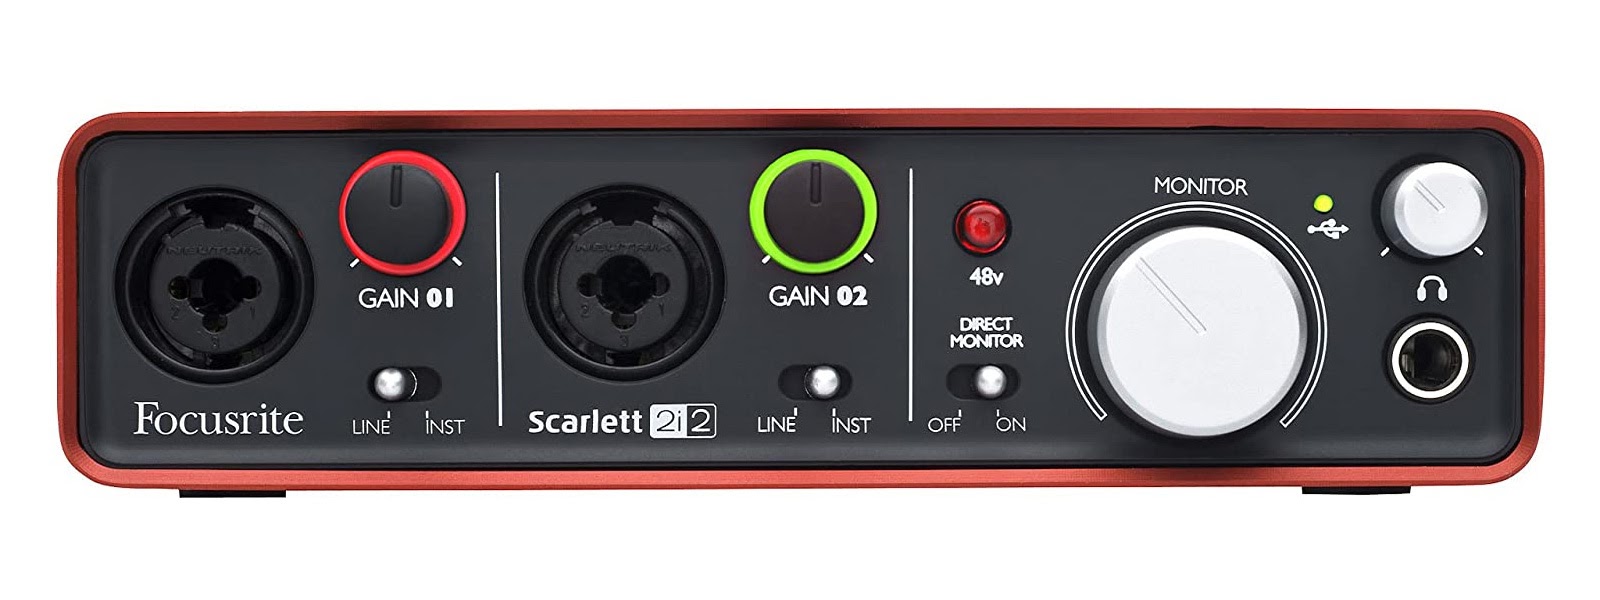
But not every interface is a match for every microphone. For example, ribbon mics and popular condenser mics like the SM7B and RE20 require more power than the preamps in some interfaces (like my 2i2) can provide. For example, the Shure SM7B needs a minimum of 60dB of gain to bring it up to 0dB – line level (a reference point used to describe nominal input). The preamps in the 2i2 only provide 46dB of gain, so you’ll find yourself having to turn it up to 11.
To overcome this you could add a FetHead or CloudLifter to your signal chain. These are basically pre-preamps that add around 25dB of gain to the microphone output before it reaches the interface. This lets you dial down the gain on the interface and can reduce noise while still keeping the signal levels where they need to be.
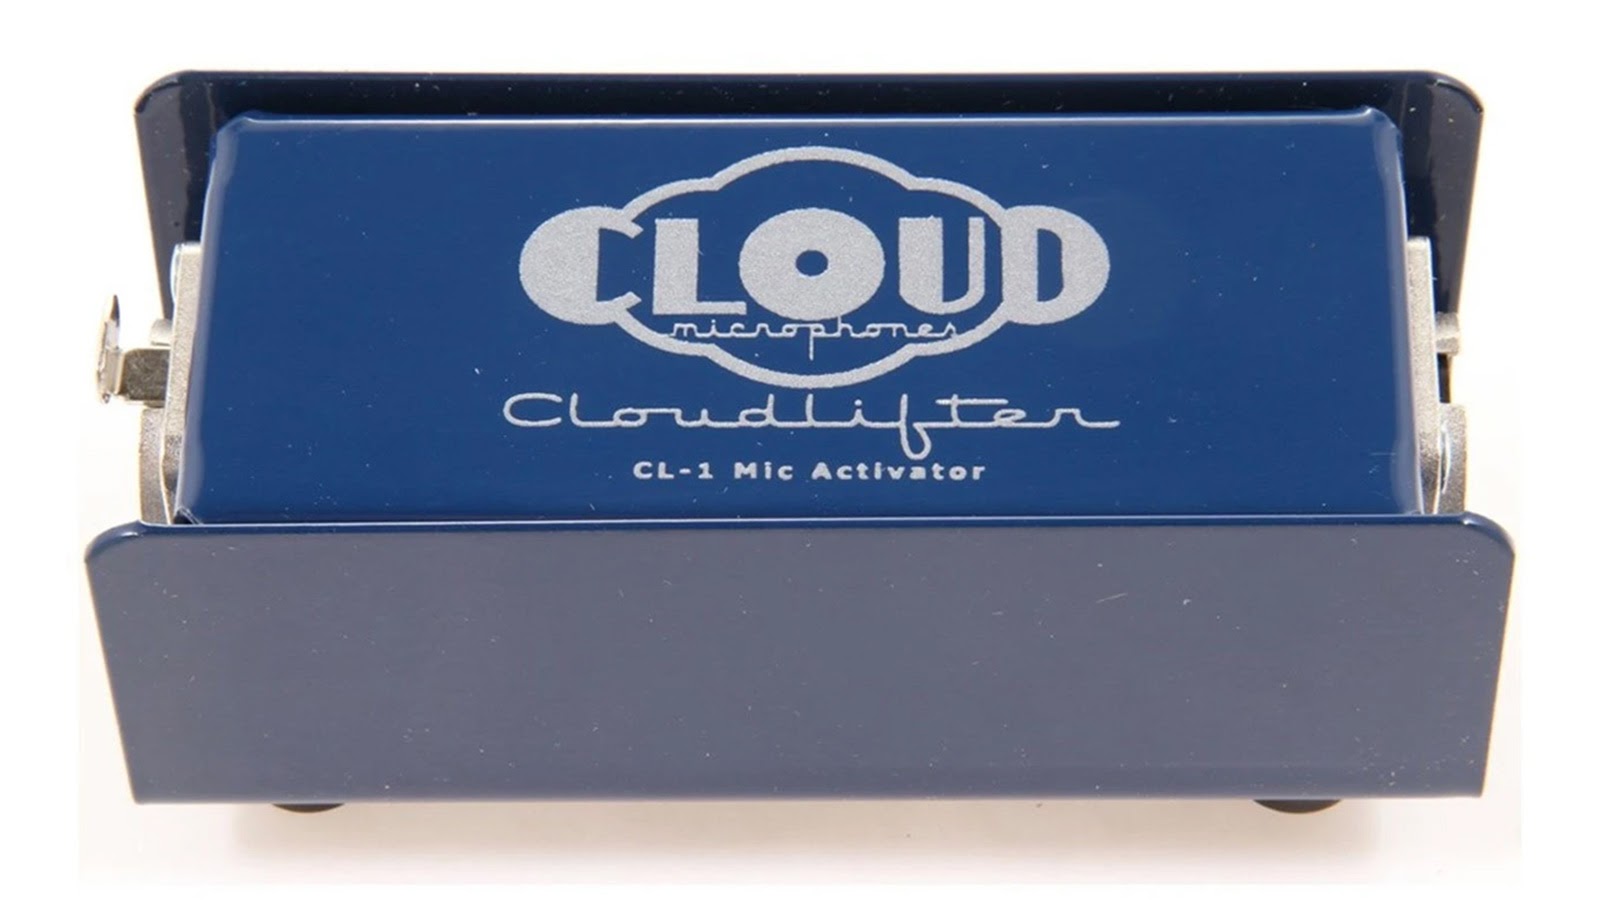
If you have the option, though, it’s better to use a microphone and interface that are better matched instead of lifting the signal to compensate. Put it this way, if you’re spending more on a CloudLifter than you did on your interface, you’ve gone wrong somewhere.
Canned audio
You’re definitely going to need a pair of headphones. These aren’t just essential for the post-production stage, but should also be used to isolate and monitor your performance during recording if your setup allows it.
Think of your headphones as equivalent to a camera viewfinder—sure, you can point a camera in roughly the right direction and start recording without one, but you won’t know if you framed things right until you play it back.
And it might sound obvious, but you can’t use speakers for this. The last thing you want is to have a live feed your microphone can hear—at best, it’ll add some weird audio doubling to the recording, at worst, full-blown feedback (and possibly blown speakers, too).
Monitoring your performance lets you hear how your microphone responds to different positions, letting you tweak things for the best results. I use a pair of well-loved Sony MDR 7506 headphones that are also part of my video kit. These wired, closed-back cans have become something of an industry standard in production due to their largely neutral sound and affordable price, but there are many alternatives. The Beyerdynamic 770 Pros are another studio staple worth considering for similar reasons.
Open/closed?
Closed-back headphones are commonly chosen for post-production thanks to their better sound isolation, but if you’re working at home, you might prefer an open-backed model that lets you hear a bit more of what’s happening around you. (I have a pair of Beyerdynamic DT 990 Pros for this very reason.)
Just beware of headphones or earbuds that overly-emphasize certain frequencies (typically the low- and high-end), as this will skew your perception of the audio. For example, I bought a pair of Sennheiser HD 599s and found them lacking at the high end and unsuitable for vocal production, even after hours of conditioning.
If you want to look around, you’ll find a database of 530 headphones, including an excellent comparison tool over at rtings.com. Just don’t assume that a flatter response curve is better (like I did until an audio engineer got very testy with me).
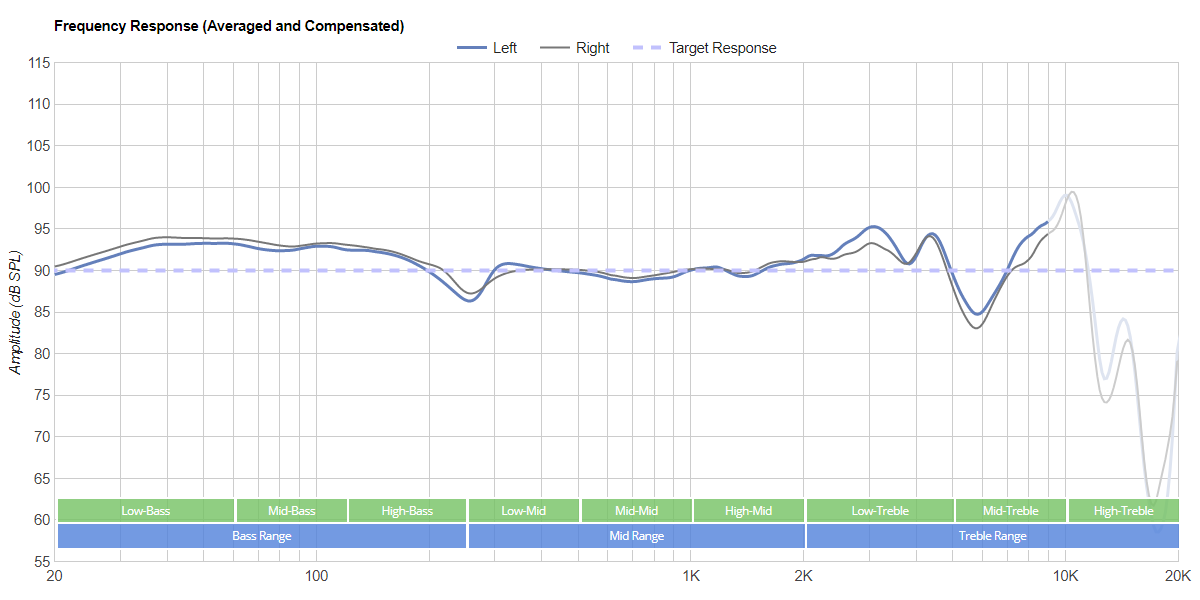
So how the heck are you supposed to know what a good response curve looks like, and what headphones are the best choice for monitoring and mastering your voiceover? Well, you’ve got a couple of options. You can either watch the video below (paying close attention to the discussion of the Harman curve at the end) and then apply your new understanding to your interpretation of headphone test results.
Or you can do what I did, and pick up a pair of DT 660 Pros or Sony MDR-7506s because that’s the answer you got when you asked a guy who runs a recording studio. It’s your call. (You might find it useful to listen to the audio samples earlier in this article for reference. If you can’t hear a difference between the two on the setup you’re listening with, then something’s got to change.)
Now you’ve got your hardware and your environment sorted, I think it’s time to make some noise. So grab a glass of water, and let’s move on to the recording stage.