There are hundreds, maybe thousands, of “film look” LUTs available on the internet. But what if I told you that this is functionally impossible? While it’s true to say that you can recreate a lot of the features of a film look in digital post production, the tools you need for this are far more sophisticated than a simple lookup table.
What can a LUT do, exactly?
A LUT is a blunt instrument. It takes a pixel of one color and maps it to another color. So if you have a pixel that’s set to an RGB value of 66, 123, 232, it might take that and turn it into 68, 125, 234. Same basic color, but a little bit brighter.

That’s it. It takes one color value and changes it to another.
This can be incredibly powerful for changing the way your image looks. It can help you take the edge off saturation, it can change contrast, it can do all sorts of wonderful things. It’s especially useful in-camera or on set, where you can plug it in to give your clients and collaborators a better idea of what the look is you are going for. So LUTs are great, once you know what they can and cannot do.
LUTs can’t do that
What they can’t do is recreate most of the complex image matrix that creates the vaunted film look. To understand that you need to understand a little bit better precisely what is happening when film records an image, how that’s different from digital video capture, and what you might want to do to at least get closer to creating something “filmic” with the digital tools we have at hand.
What are the characteristics of film?
The first thing to understand is that we’re going to be talking about three aspects of film capture you can start to recreate digitally. None of the techniques and tools here are perfect analogues for the way film works—if you want that, shoot film—but they’ll get you closer to a film look than a LUT can.
The first is the color response of film, which is likely the easiest to recreate digitally if you understand the specific color response of the camera you’re shooting with.
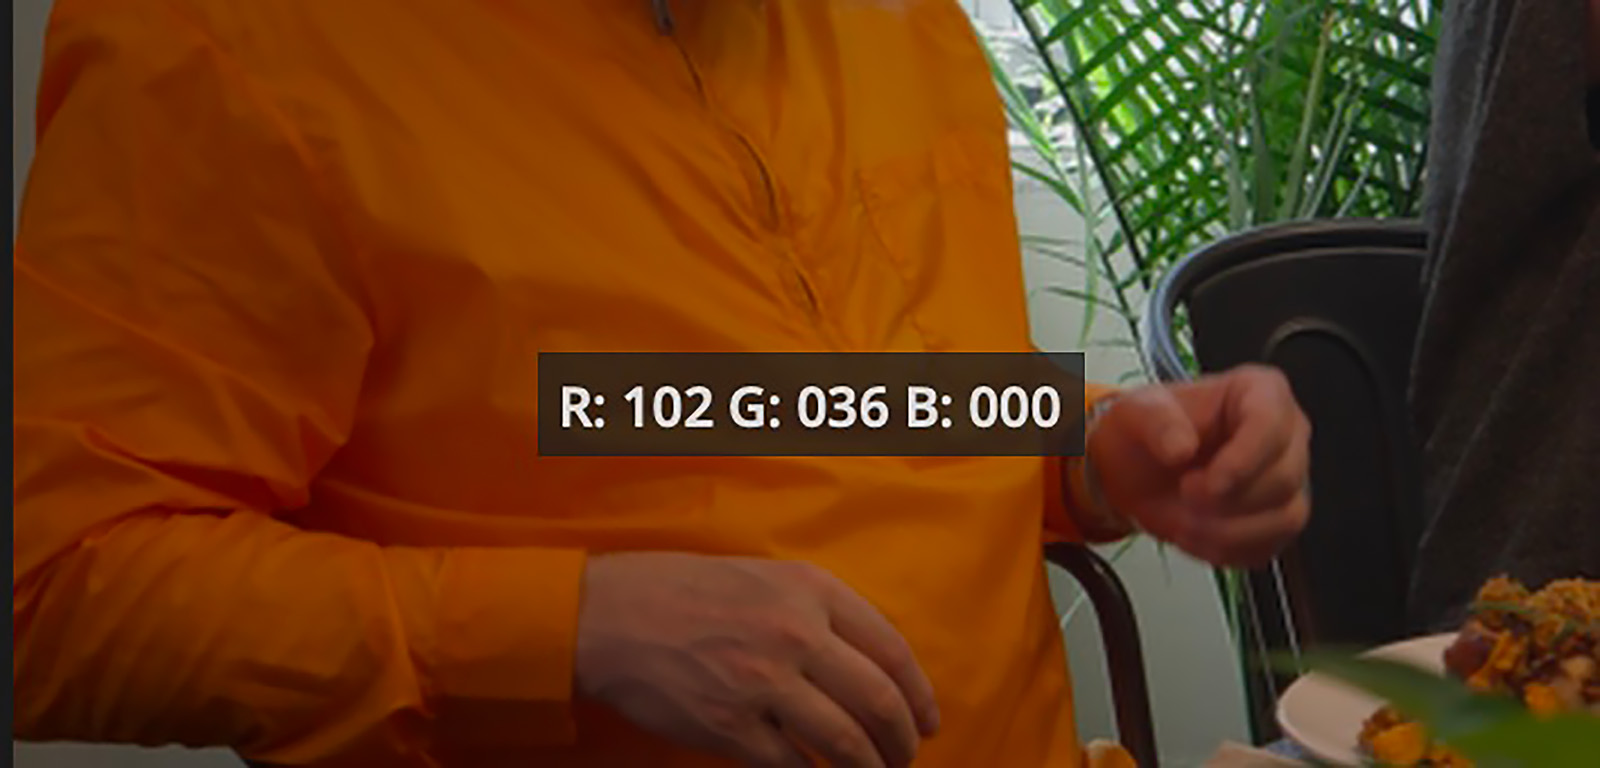
Let’s say you have a specific orange color you are shooting with, maybe for a commercial with an orange jacket where the brand is very concerned about making sure it looks “right.” With a direct film pipeline, what matters is the color of the jacket, the color of light on the jacket (warm or cool, high CRI or low), the lenses used (which can have a color cast), the film stock used, and how it’s processed and transferred.
If you were shooting a lot in the film days you know how much each of those steps contributes to how that orange juice bottle looks. That’s a lot of variables that all add together for a look, but it’s a somewhat repeatable system. If you book another spot with the same brand a year later, and you got the same stock, lenses and processing, and lit the same way, it should look more or less the same.
In a film-based workflow, all the steps in the image pipeline affected the image. For instance, there were DPs who only transferred on URSA Purple Door Diamonds and had it in their contracts because of the “look” it gave. Combine that with knowing the stock, going to the same lab, and shooting the same lenses, and you could create a consistent look from commercial to commercial.
But change something, from the stock to the processing to the lenses, even an aging light source, and your look would change with it.
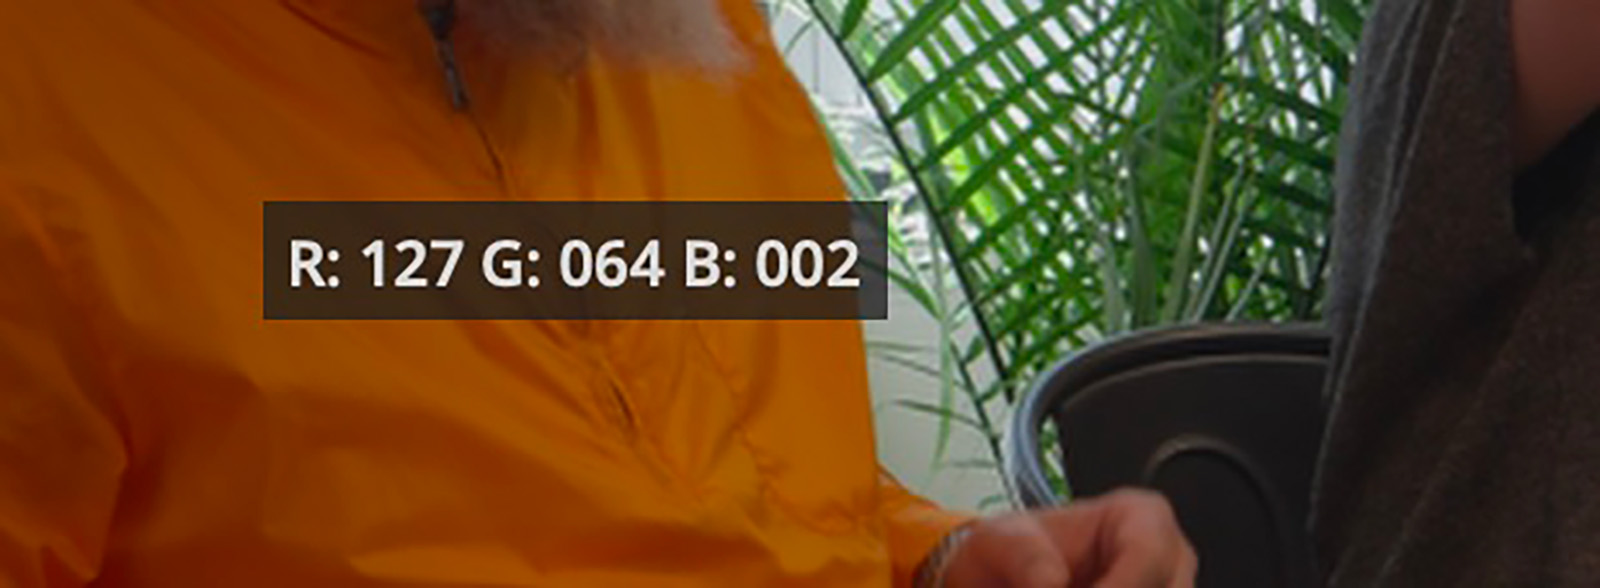
Replacing film with a digital sensor takes out the stock, processing, and transfer steps of the film workflow. Instead, the digital sensor takes light data and encodes it into a digital file, and there are just as many variables here as you’d find in film.
For example, depending on who made the sensor, its color pattern (bayer or X-trans or symmetrical), its color science and recording format can affect what is recorded tremendously. One company’s digital camera might record that jacket as a 102, 36, 0, the other as 127, 64, 02. The exact same spot on the original shiny jacket kicks off two different colors from two different cameras because the manufacturers have tuned their cameras for different things.
And this is where the problems with LUTs begin.
If you want to mimic a general film look, or even more the look of a specific film stock, you need to profile the digital camera you’re shooting with in comparison to the film stock, processing, and transfer that you’re simulating so that the color reproduction matches.
This is something you almost never see in magic “film LUTs” that list all the stocks but aren’t profiled for every single camera. A single LUT that claims to create Kodak 5219 500T but doesn’t know what camera you shot with, and doesn’t profile processing and transfer, is only recreating one step in the process.
If you want to mimic a general film look, or even more the look of a specific film stock, you need to profile the digital camera you’re shooting with.
A better move is to invest in a good quality color chart, then shoot a side by side between your digital camera and the 35mm stock you want to profile (as we’ve done in our sample project, using the Blackmagic URSA 12k and Kodak 5219). Then you can build a LUT for that specific conversion between two cameras. You can do this using the scopes and color points in Resolve when comparing the two shots to each other, which will give you precisely a match between the two formats.
Noise vs. Grain
The next issue to deal with is grain (which we see in film) versus noise (which we see in digital cameras). Noise and grain are superficially similar—they both appear as a dancing pattern of dots—but they behave in very different ways that can drastically affect how you go about recreating your film look.
Noise in a digital camera signal is a result of boosting a weak signal coming off a sensor, which is why it tends to show up the most in the shadows of an image. For the midtones and the bright parts of the image, digital signals are largely noise-free, but in the dark corners of your image you’re going to see that bouncing profile of friscalating dots.
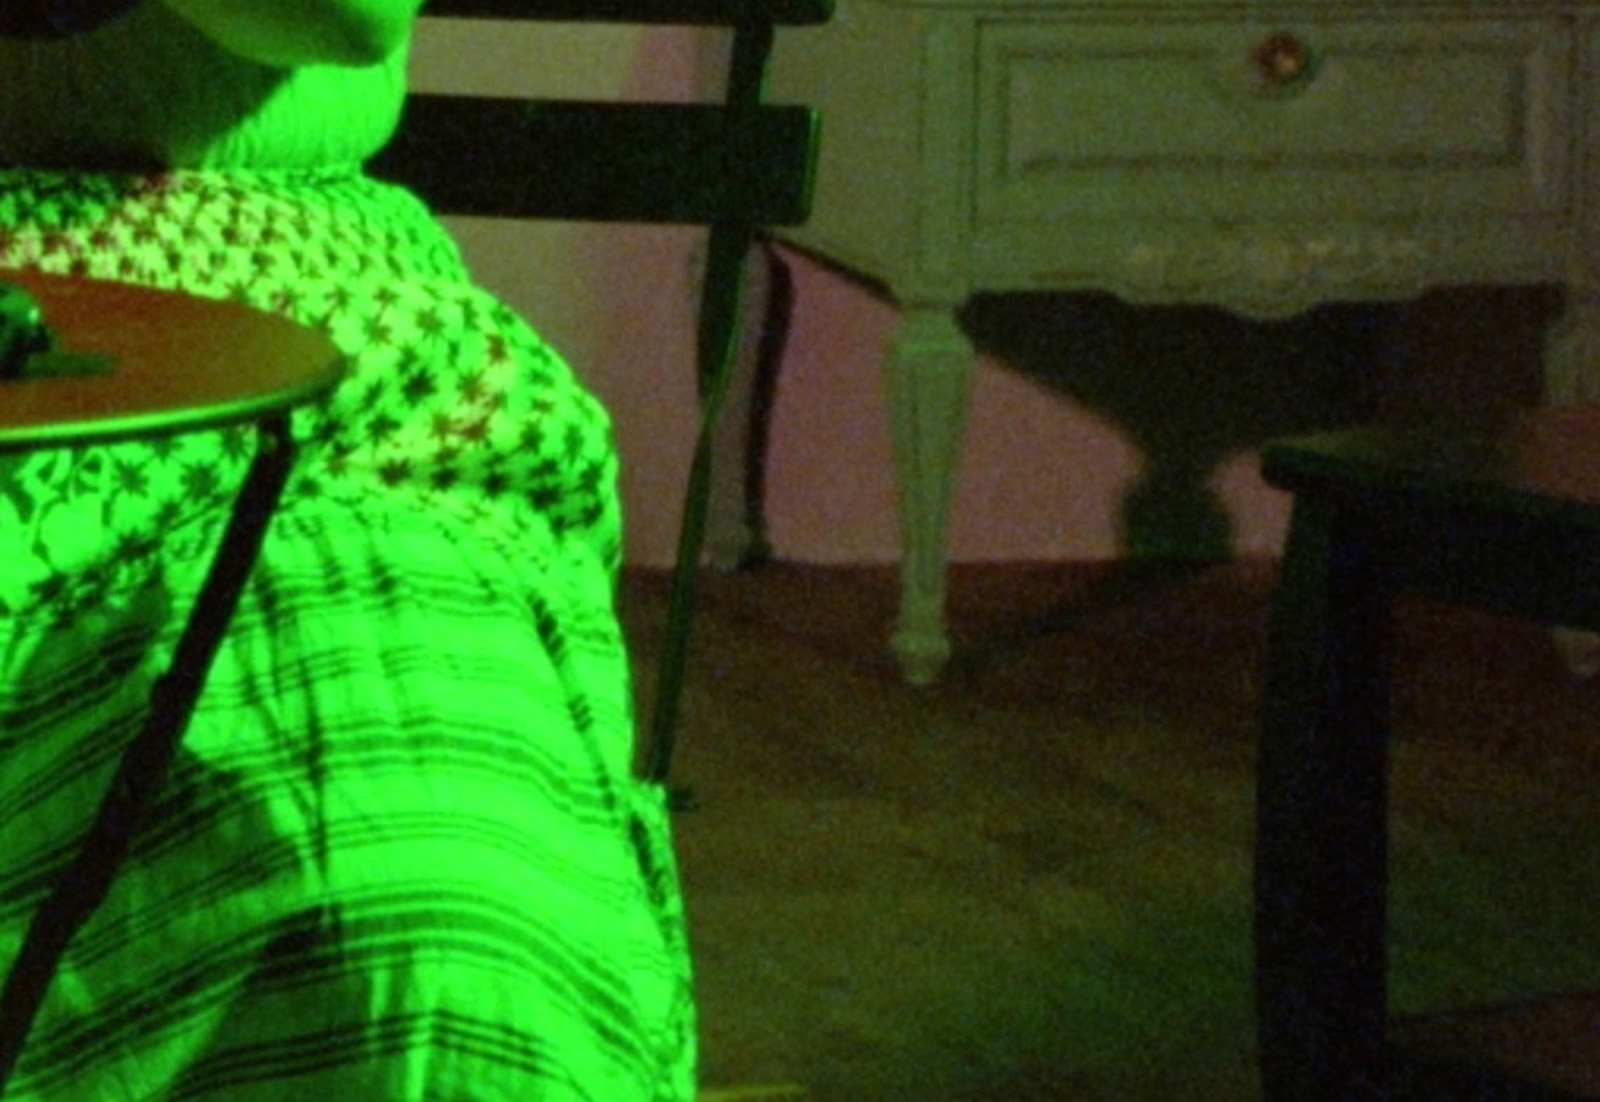
In film, grain behaves differently and primarily shows up in the midtones. Both the shadows and the highlights tend to have less noise due to the way film captures images, since fewer grains are activated in the highlights or the shadows. If you look at this sample image, you can easily see this happening in these stills pulled from a side by side setup of 35mm 5219 and the Blackmagic 12k. The noise you see in the 12k image collects around the shadows, while the shadows in the film image are relatively grain free when compared to the midtones, where the grain shows.
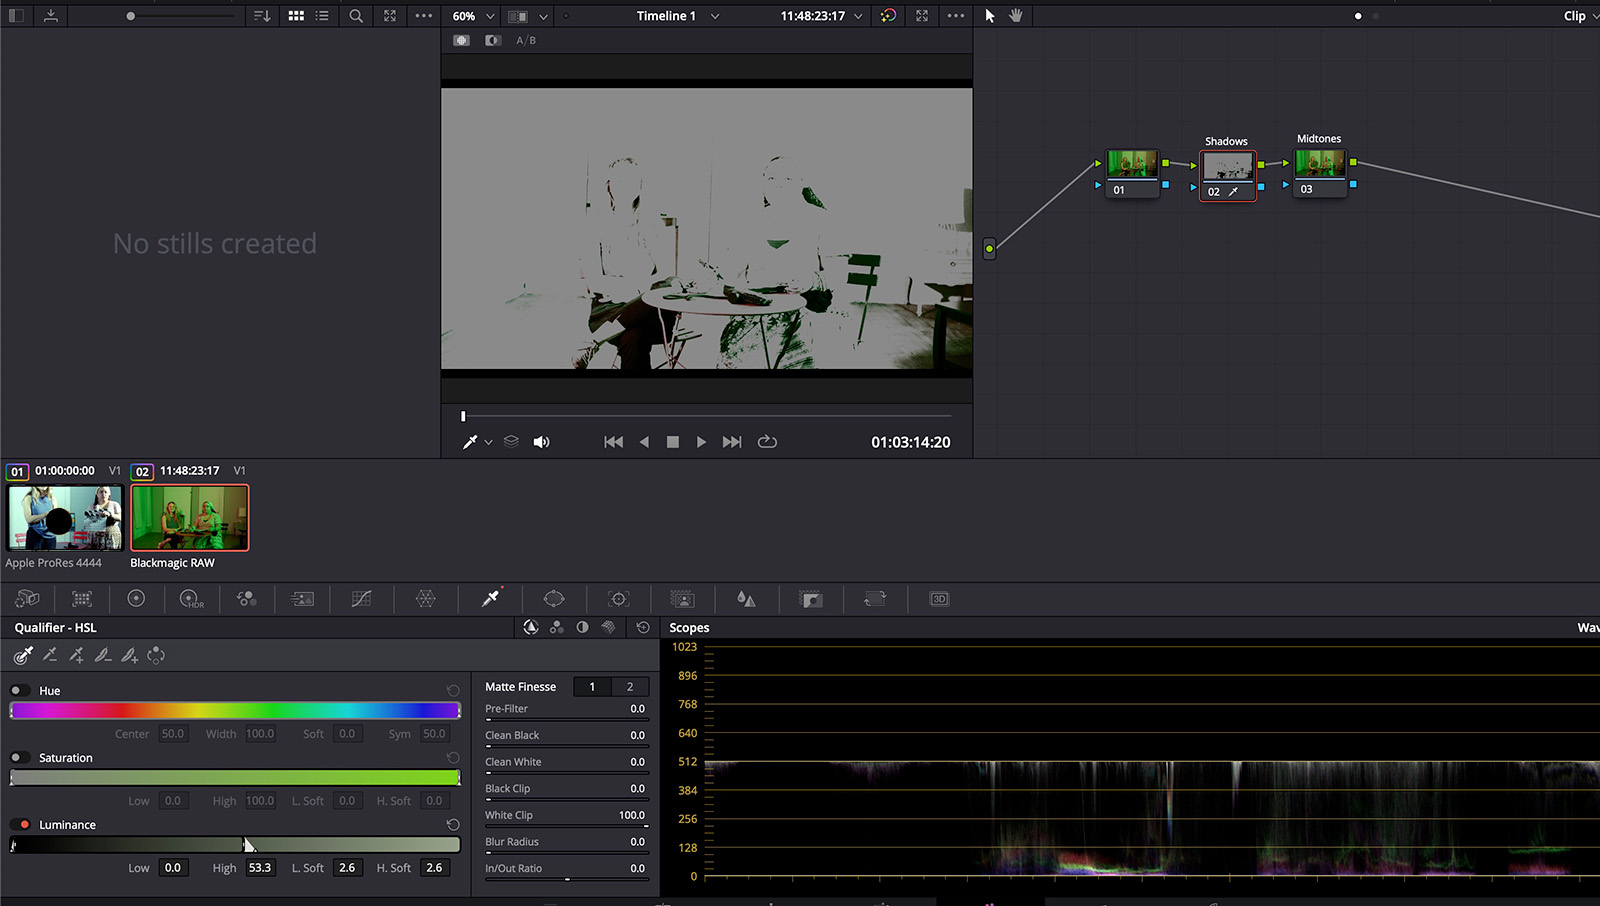
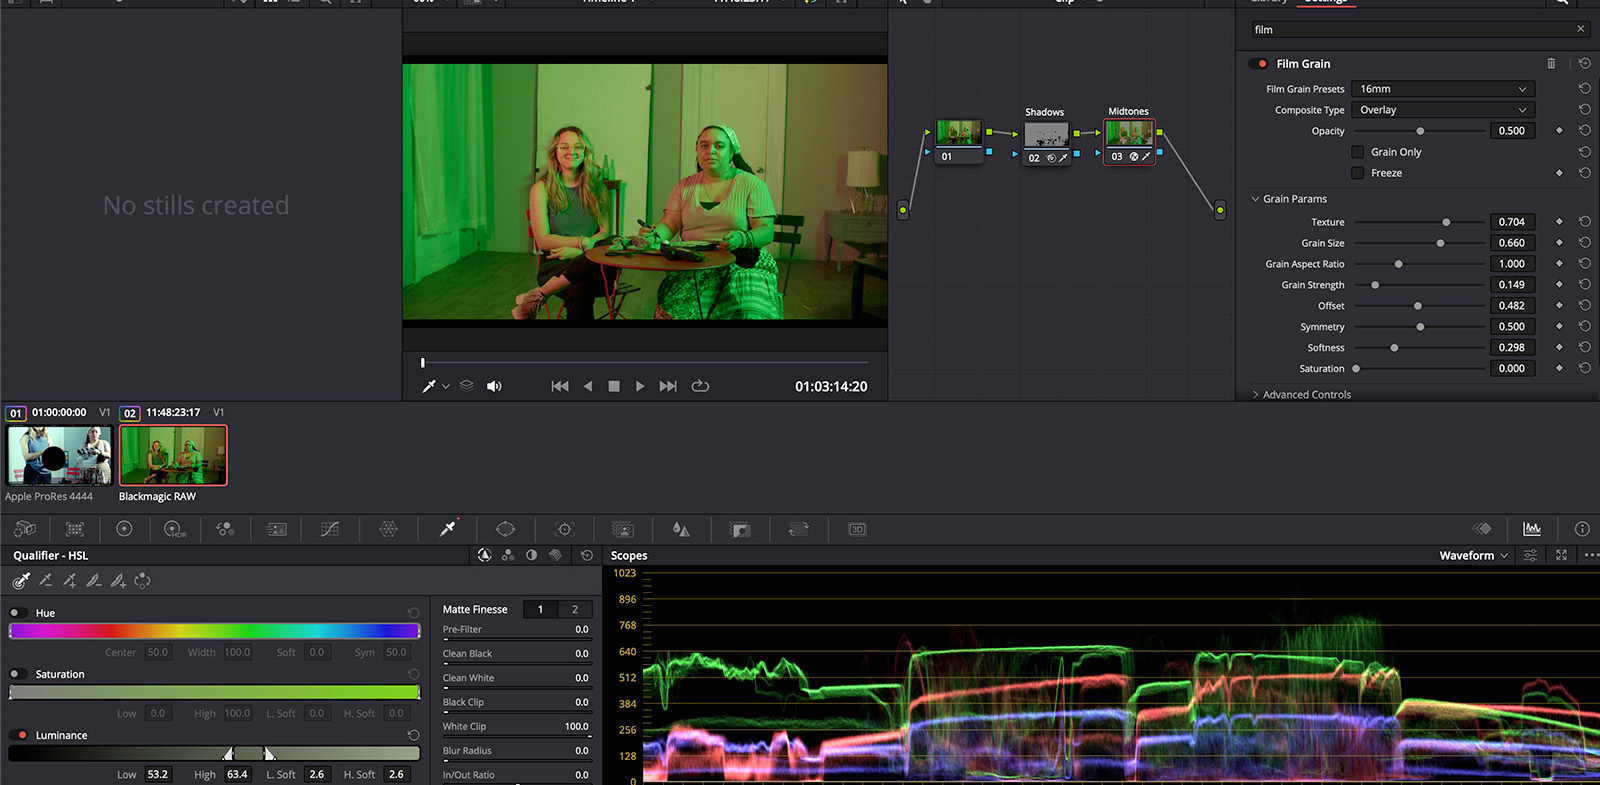
If you want to recreate this in a digital image, it’s relatively simple in Resolve. In your first node of a 2-node sequence, use your keyer to select just the shadows, then apply noise correction there. In the second node, use your HSL keyer again to select just the midtones, then apply whatever built in grain tool to add a bit of texture to your midtones. Those two steps can be adjusted to your personal preference or to get you closer to your preferred aesthetic.
Color channels
This brings us to the other tricky thing about matching the noise profile of film; color channels. With a digital sensor, you likely have something like the Bayer sensor, which has roughly the same number of red and blue sensils and twice as many green sensils. This image is then de-bayered to create the viewable image you work with. This system is fairly robust and tends to have the noise match across the color paths.
Not so with film. Film negative is a series of layers, with the blue-sensitive layer getting light first, thus it gets the most light, and has the least grain. The green sensitive layer is next, getting less light but still enough to have a clean image. The final layer to get light is the red-sensitive layer (the cyan layer), which gets the least light. Lower light means that the film has to have larger grains to be sensitive to an image, which means the red sensitive layer is the noisiest.
This isn’t normally a problem in a properly balanced image. You get all the color data, and the sharpness and find grain of the blue and green layers create an overall fine appearance to the grain. But the image implications of the noisy red layer are there.
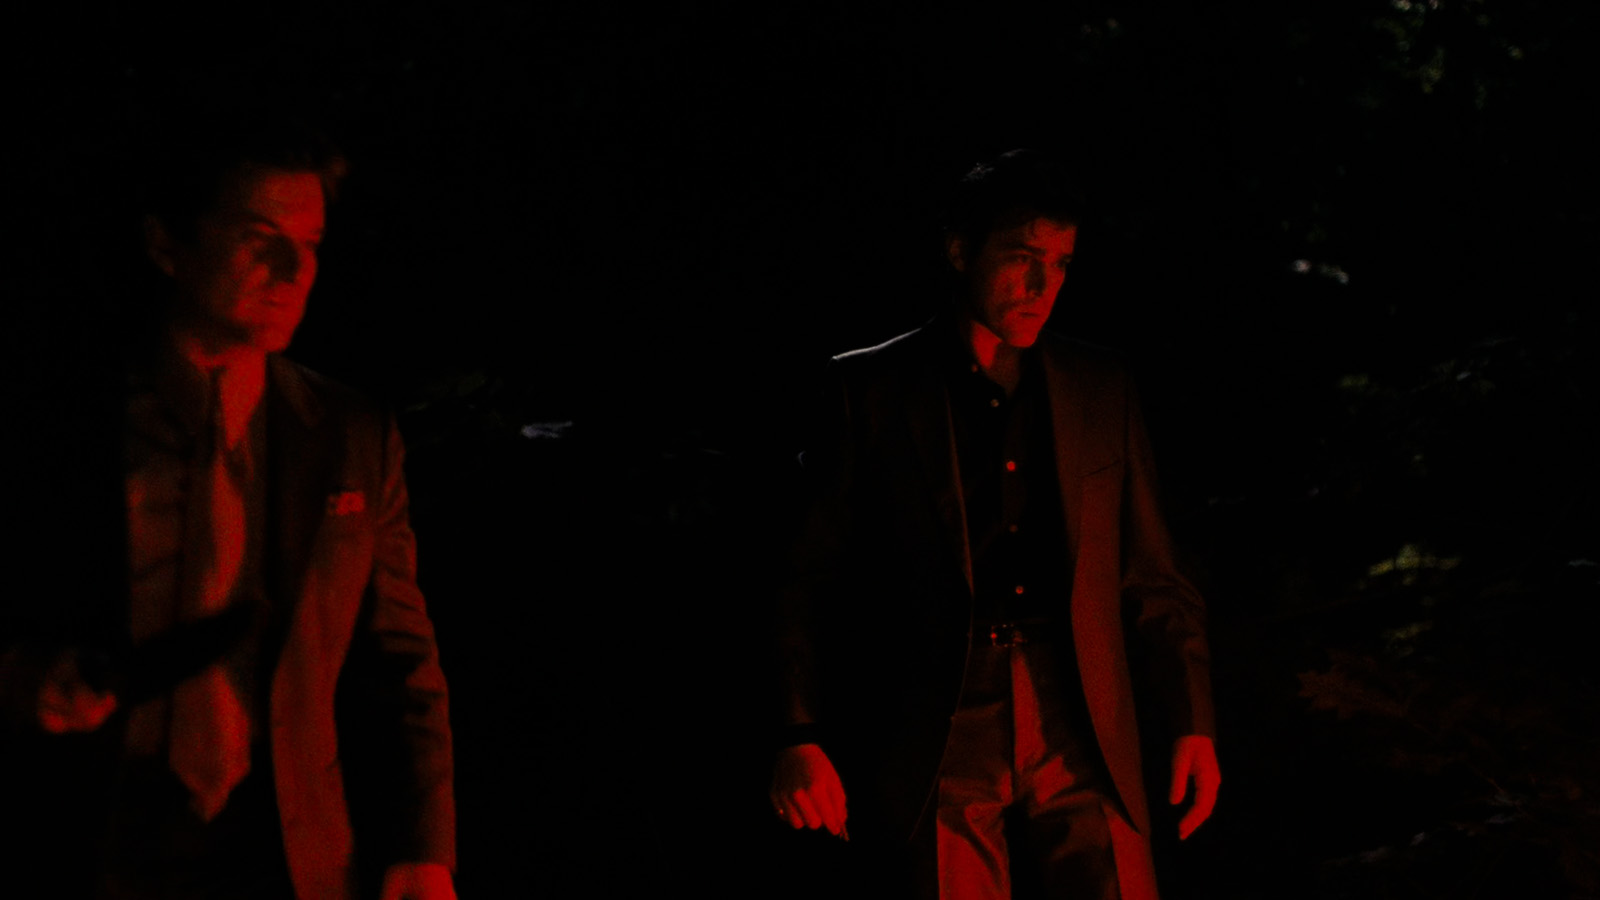
Once the image gets overcome with red, you really notice the distinction, with the red layer being noticeably softer. Take a look at this still image from the classic film Goodfellas, where the color red is used as a thematic element. Even within a single frame it’s possible to see the increased sharpness and detail in the normal areas of the image, and the softness and lack of detail in the red areas of the image lit by tail lights.
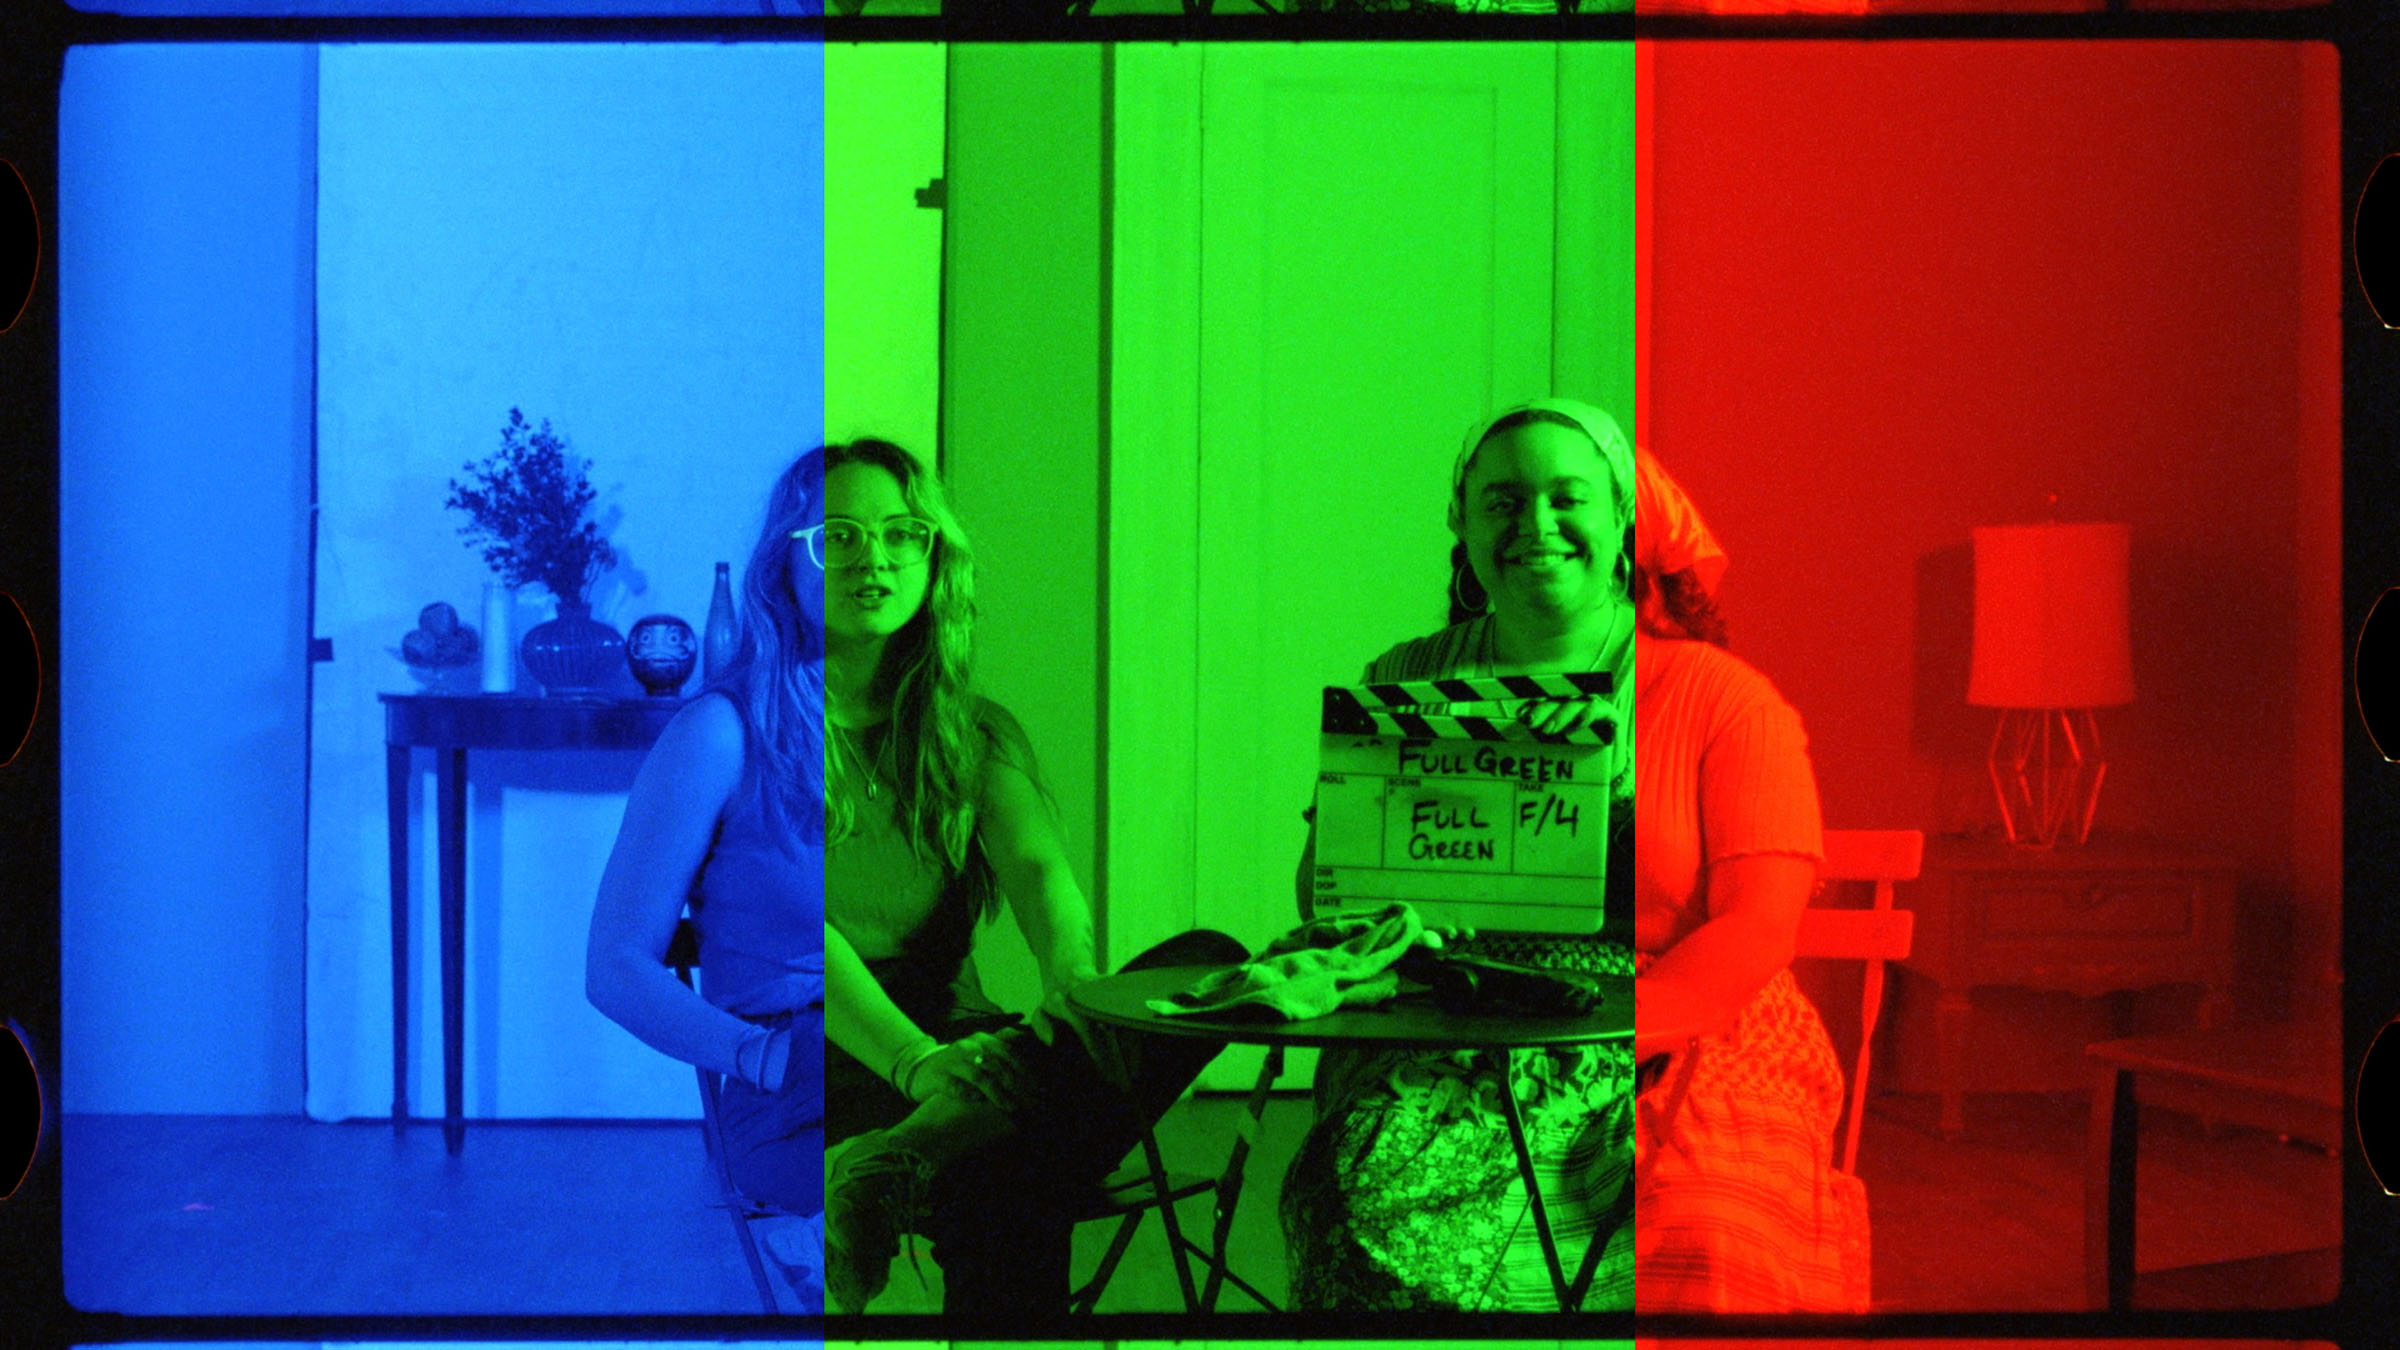
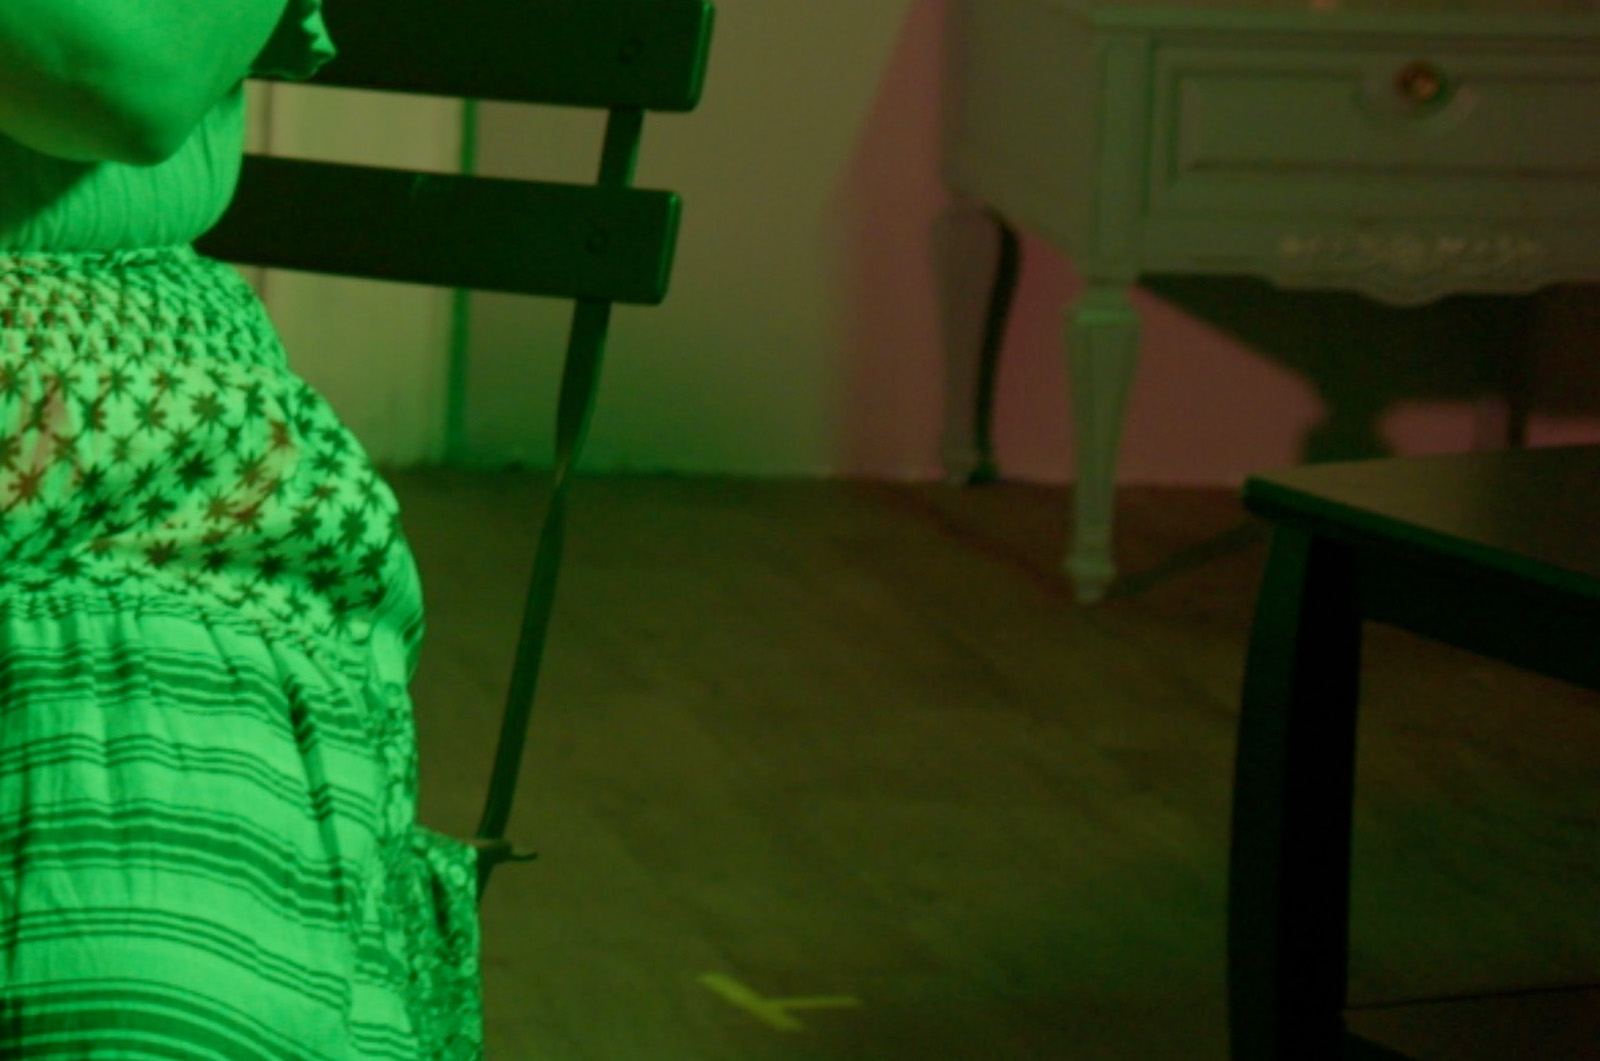
When lighting a scene in only a single color of light, however, the image becomes dramatically noticeable. This is the same film stock, processing, and lighting, using Fiilex RGB and Skypanel units to light the scene to as pure a single color as we can, evaluating the color profile of the light with a color meter. As you can see, the blue-only layer has all the sharp image detail, while the green starts to show more noise, and the red is much softer.
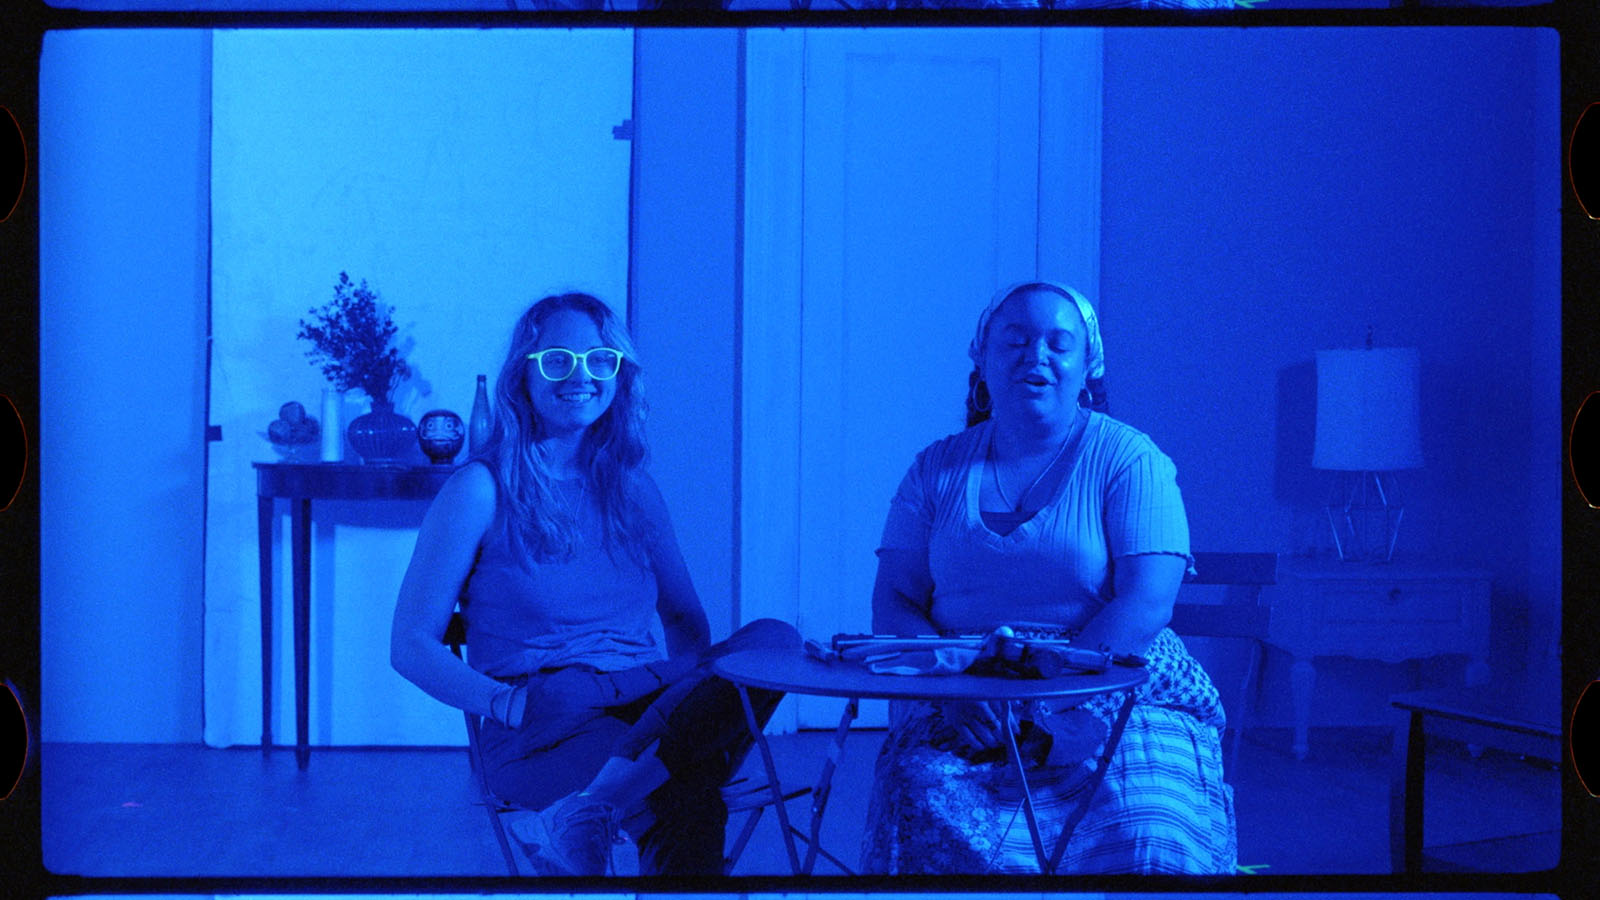

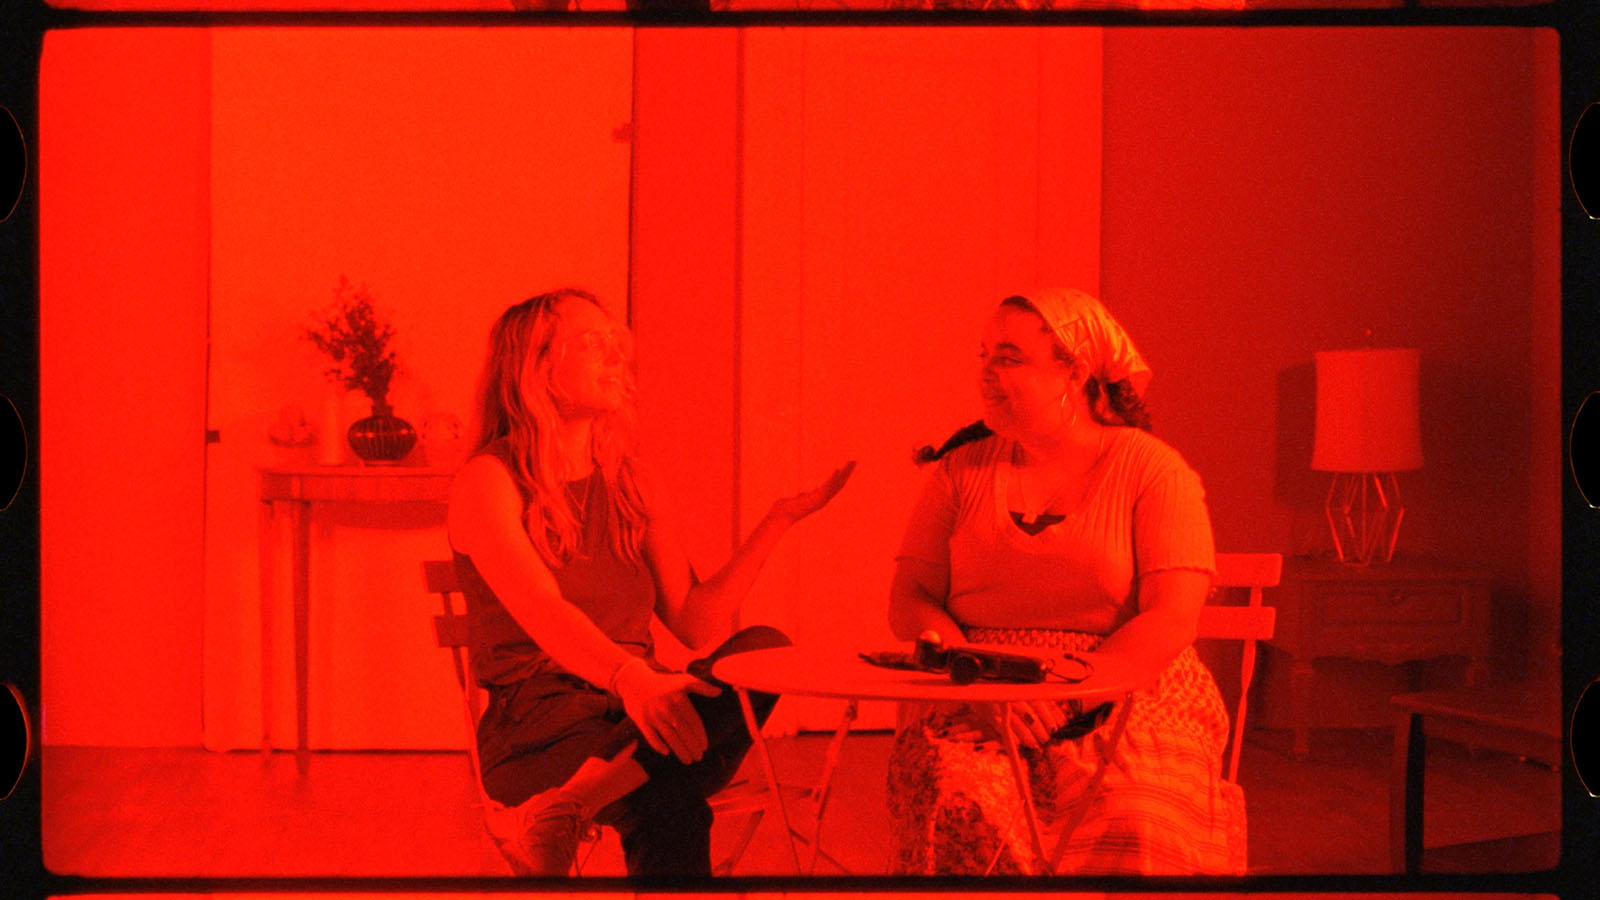
It’s the combining of the three layers together that creates the full-color, sharp image we see. The sharpness of the detail in the blue layer lends clarity to all the colors of the image as they mix on the screen. But red really never has that level of detail when it’s not combined with the other color channels in film. This can even be seen in this color chart, where the pure-red square looks noticeable in our software than the others. It is one of the essential qualities that you have to mimic to really create a “film look” on a digital capture.
This is slightly trickier, but not impossible, to do in digital post. If all you want to do is blur and sharpen you could also just un-gang the Red, Green, and Blue channels of the blur and sharpness tool for a quick and dirty version by clicking on the chain icon, but the blur and sharpness tools are a little bit too blunt for the fine work we want do do.
The key to doing it properly is to split the image processing into three distinct color channels using a parallel node. Once you’ve created a parallel node tree with three separate nodes working on the image, label them red, green and blue (I usually put blue on top and red on the bottom to mimic the layers of film). To do this head down to the color mixer and make one a green-only node, one a blue-only node and one a red-only node, and be sure to crank all the other settings down all the way to -2. You now have separate Red, Green, and Blue color controls.
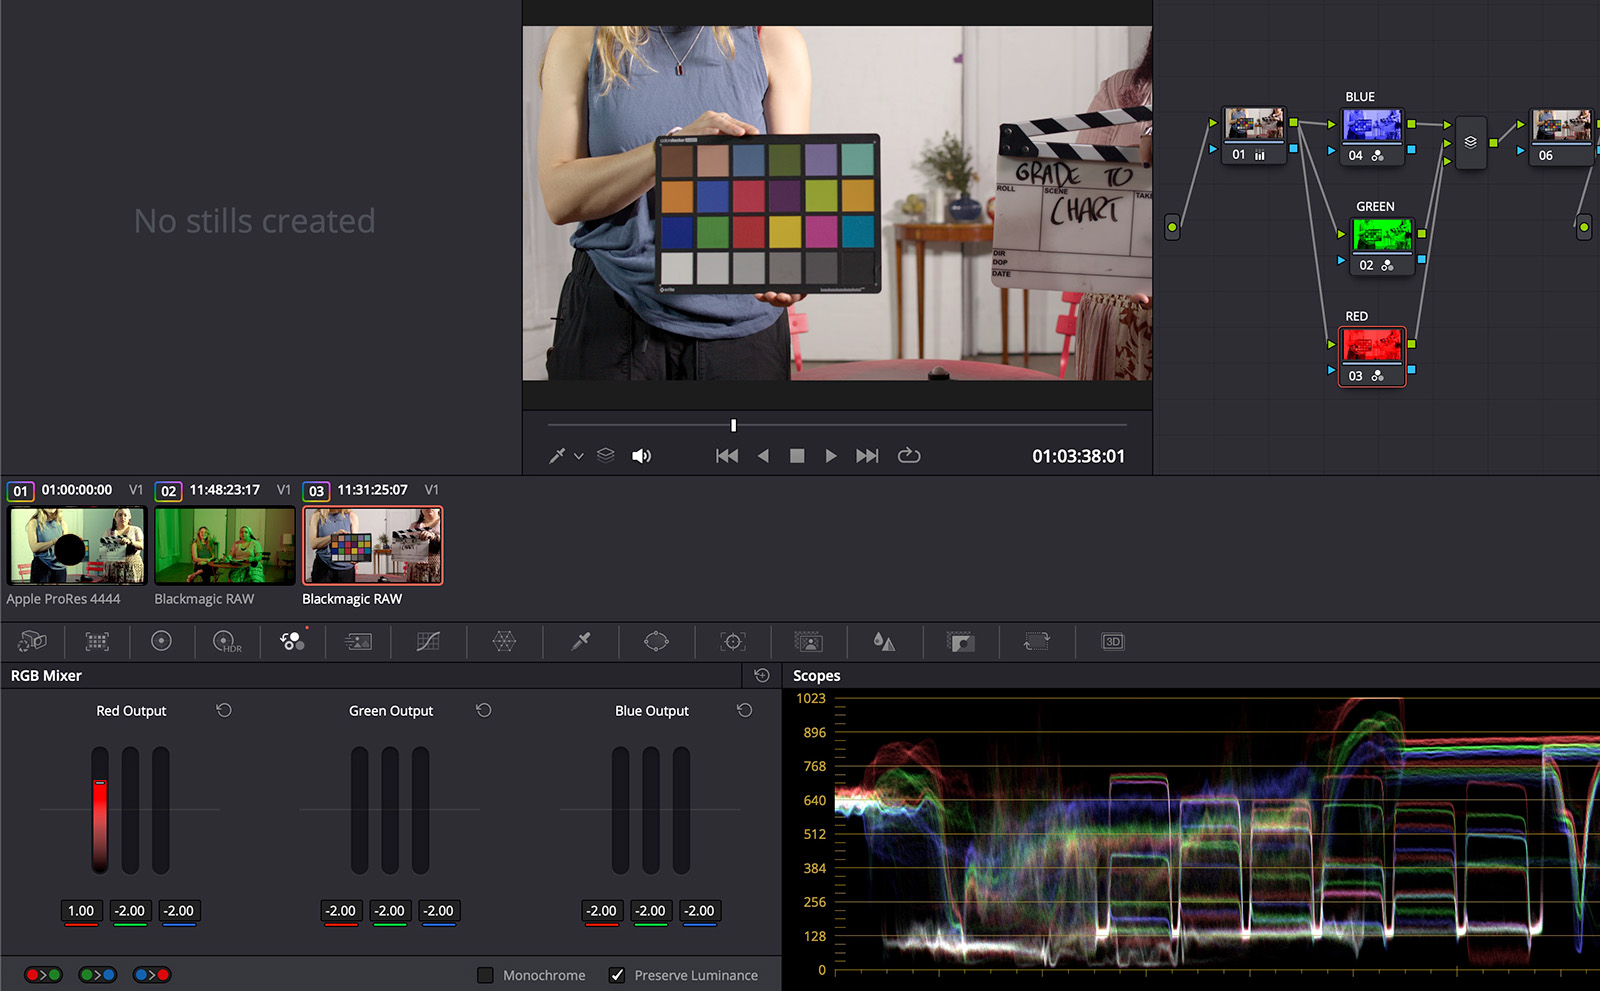
From there you can use all the blur, sharpen, and noise and grain tools at your disposal to get it closer to a true film look. You could take the blue signal and apply a little noise correction, and then take the red signal and use the film grain tool to plug in a little bit of film grain. The recombined image should then get you a bit closer to recreating an actual film look.
It’s not perfect—this is by far the hardest part of the original film look to mimic—and will require finessing shot-to-shot to get anything close to an acceptable result, but through a creative use of all the tools in the Effects palette you can get closer to actually recreating something that resembles film.
Conclusion
The key to all of this is understanding that a film look isn’t just about color. If it was, a LUT could do it—and a transform would be even better. But film has more than that. It has grain, which is different, and grain needs a few treatments to get closer to the actual look you are hoping to match.
The more we study images the more there is to unpack. This is especially true with the emotionally freighted word “film,” with its associated words like “cinematic” and “filmic,” all of which bring along a host of associations that aren’t just locked up in the process of color science.

