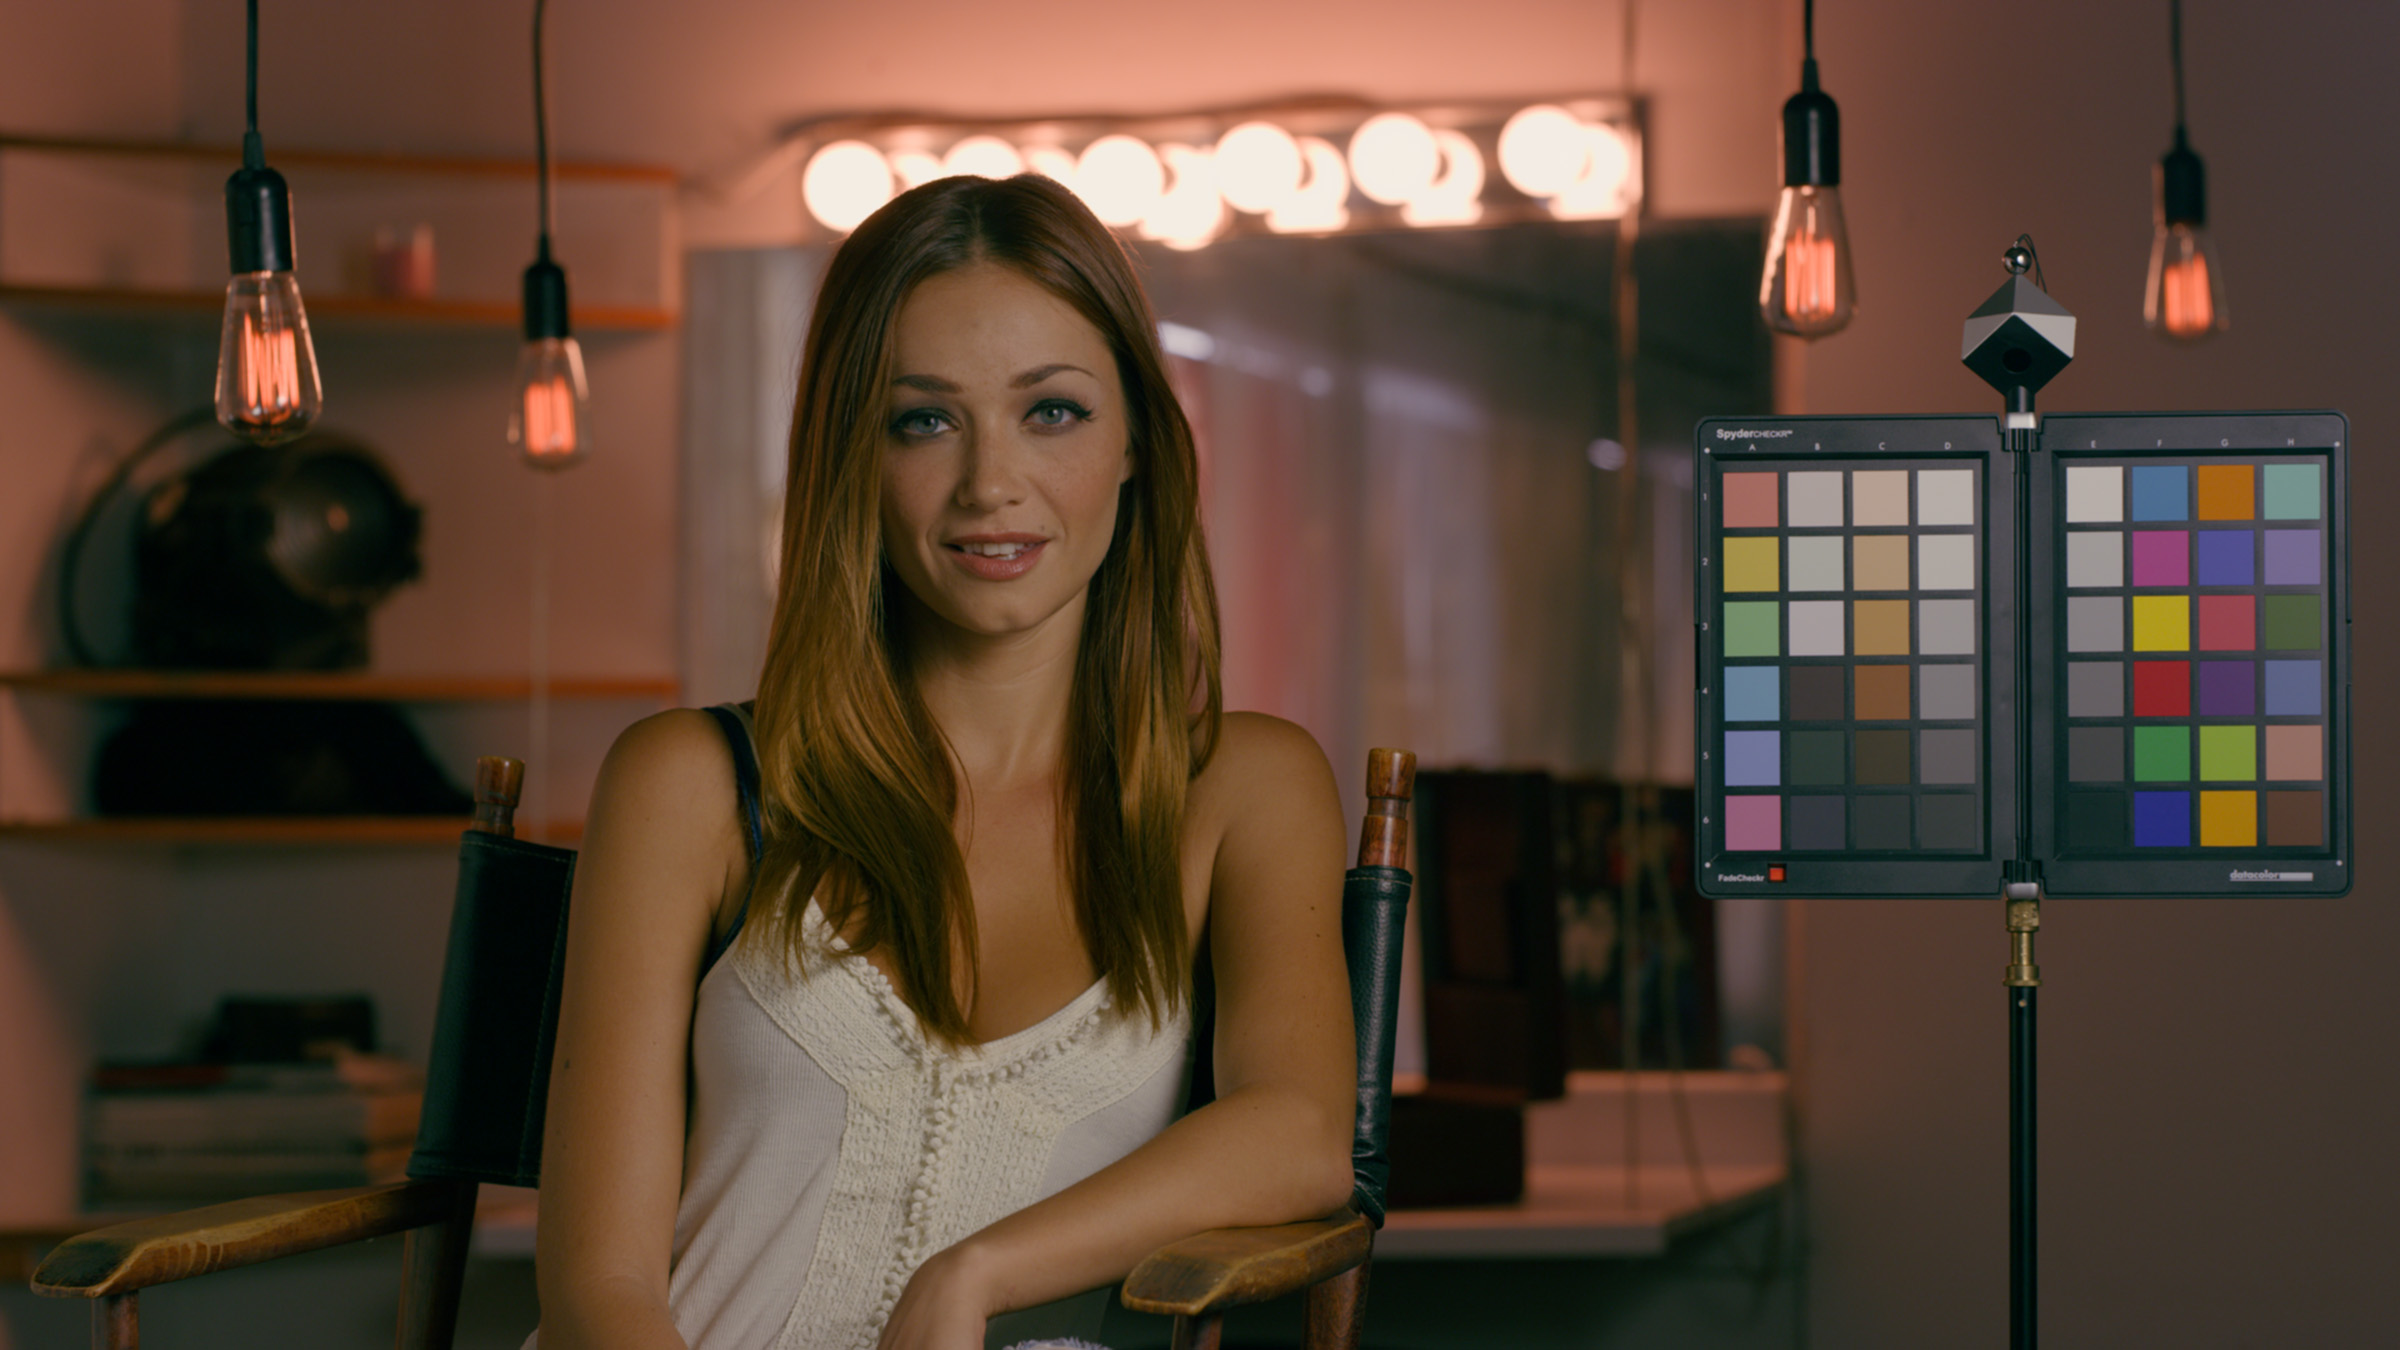
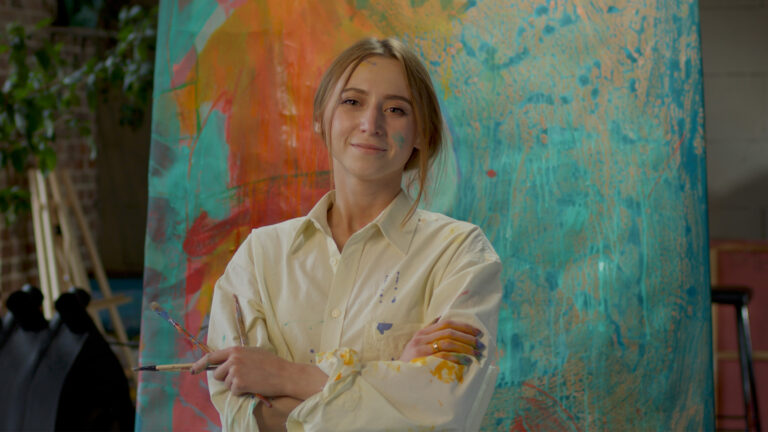
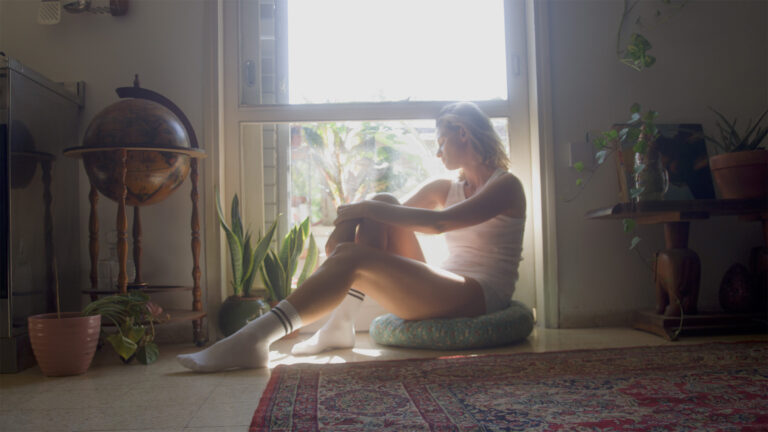
One of the most common questions that I get is how do you grade footage from this particular camera or that particular camera. Honestly, the truth is that my approach doesn’t really change much based on the camera footage that I’m grading.
That’s not to say that all cameras are the same. Some cameras capture more dynamic range or have a broader color gamut than others. But by the time I am hands-on grading, my goal is to be in what I call an “image-centric” mode. I want to be in a position where I can simply look at the image, respond to what I see in it, identify opportunities, look for things that I want to manage, and grade the strongest possible form of that image.
So while on the surface, this article is about how I grade RED footage, it’s really about how I grade, period. I’ll share how to think in a more image-centric and less camera-centric way when grading in DaVinci Resolve, and I’ll show how that plays out specifically with RED footage. So let’s get started.
Setting up a camera-agnostic grading workflow
Starting off, I have a timeline filled with RED camera footage, and you’ll notice that everything looks pretty normalized. We’re not looking at a log-type image you might be expecting from a cinema camera like RED.
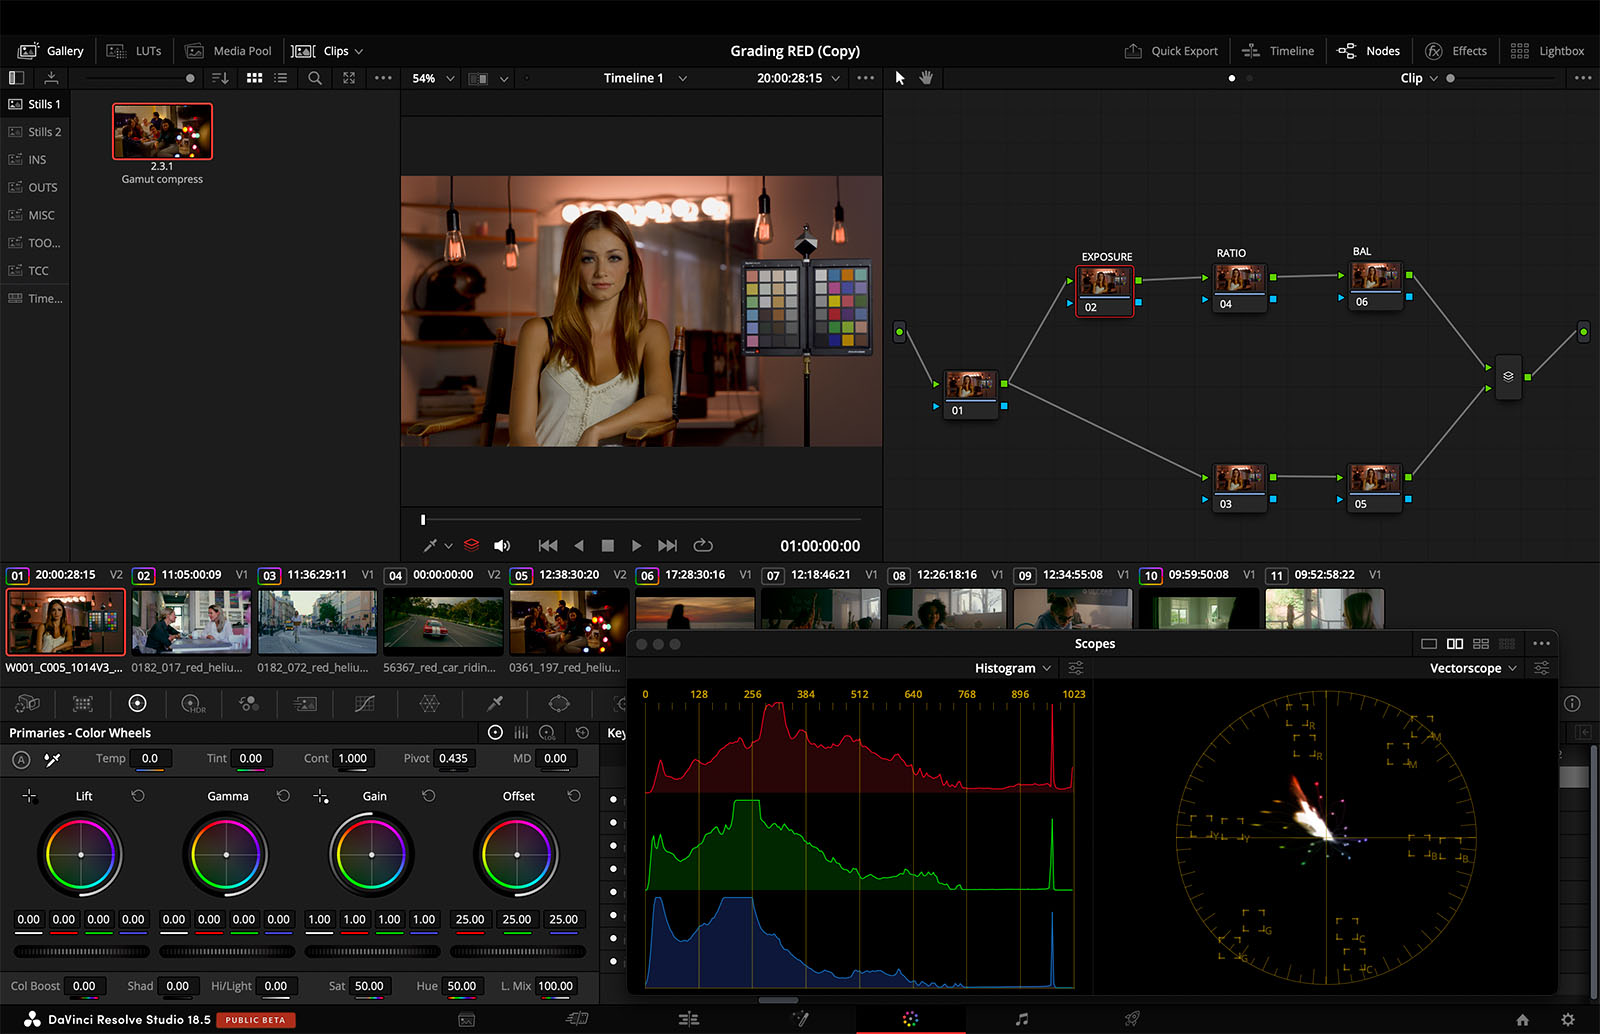
This is always step one of my process: setting up proper color management. Color management at a project level is simply a way of taking what the camera saw and transforming it into what my display can show on an automatic basis using good color science. It’s the foundation for all of my color grading projects in Resolve.
My next step is creating a template node graph to apply to all the clips in the timeline. These nodes contain no adjustments but provide a structure to fill out as I grade individual shots. My base template nodes feature Exposure, Contrast Ratio, and Balance adjustments, with a lower parallel track for secondary adjustments.
Create your own template graph on the first clip in your timeline and label each node clearly. Then, select that clip in the Clip Viewer and press Cmd/Ctrl+C to copy the node structure. Then hit Cmd/Ctrl+A to select all the clips in your timeline and use Cmd/Ctrl+V to paste the template node graph to the remaining clips.
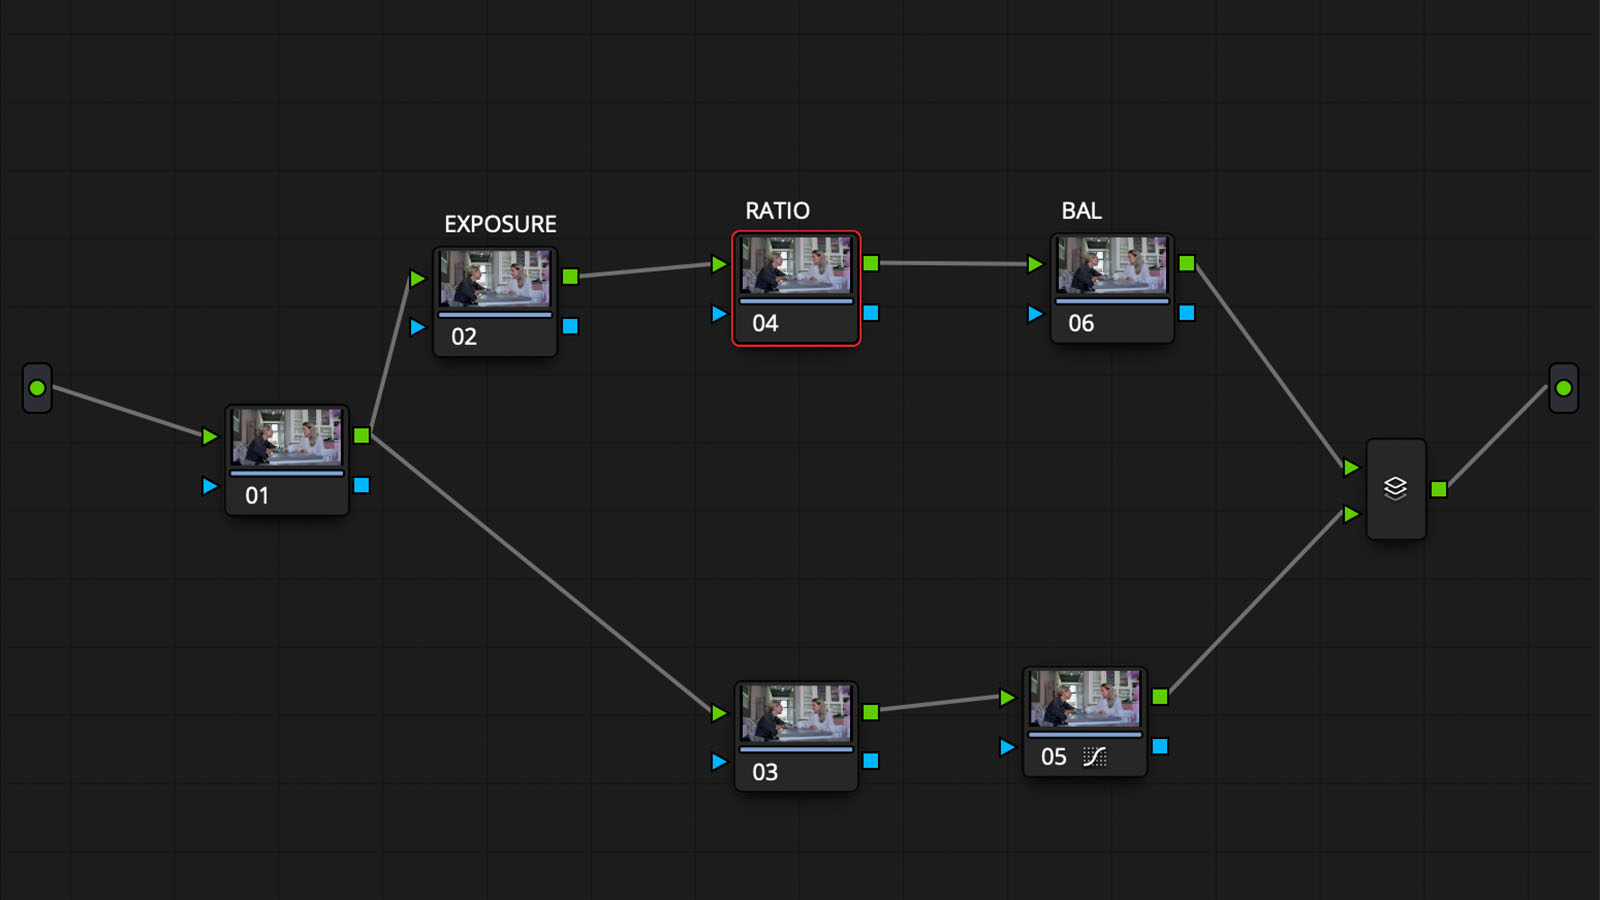
Note that this template node graph is not based on the camera whose footage I’m grading. I’ve set up my color management settings to work in DaVinci Wide Gamut Intermediate, not a camera-specific colorspace. Using a consistent color space for all my projects means all my tools, like offset or contrast pivot, give the same response I’m used to, regardless of the original color space of the camera. When you work in an image-centric way, more is the same between grading camera A and camera B than is different.
Applying a Creative LUT to your project
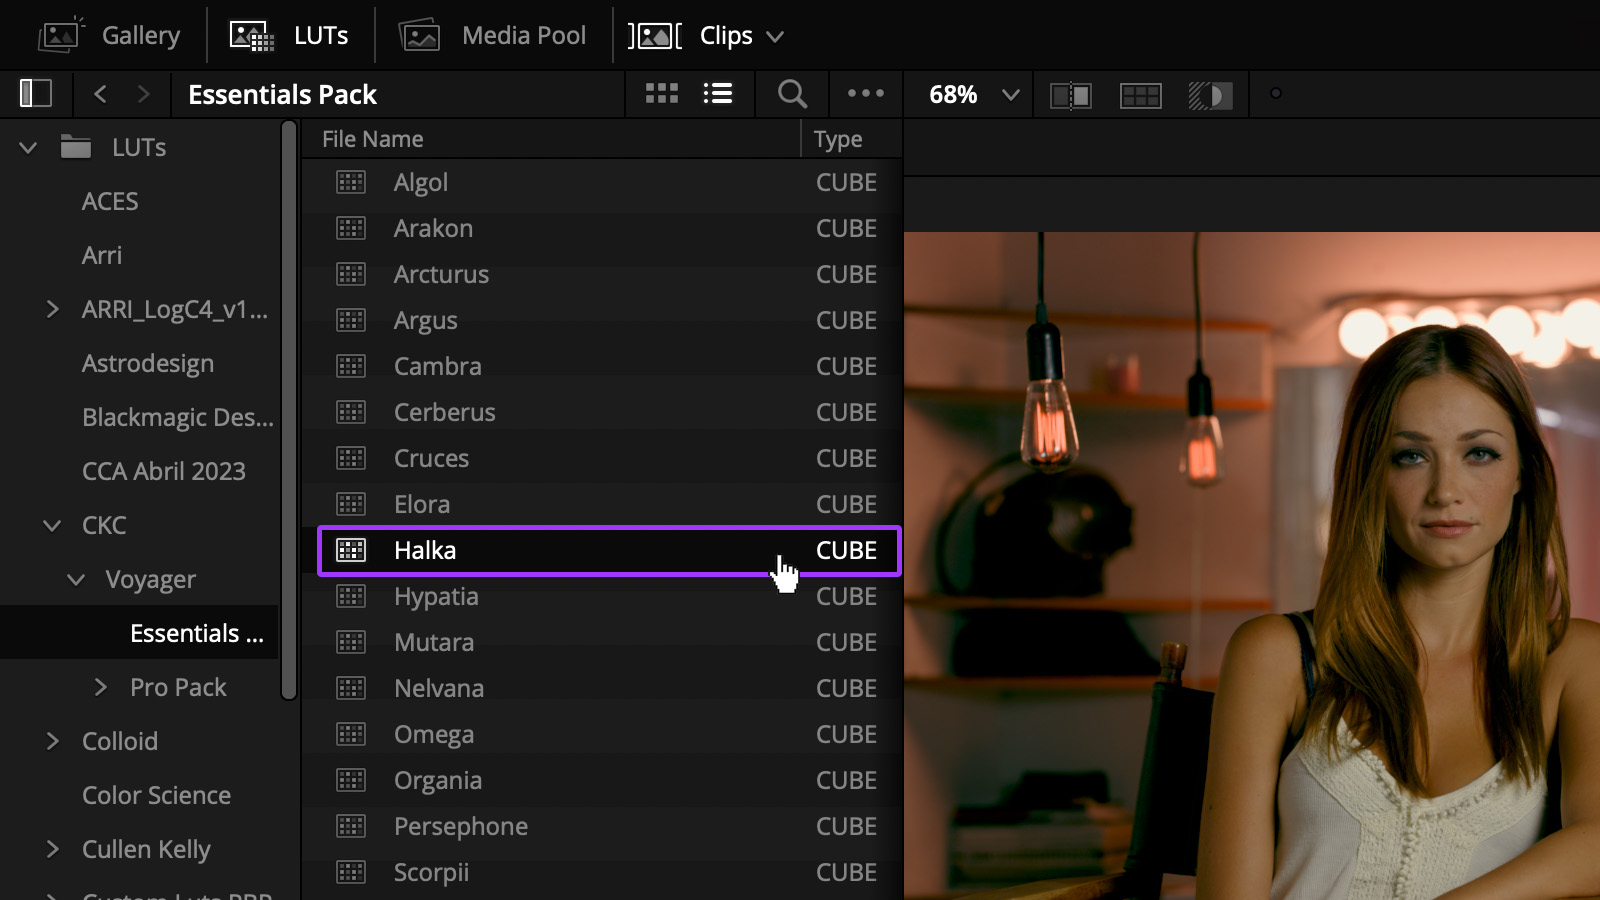
While I’m just grading sample clips, typically, at this point in my process, I would apply some sort of unifying look to make everything in my project feel consistent. In this case, I’m going to apply a creative look from my Voyager LUT pack, but you can use any well-built film LUT, like my free Kodak 2383 LUT. Navigate to the LUTs folder in Resolve and select an appropriate LUT that suits your vision for your project.
The best place to put a creative LUT is at the Timeline level of your node graph, which globally applies the look to all clips in your timeline. In the node graph, switch to the Timeline level by clicking the dropdown next to Clip at the top of the panel.
Balancing out saturation in RED footage
Now one thing to call out with RED footage specifically is that, while RED footage has the capacity to get very colorful, the low to medium saturations can come in a little bit less saturated than we might want. One trick to handle this is to go to the Curves panel, select the Sat vs. Sat curves option, and lightly boost the saturations at the bottom of the image curve. Look closely at skin tones and try to wake these up a little bit without moving the high saturations.
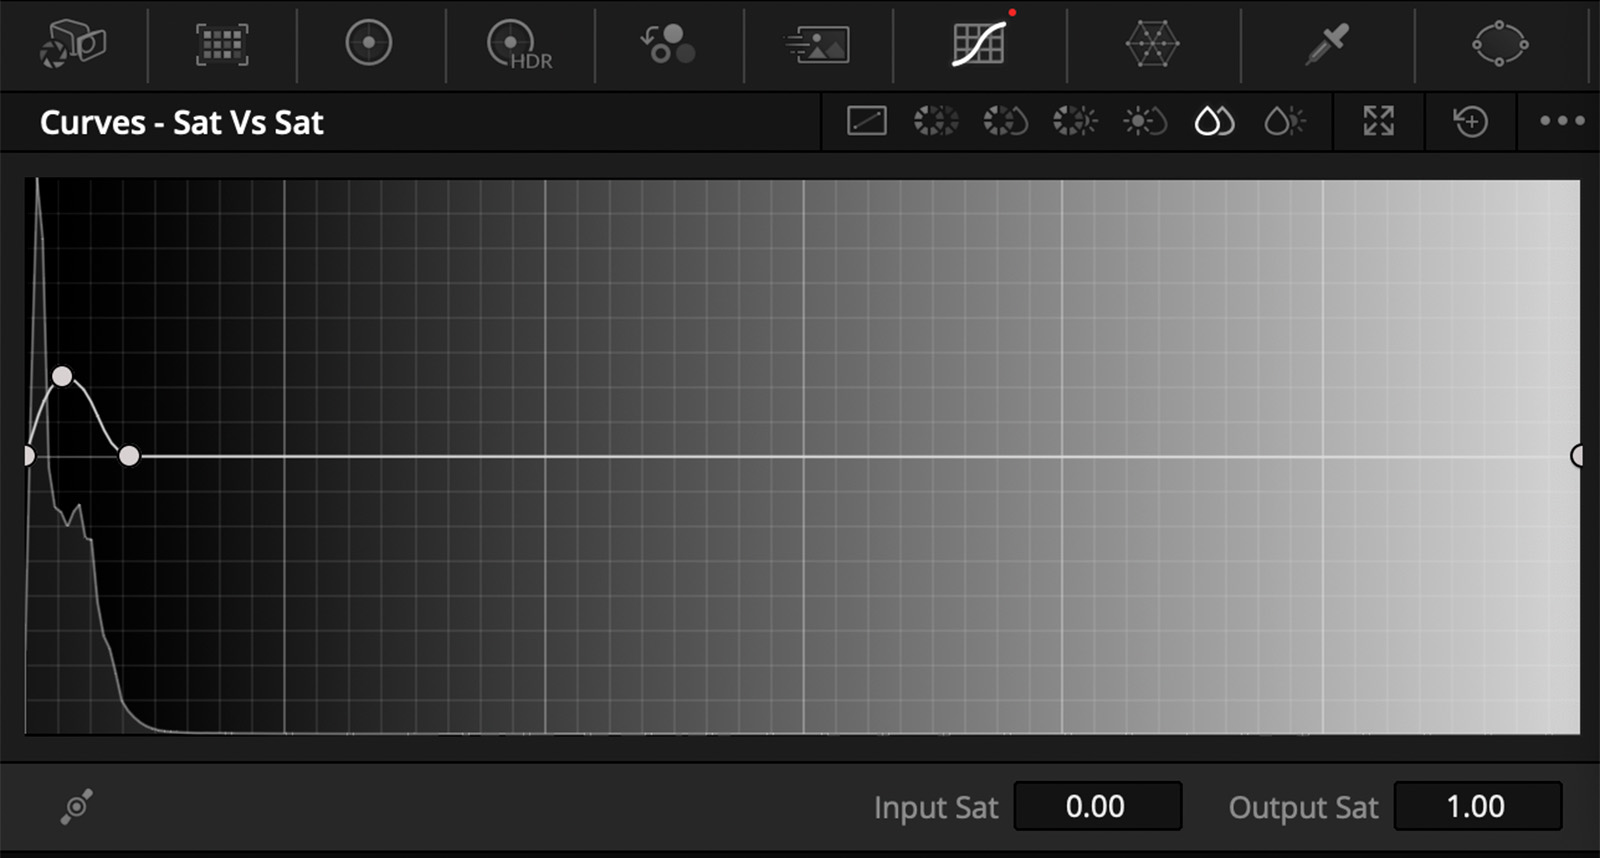
This is a good example of the kind of saturation that I’ll sneak into RED footage when things are feeling a bit lifeless and is an excellent way to wake up the image, skin tones in particular.
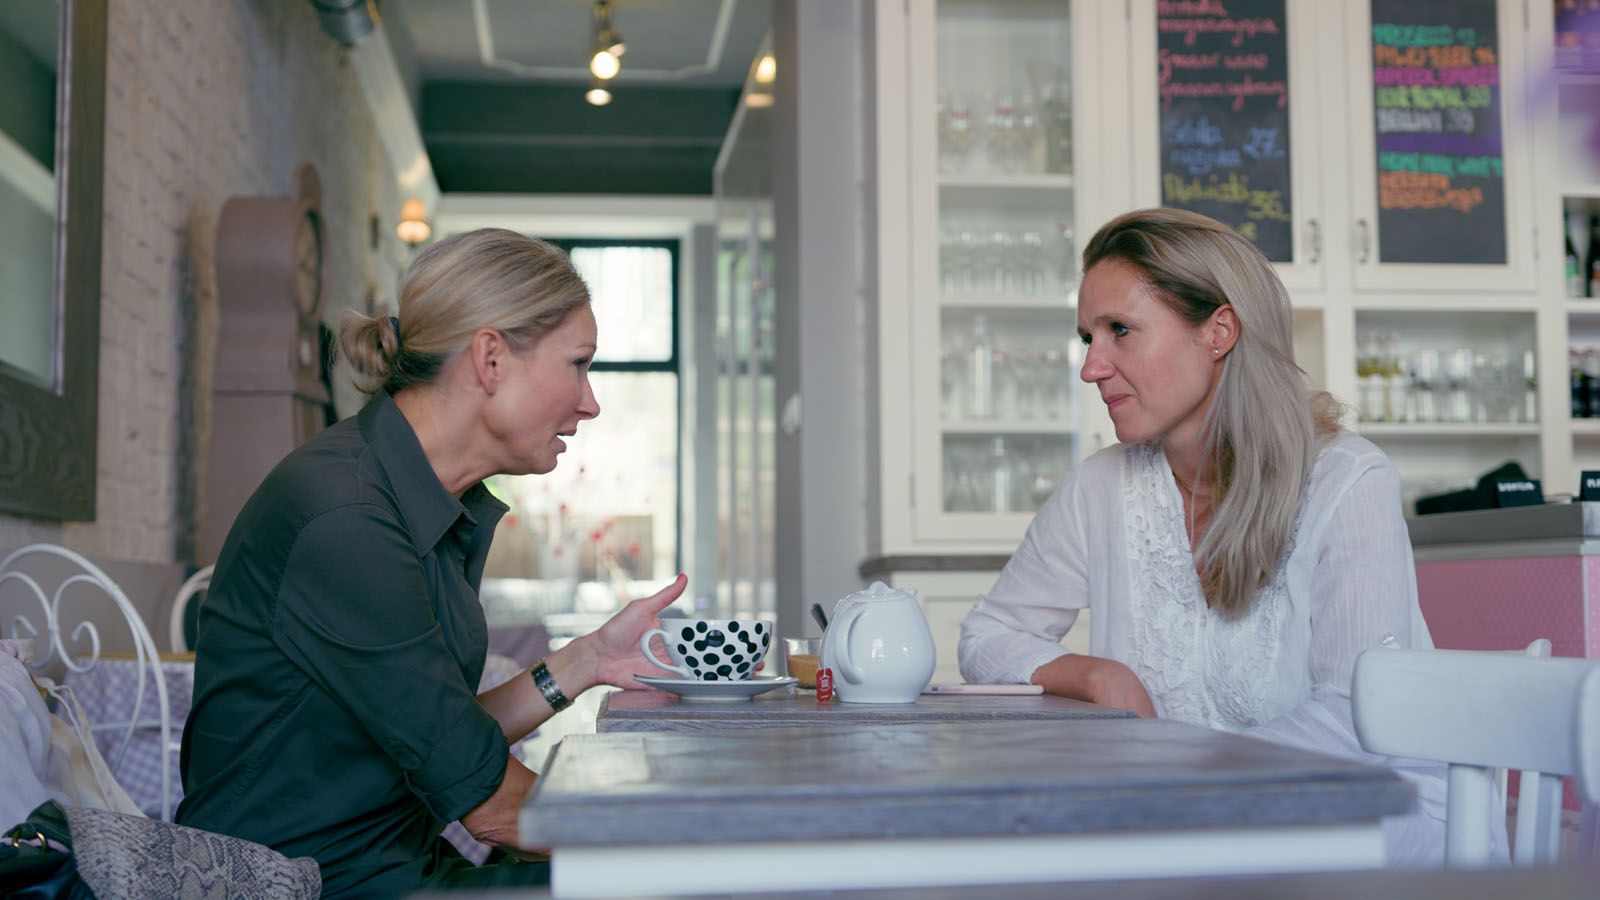
Now, I wouldn’t necessarily just reach for the saturation knob because that will saturate ALL the colors in the image, including the colors that are already very saturated. Below is a different shot from the same shoot where you can see what I’m referring to.
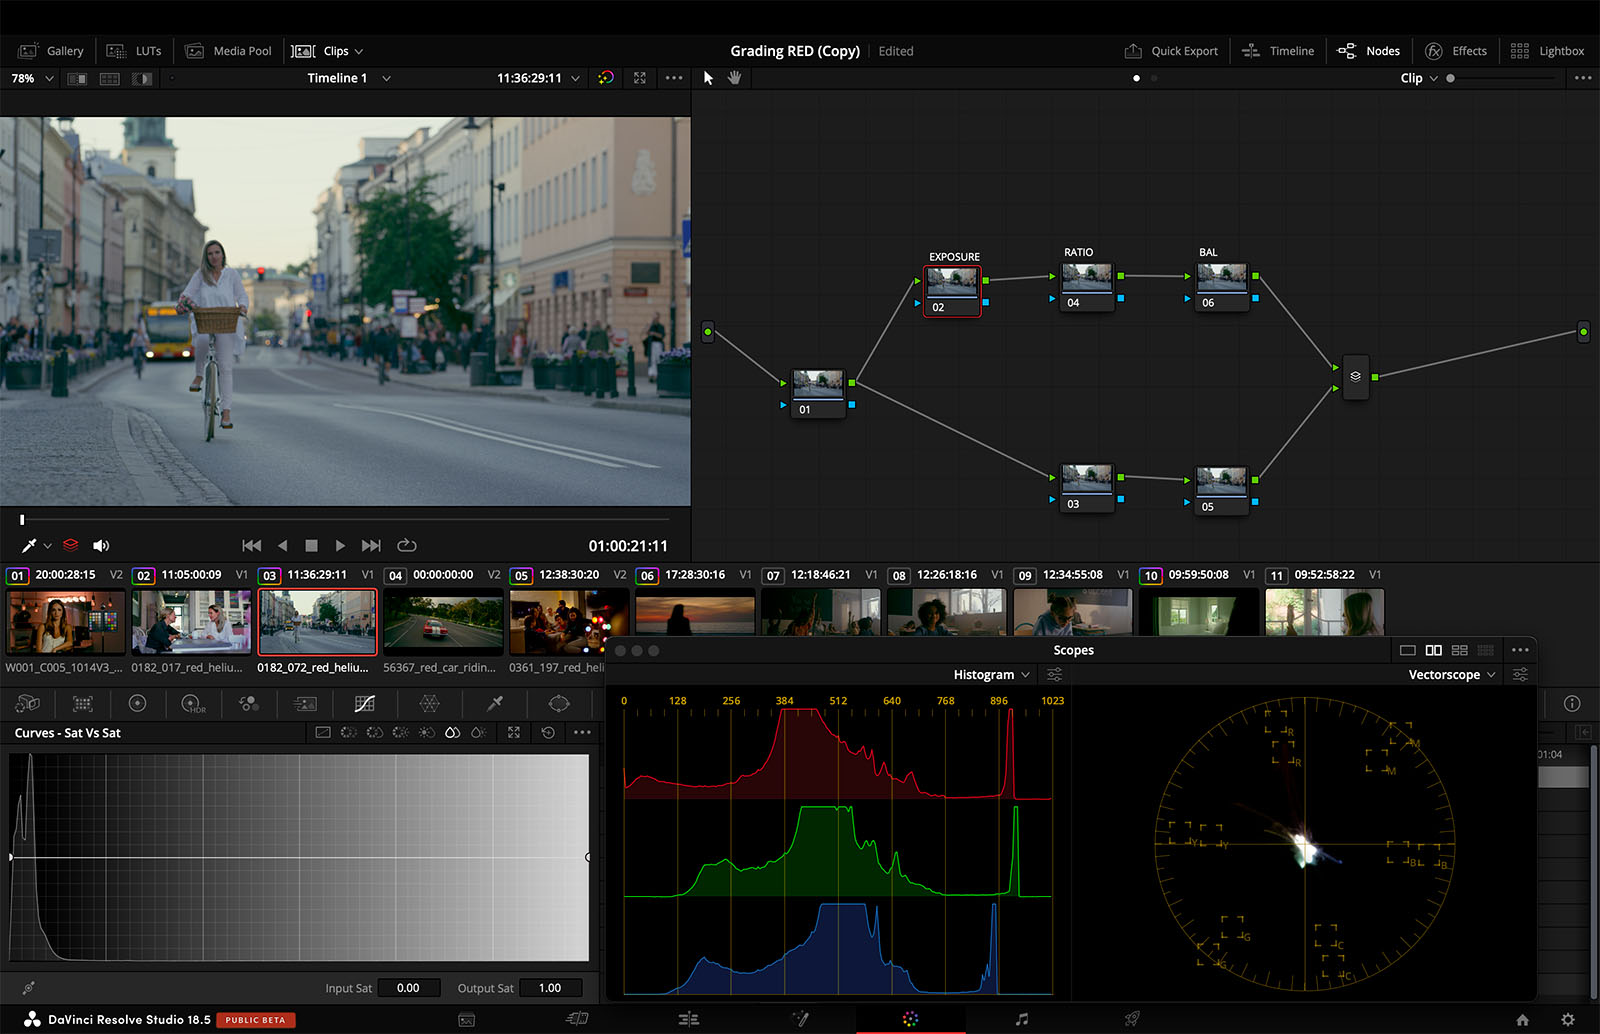
The traffic light is plenty saturated right? If we reached for the saturation knob, we would probably begin to clip out that traffic light or certainly get a garish reproduction that we’re not interested in. However, by using the Sat vs. Sat trick, we add quite a bit of pop to the skin tones without affecting the traffic light at all.
Determining the input color space for ProRes footage
So far, we’ve been grading .R3D material, RED’s raw file format, which automatically debayers and displays properly in Resolve thanks to our color management settings. However, what if you have a clip that’s already been encoded into ProRes, and you don’t actually know what color space it is?
This is something that can definitely happen with cinema cameras like RED. If you don’t have the opportunity to ask the filmmaker or the camera person, then you’ll have to determine the best fit on your own. Here’s how I go about figuring these things out.
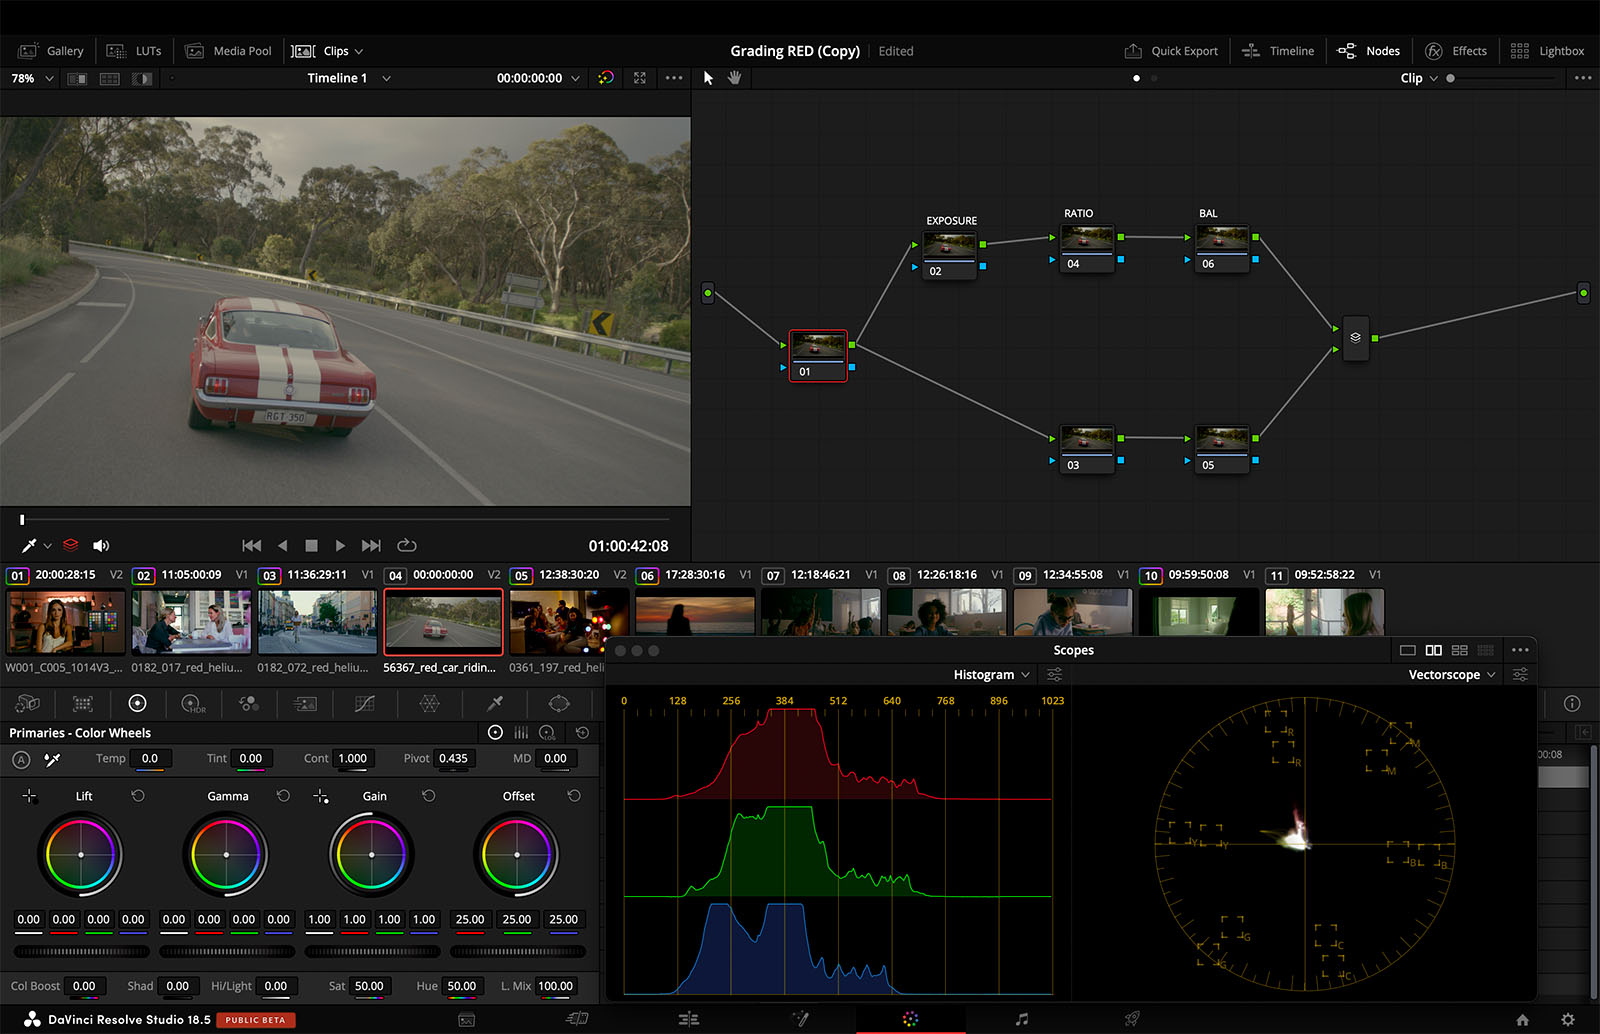
If you know you have RED footage and you know it’s in log, then the first step is to right-click on the clip and select Input Color Space->REDWideGamutRGB/Log3G10. For newer RED cameras, this is a good place to start with. However, this guess is incorrect since we would ideally get a more level starting position than we see below.
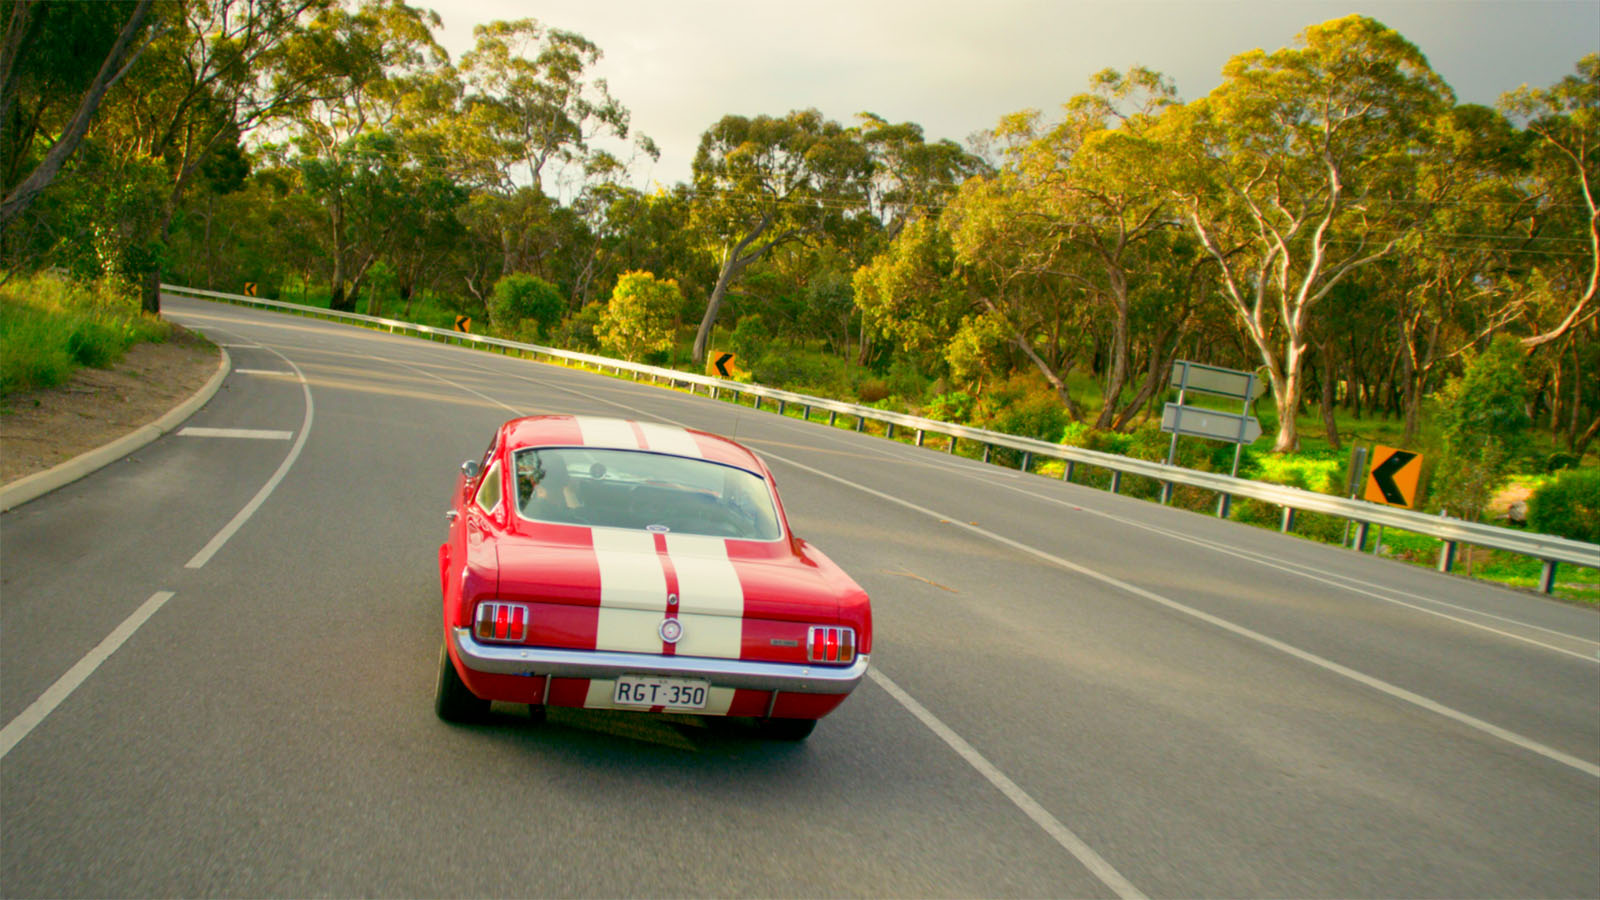
The next color space to try is DRAGONcolor2/REDlogFilm. That’s generally the most common color space and tone curve for RED footage before the IPP2 system came out. Looking at the image below, we see that this color space feels better. It’s maybe not perfect, but it feels like a more level starting position.
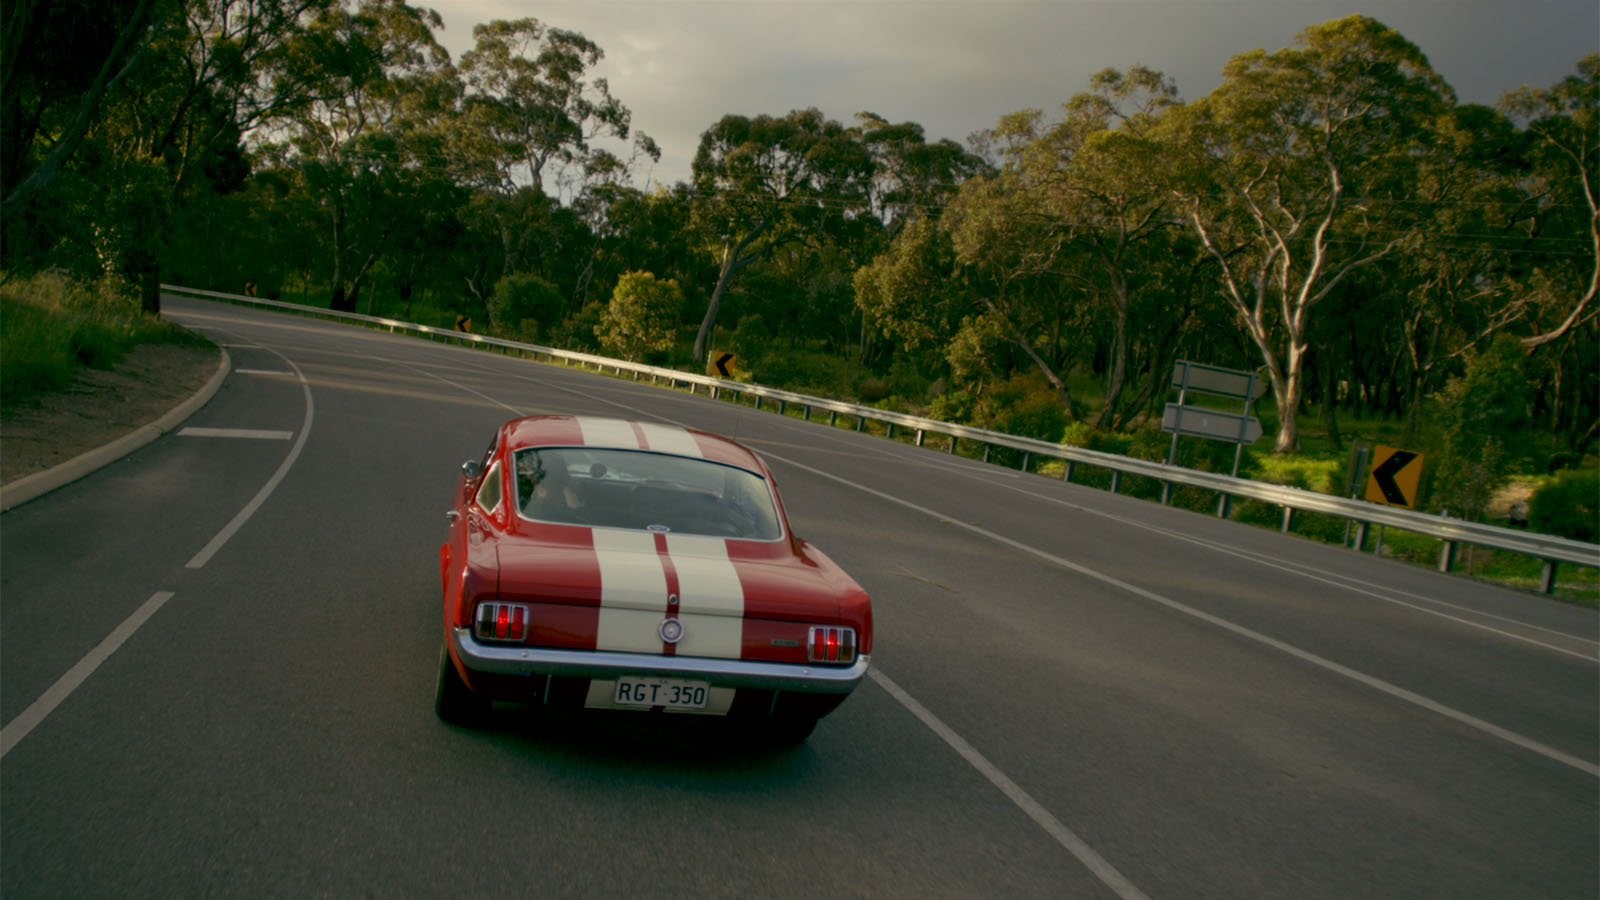
I’m not going to say it’s a full-on guessing game, but there is a bit of a detective process to figure out the most likely color space of unidentified log material that you know comes from a RED camera.
Dealing with extreme saturation issues
A unique challenge related to RED footage is its ability to capture very colorful images…too colorful. I’m talking about chroma clipping or blowout with very saturated colors that the RED sensor can capture, but traditional color spaces can’t display properly. Take a look at the colored Christmas tree lights in the image below.
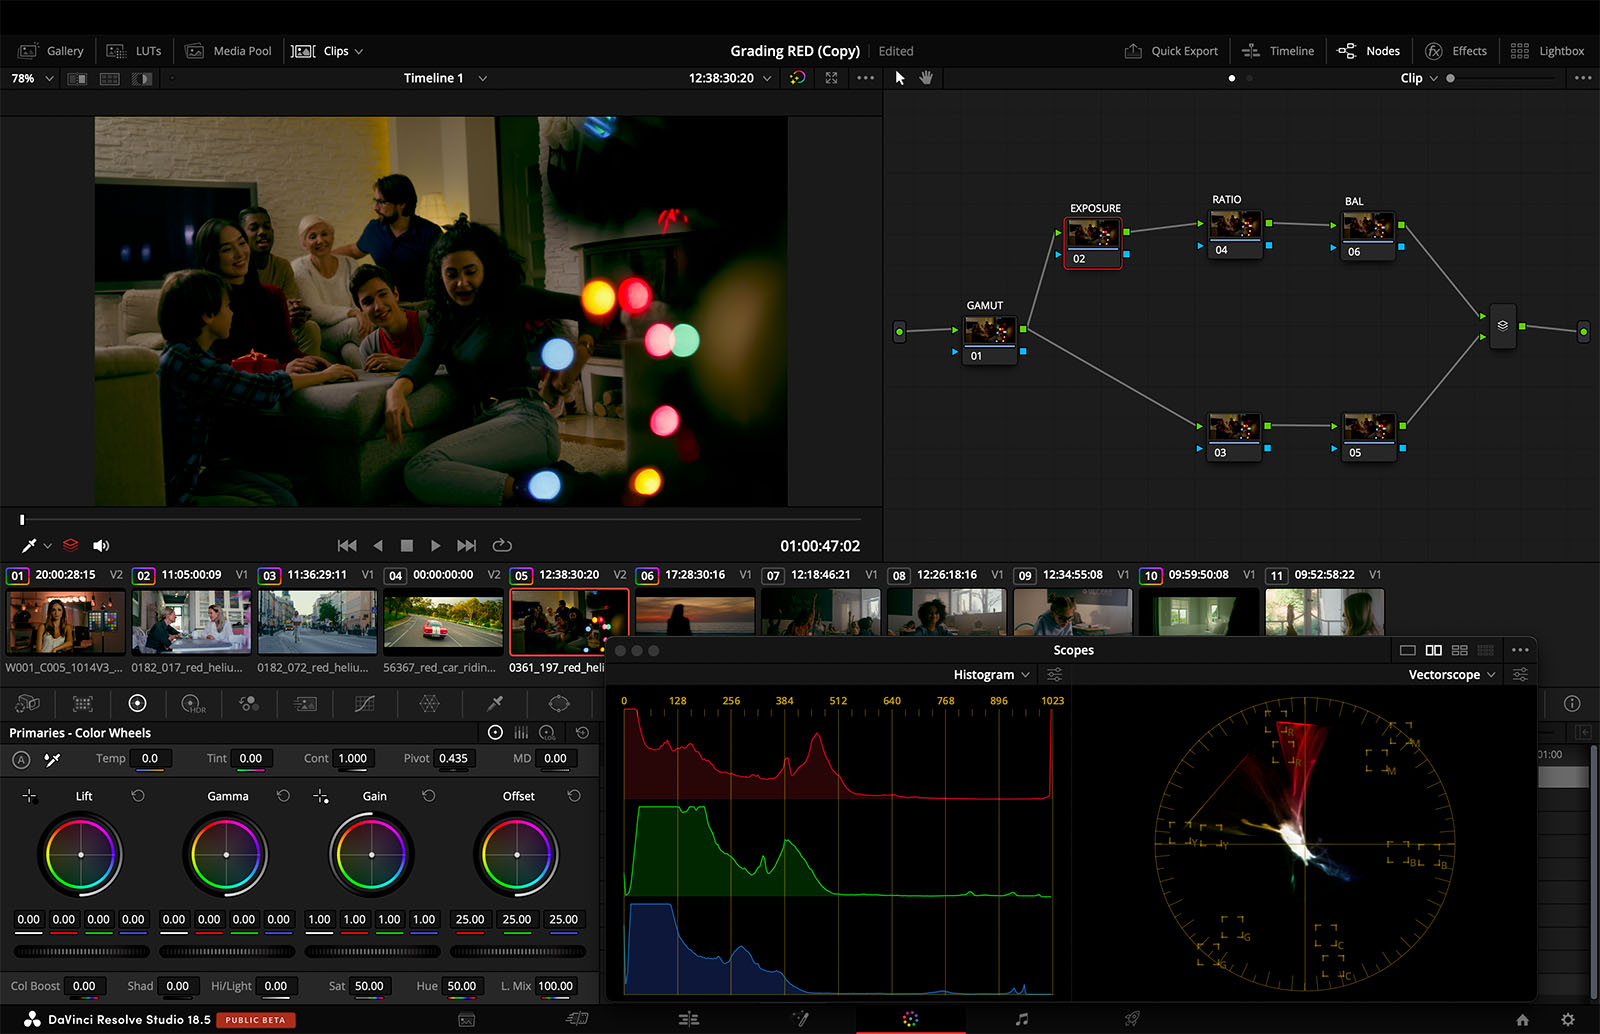
Some of those colors are just plain nuked and definitely need to be addressed. While there are many different approaches to handle this problem, like the Sat vs. Sat curve trick I shared or maybe a Lum vs. Sat curve, I can tell you none of those will work effectively with extreme instances like this.
Let me show you how I deal with this situation when it comes up.
Gamut compression
At the head of my node graph, I’ve placed a special Gamut Compress tool that I’ve built just for this situation. Basically, this tool is a method for compressing out of gamut colors, similar to the ACES 1.3 Gamut Compression option. Now, there’s probably nothing that’s going to fully recover these clipped colors completely because they are even clipped in the sensor. But this is the best available solution that I’ve been able to find.
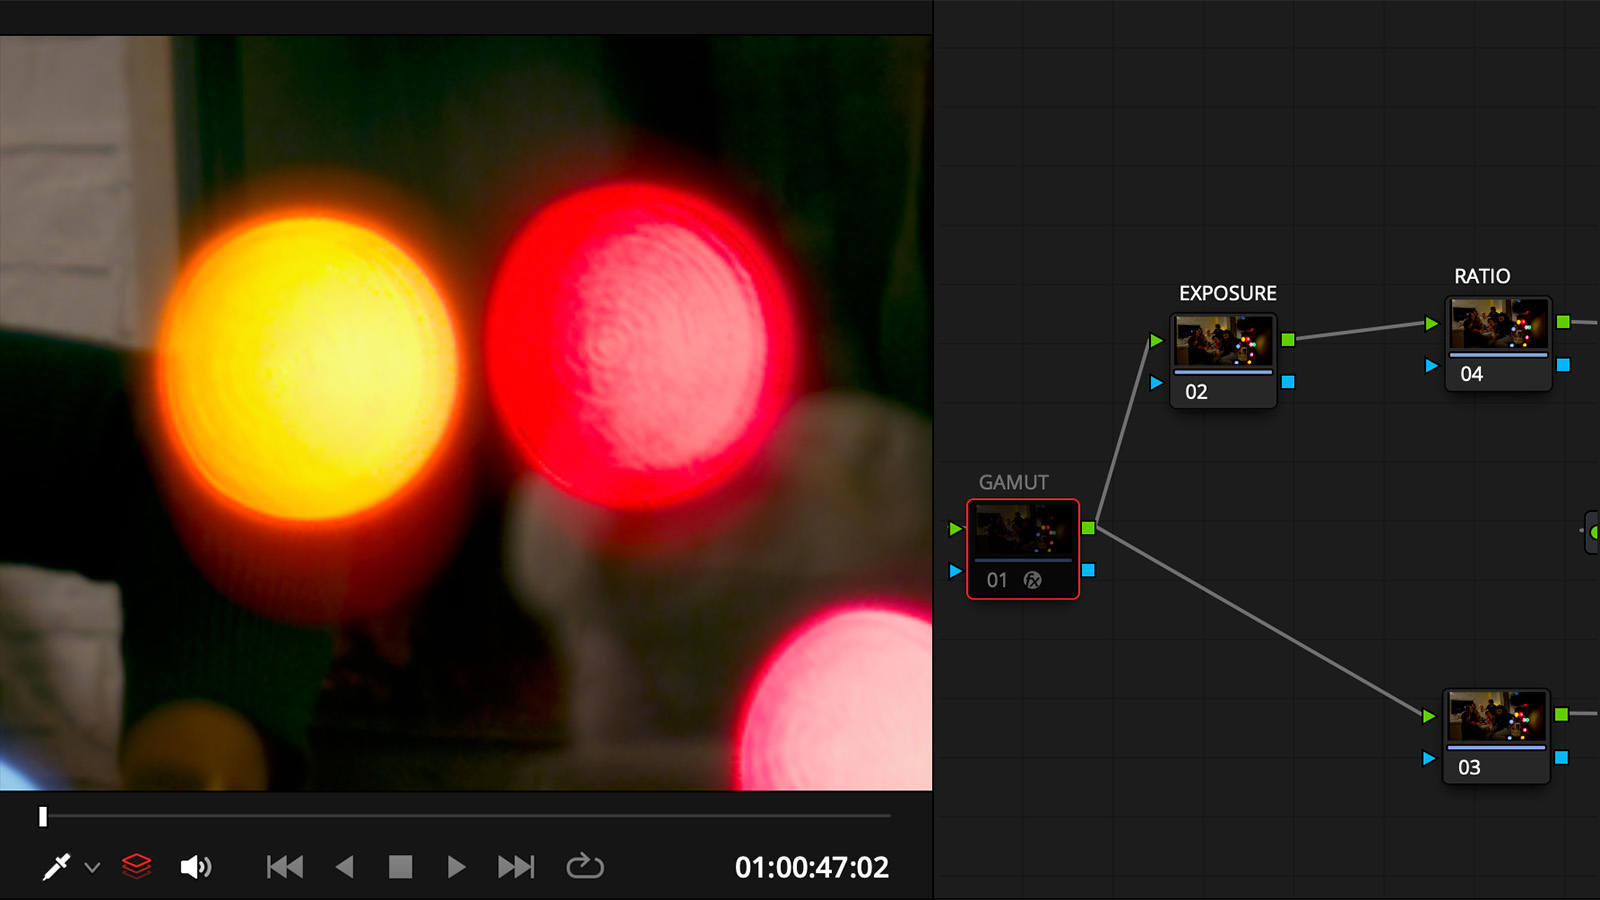
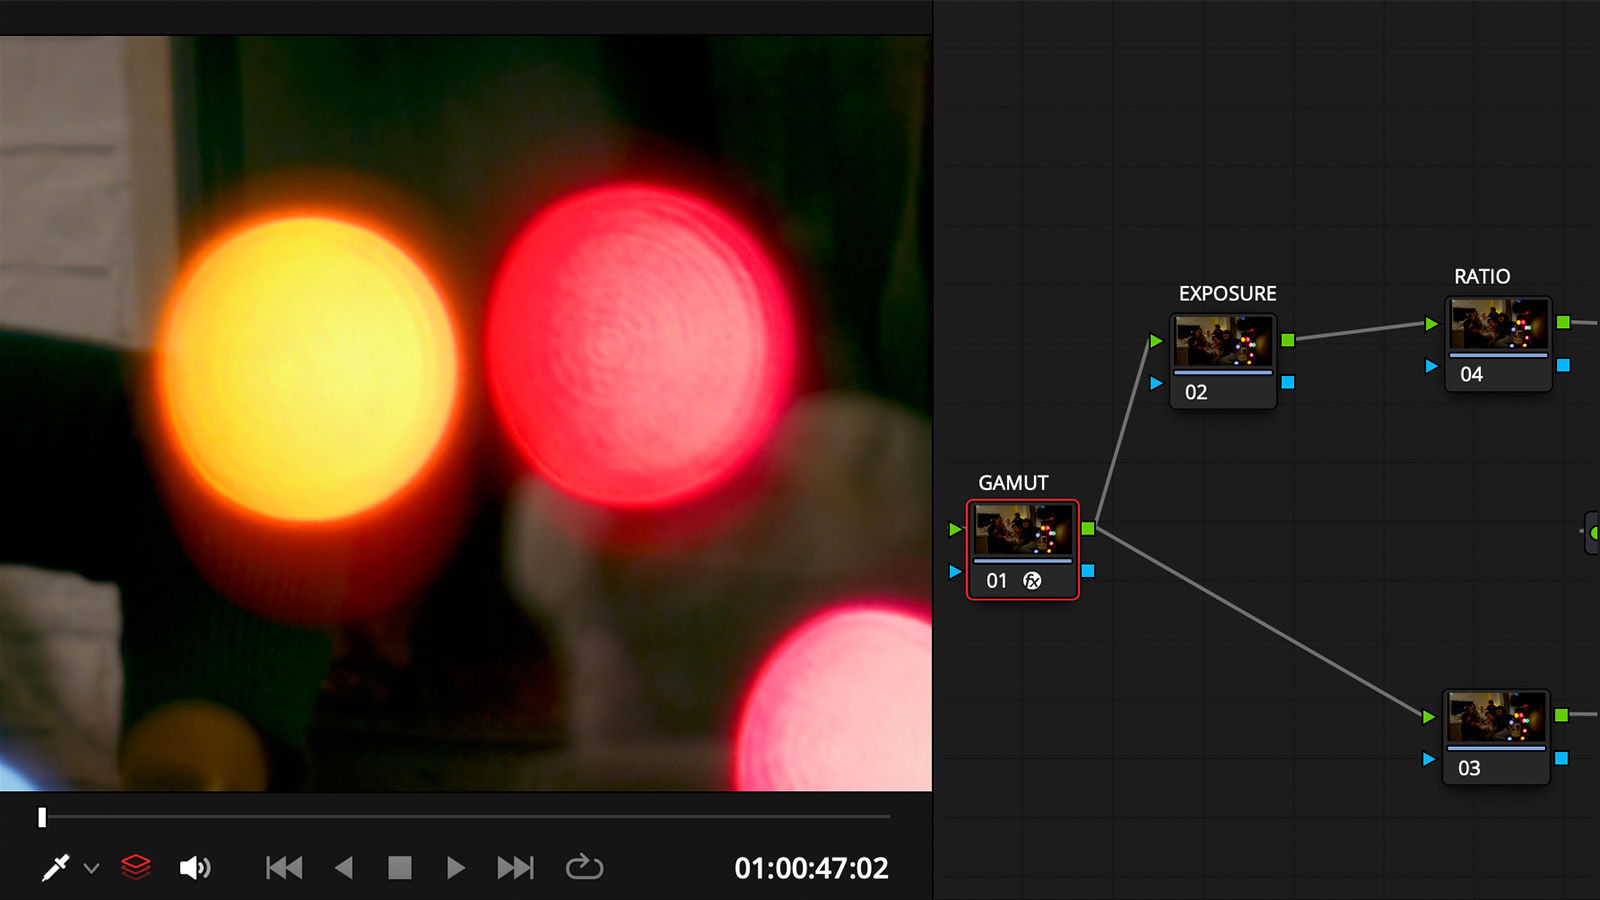
Essentially, this tool allows you to use a nifty feature of ACES while staying within the Davinci Wide Gamut Intermediate framework. For RED footage with clipped-out color elements, this approach mitigates issues right at the head of the node graph and allows you to proceed with your normal grading workflow.
Wrapping Up
Most of what you want to be aware of when dealing with RED footage is based around saturation, too little or too much of it. I’ve provided you with some clear tools to handle those situations when you encounter them.
However, I want to emphasize that by the time I’m personally grading this shot or that shot, I try not to focus on the camera origin. In fact, depending on whether I prepped the project or whether I had an assistant prep the project, I actually may not know what camera it was shot on. And it really doesn’t matter because if there’s proper color management, I’m really not thinking about the camera. I’m thinking about the image.
I’m really not thinking about the camera. I’m thinking about the image.
So, whether you are grading RED material or material from any other camera, the more you can move into an image-centric rather than a camera-centric workflow and mindset, the more success you’re going to find and the better results you’re going to get.

