Every week, Frame.io Insider asks one of our expert contributors to share a tip, tool, or technique that they use all the time and couldn’t live without. This week, Charles Haine demonstrates DaVinci Resolve’s A/B mode.
Highlight subtle changes with DaVinci Resolve’s A/B Mode
With a lot of tools in Resolve it’s relatively easy to see what effect you are having on an image. Push that Gain wheel wildly in one direction and you’ll see a big effect. But with more subtle tools like noise correction, blur and sharpen, and midtone detail it can sometimes be hard to identify precisely what you’re doing to a shot.
To really dial in your work with these tools there is another great tool in DaVinci Resolve: A/B mode. This function of the highlight toolset lets you compare in a simple way the before & after of your node so you can see your changes quickly and let’s you make subtle and precise tweaks to the image.
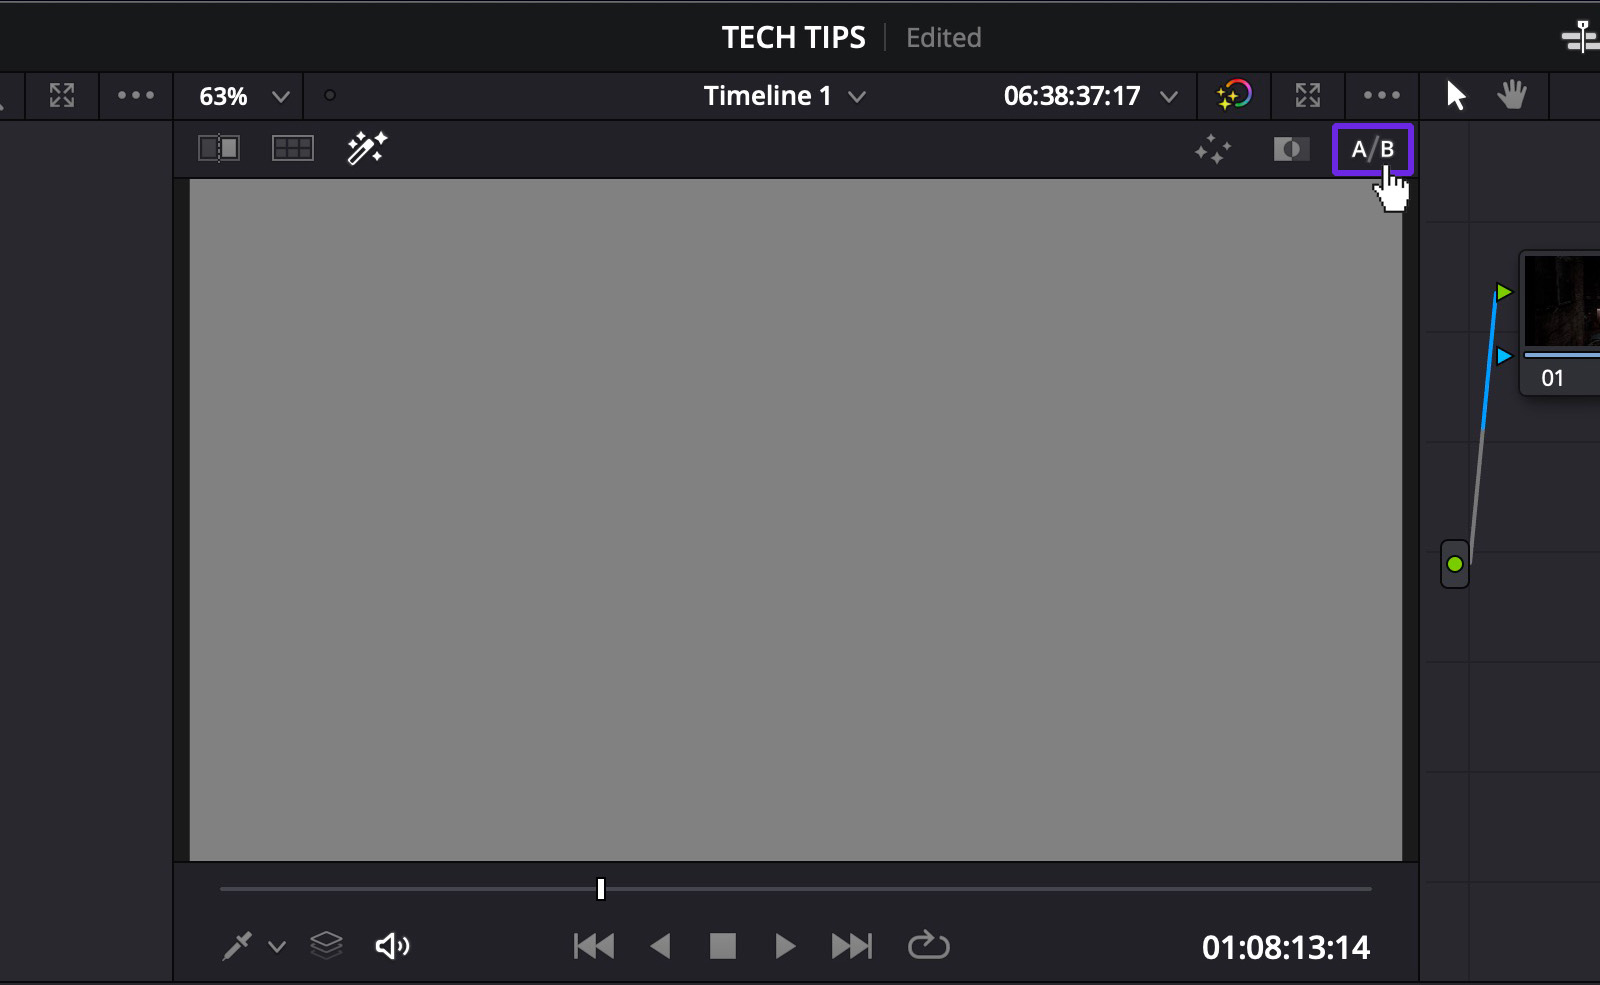
Look for the “A/B” toggle that appears when you select your highlighter (Shift+H). Your preview will go gray—which is normal. As you make changes to a shot, the gray screen will shift to showing you what has changed from before (the “A”) to after (the “B) of your correction.
Let’s make some noise
To demonstrate, let’s look use it with noise correction. As you turn the noise correction up, you should see some noise in the A/B image.
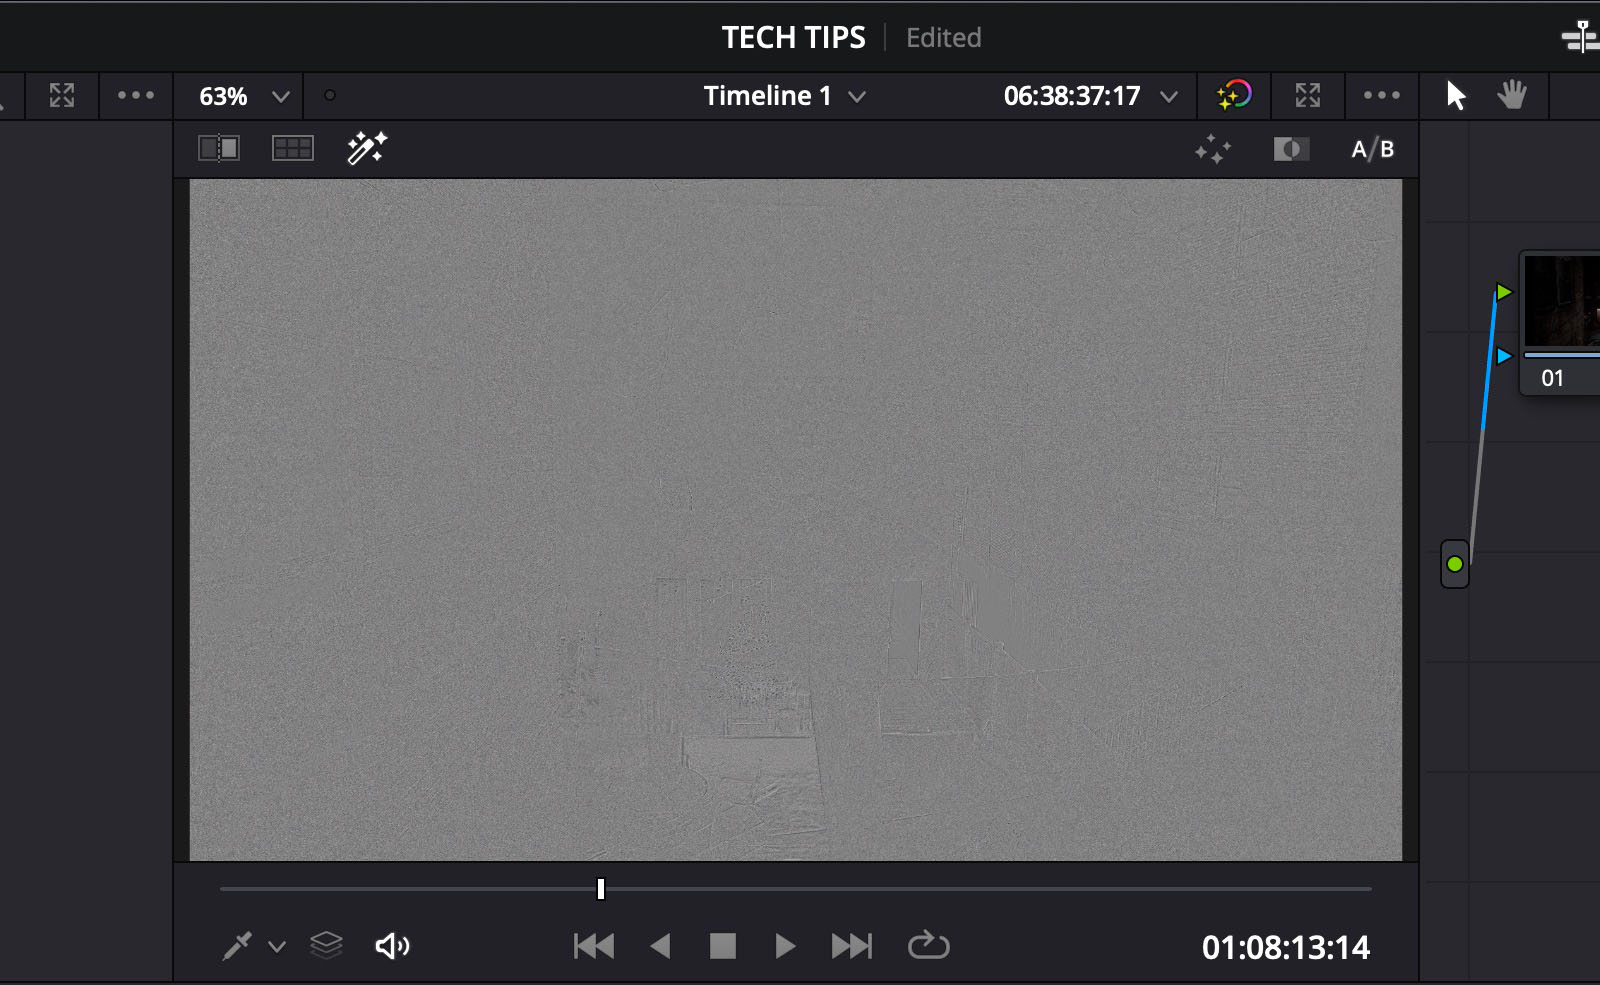
What you’re seeing here is the noise that’s being removed. When it starts to look like a picture in your A/B view, you know you’ve gone too far. Your noise correction is now eating away at your picture detail
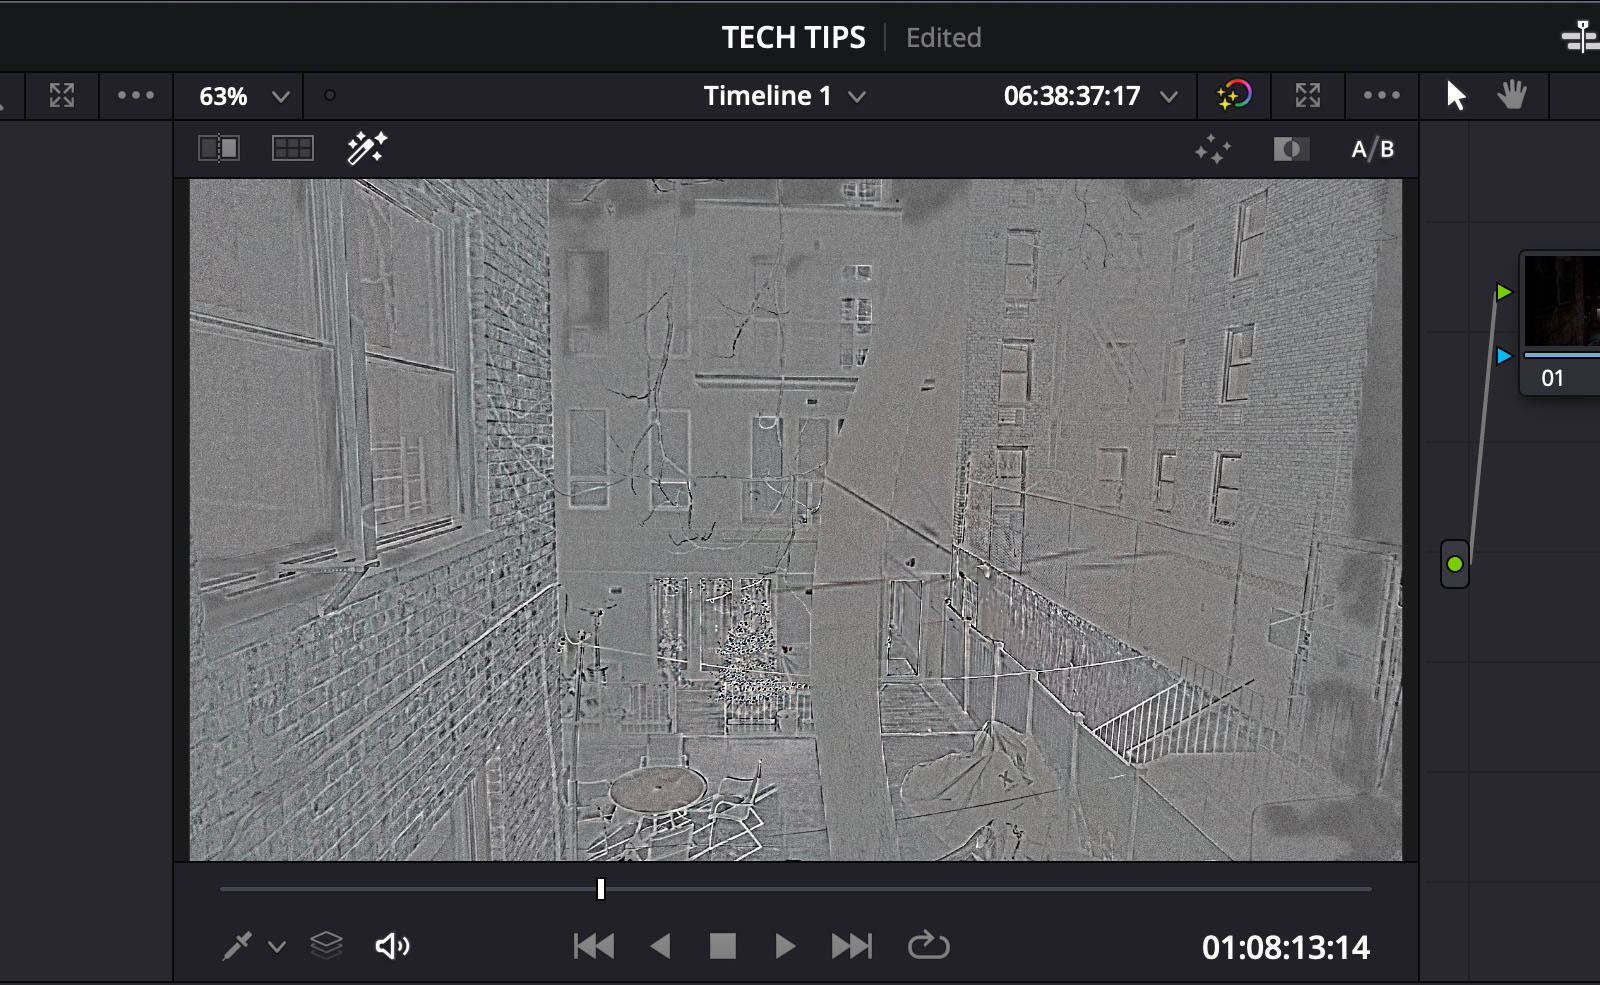
And it’s not just noise correction where Resolve’s A/B mode is useful. It gives you far more control over your effects, helping you to reach the limit without over-correcting.
Insider Tips are helpful weekly posts brought to you by Frame.io’s awesome writers and industry experts. Come back for a new Insider Tip every Wednesday, or subscribe to our newsletter to get a reminder each week.
Frame.io V4 is now available for all! Check out the launch announcement here.

