Every week, Frame.io Insider asks one of our expert contributors to share a tip, tool, or technique that they use all the time and couldn’t live without. This week, Chris Salters demonstrates some creative uses for adjustment layers in Premiere Pro.
Creative uses for Premiere Pro’s Adjustment Layers
If you haven’t been using Adjustment Layers in Premiere Pro, it’s time to reconsider. Adjustment Layers are essentially empty video clips that can be added to a timeline. They can hold effects that affect the video clips on layers underneath them. Here are a few creative use cases for Adjustment Layers that can boost your workflow.
Color correction and LUTs
My main use for Adjustment Layers is for adding LUTs across a sequence in Premiere. A single Adjustment Layer can span an entire timeline and hold a single LUT for every clip in the timeline using the Lumetri effect. The added benefit to this method of applying a LUT in Premiere is that you can then add a separate Lumetri effect to individual clips under the Adjustment Layer for color correction before the LUT is applied to a clip, providing more color flexibility.

Apply motion to composited clips
If your edit contains picture-in-picture elements or any other type of composited shots, use an Adjustment Layer. This will let you add motion (or any other effect) to all of the clips underneath it without nesting. One example is to add a Transform effect and use that to gently scale up a composited shot.
DIY transition effects
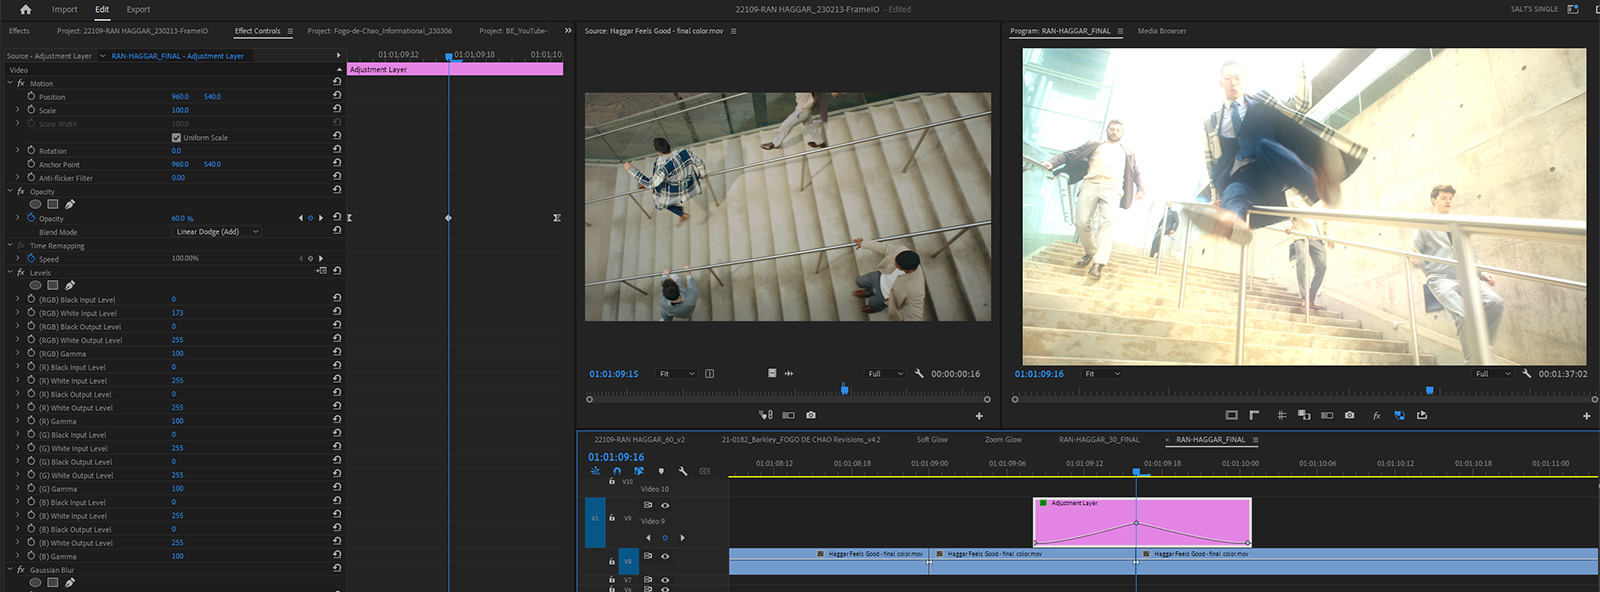
In a similar fashion, Adjustment Layers can span edits between clips, giving you the ability to create your own fancy transitions.

For example, you can make a glow transition by adding levels, a slight gaussian blur, and some keyframes to an adjustment layer.
Insider Tips are helpful weekly posts brought to you by Frame.io’s awesome writers and industry experts. Come back for a new Insider Tip every Wednesday, or subscribe to our newsletter to get a reminder each week.
Frame.io V4 is now available for all! Check out the launch announcement here.


