Every week, Frame.io Insider asks one of our expert contributors to share a tip, tool, or technique that they use all the time and couldn’t live without. In this article, Jarle Leirpoll shares a faster way to create rough edits and assemblies in Premiere Pro.
Many editors still edit the old school way—mimicking the way we used to work when cutting celluloid film:
- Open a clip in the Source Monitor,
- Set in and out points,
- Put it in the timeline,
- Repeat for each clip.
This is a very slow way to edit video!
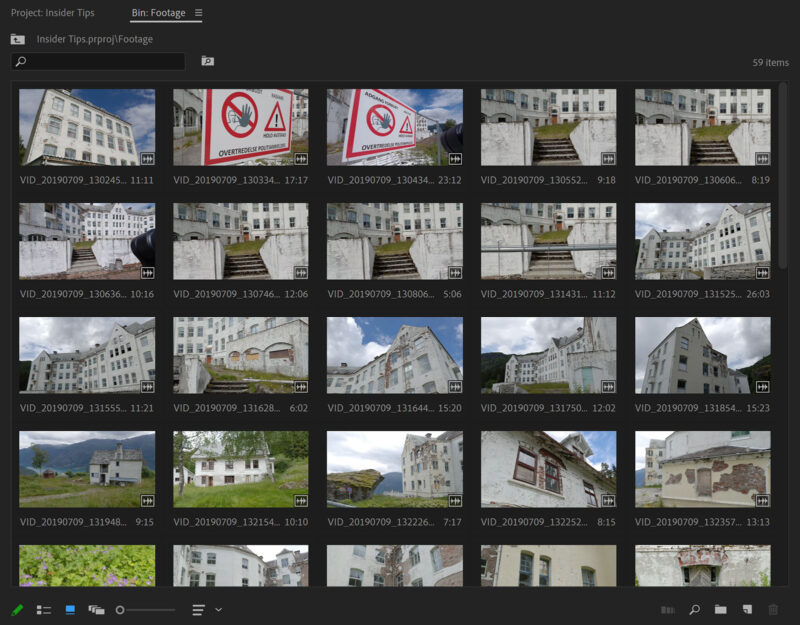
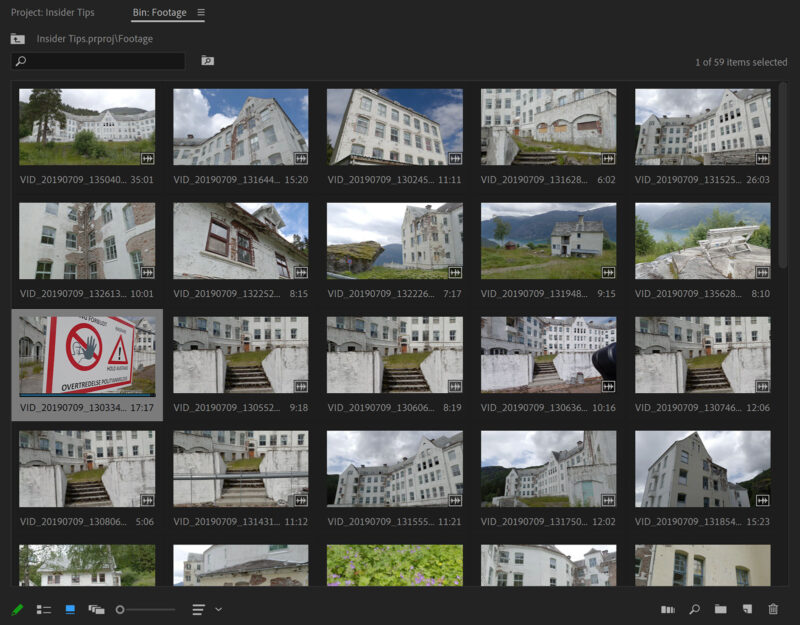
Every bin in Premiere Pro can be used as a storyboard, where you can arrange clips in the order you want them in your timeline. This is a fast, visual, and intuitive way to get your clips in the desired order.


While it’s possible to use the Freeform View to arrange your clips, I find the Icon View most effective and reliable. Select Icon View by clicking the Icon View button in the bin, or by hitting Ctrl/Cmd + Page Down. Move the clips to the desired order.

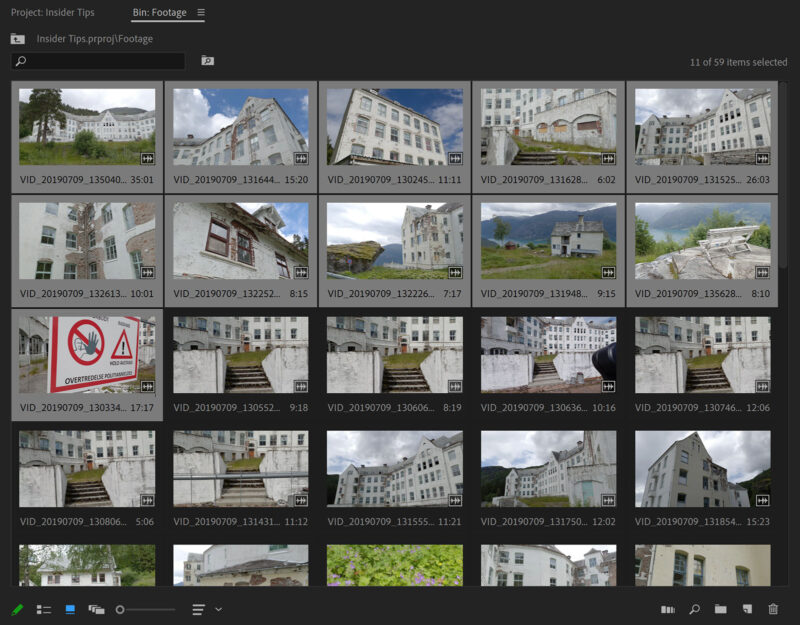
With your clips in sort order, select the first clip, hold Shift, and then click on your last clip to select the entire range of clips you want to add.

Check that the playhead is where you want to insert your clip selection, and hit comma (,). Now you can use Top and Tail editing (which I’ll cover in my next Insider Tip) to trim off the unwanted parts of the clips.

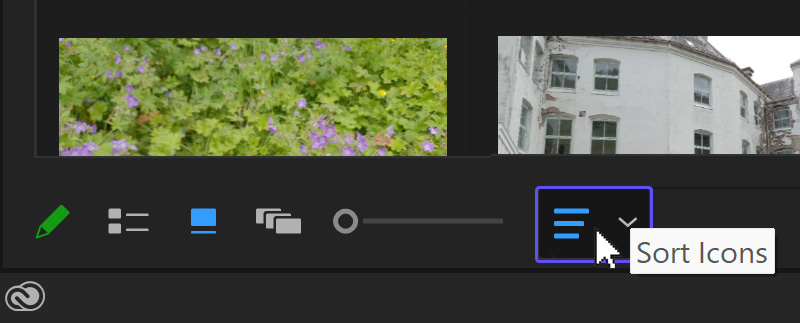
Note: You’ll need to make sure that the bin view is set to User Order—which is Premiere Pro’s default—otherwise you’ll not be able to rearrange any clips. Also, if you’re working with a large collection and need some more room, don’t forget that you can undock the bin window.

Insider Tips are helpful weekly posts brought to you by Frame.io’s awesome writers and industry experts. Come back for a new Insider Tip every Wednesday, or subscribe to our newsletter to get a reminder each week.
Frame.io V4 is now available for all! Check out the launch announcement here.


